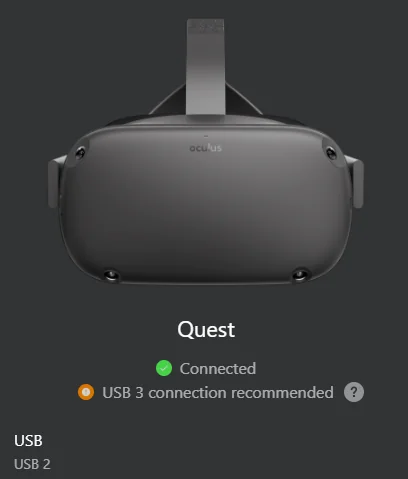
USB connectivity issues can be frustrating, especially when you’re trying to use your Meta Quest 3.
If you’re having trouble getting your Quest 3 to recognize your USB connection, don’t worry – you’re not alone.
Many users have reported similar issues with their Quest 3, but fortunately, there are several solutions you can try to fix the problem.
In this article, we’ll walk you through some of the most common causes of USB connectivity issues with the Meta Quest 3, and provide step-by-step instructions on how to fix them.
How to Fix USB not recognized in Meta Quest 3?
To resolve the issue of the USB not being recognized in Meta Quest 3, you should make sure that the cable and port are working fine. Try rebooting your Quest 3 headset, enabling developer mode, ensuring that the drivers are up to date, and lastly, disable power management.

Down below, we have discussed the solution in step-by-step detail.
1. Check the USB cable and port
The first step in fixing the USB not recognized in Meta Quest 3 is to check the USB cable and port.
Make sure that the USB cable is securely plugged into both the headset and the computer.
If the cable is loose or not properly connected, the device may not be recognized by the computer.
Additionally, try using a different USB port on your computer.
2. Reboot your Quest 3 headset
If the USB cable and port are not the issue, the next step is to reboot your Quest 3 headset.
To Reboot your Quest 3 headset, follow these steps:
- Hold down the power button on the headset for at least 10 seconds.
- Wait for the headset to turn off completely.
- Press the power button again to turn the headset back on.
3. Try a different USB port
If rebooting the headset does not fix the issue, the next step is to try a different USB port on your computer.
Sometimes, the USB port you are using may be faulty or not providing enough power to the device.
Try using a different USB port on your computer to see if that resolves the issue.
4. Enable developer mode
If trying a different USB port does not fix the issue, the next step is to enable developer mode on your Meta Quest 3.
To Enable developer mode, follow these steps:
- Open the Meta Quest app on your computer
- Connect your Meta Quest 3 to your computer using the USB cable
- Click on your device in the app
- Click on the ‘More Settings‘ button
- Scroll down and click on ‘Developer Mode‘
- Toggle the switch to enable developer mode
5. Update drivers
If enabling developer mode does not fix the issue, the next step is to update the drivers on your computer.
To Update Drivers, follow these steps:
- Press the Windows key + X on your keyboard
- Click on ‘Device Manager‘
- Expand the ‘Universal Serial Bus controllers‘ section
- Right-click on the ‘USB Root Hub‘ and select ‘Update driver‘
- Follow the on-screen instructions to update the driver
6. Disable power management
If updating the drivers does not fix the issue, the next step is to disable power management for the USB ports on your computer.
To Disable power management, follow these steps:
- Press the Windows key + X on your keyboard
- Click on ‘Device Manager‘
- Expand the ‘Universal Serial Bus controllers‘ section
- Right-click on the ‘USB Root Hub‘ and select ‘Properties‘
- Click on the ‘Power Management‘ tab
- Uncheck the box that says ‘Allow the computer to turn off this device to save power‘
7. Contact Customer Support

If none of the above solutions work, you may need to contact Meta Quest customer support for further assistance. They may be able to diagnose the issue and provide a solution that works for your specific device and situation.
