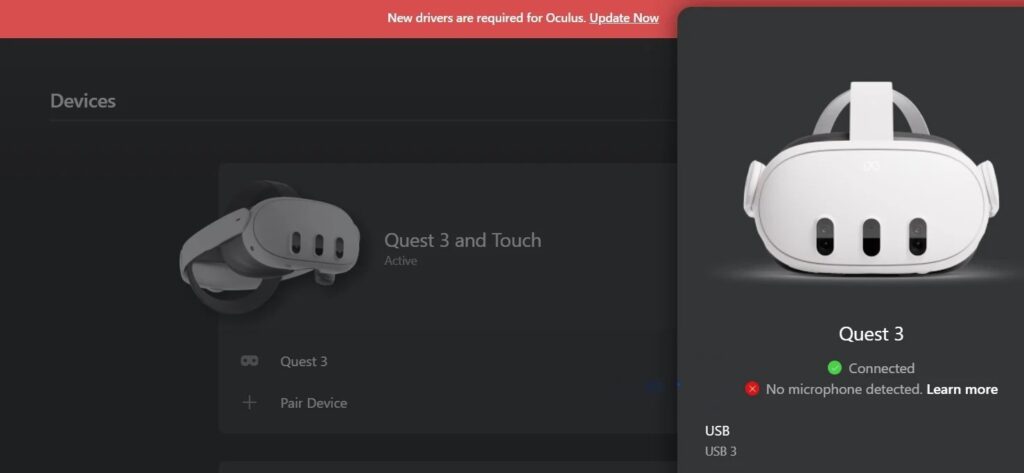
If you’re having trouble with your Meta Quest 3 microphone not working, you’re not alone.
Many users have reported issues with the mic not functioning properly, which can be frustrating when you’re trying to communicate with others in a virtual reality environment.
In this article, we’ll explore a variety of troubleshooting methods to help you resolve microphone issues with your Meta Quest 3.
How to Fix Meta Quest 3 Mic Not Working?
if your Mic is not working on the Meta Quest then you should check Mic settings, make sure there isn’t any physical blockage, and ensure that the software is up to date.

Down below, we have discussed the solution in step-by-step detail.
1. Check The Mic Settings
The first thing you should do is check your mic settings.
Make sure that the microphone is enabled in the system.
You can control this through the system settings. If it’s disabled, no application has access to the microphone.
To Check Mic Settings, follow these steps:
- Put on your Meta Quest 3 headset.
- Navigate to the home screen.
- Click on the settings icon.
- Click on the “Devices” tab.
- Click on the “Audio” option.
- Make sure that the microphone is enabled.
2. Restart Your Device
A simple restart can often resolve temporary glitches that may be causing the microphone to malfunction.
You can restart your Meta Quest 3 by holding down the power button until the shutdown screen appears and selecting ‘Restart’.
3. Check for Physical Obstructions
Make sure there’s nothing blocking the microphone on your headset. Dust or debris can sometimes obstruct the microphone and affect its functionality.
4. check your browser settings
If you are using your Meta Quest 3 with a browser, you may need to check your browser settings to ensure that the microphone is enabled.
To check your browser settings, follow these steps:
- Open your browser.
- Click on the three dots in the top right corner of the screen.
- Click on “Settings“.
- Scroll down to the “Privacy and Security” section.
- Click on “Site Settings“.
- Click on “Microphone“.
- Make sure that the microphone is enabled.
5. Check for Software Updates
Outdated software can lead to compatibility issues with the microphone. Make sure that your Meta Quest 3 is running the latest version of its software.
Here are the steps to Check for Software Updates on your Meta Quest 3 headset:
Using the Meta App:
- Open the Meta app on your smartphone while ensuring that your headset is powered on.
- Select your headset and navigate to “Headset Settings.”
- Open “Advanced Settings” and select “Software Update” to check for the current software version. If a new version is available, a button to download the update will appear.
Using the Headset:
- Press the Meta logo on the right side of your controller to bring up the menu.
- Navigate to “Settings” and select “System.”
- Scroll down to “Software Update” and check for available updates. If a new version is available, you can initiate the update from this menu.
6. Factory Reset
As a last resort, you can perform a factory reset on your Meta Quest 3.
This will erase all data and return the device to its original settings, which can often resolve persistent issues.
However, be sure to back up any important data before doing this.
To factory reset your Meta Quest 3 headset, you need to follow the steps below:
- Open the Meta app on your smartphone and make sure your headset is powered on.
- Select your headset and scroll down to open “Headset Settings.”
- Open “Advanced Settings” and hit “Factory Reset.”
- Hit “Reset” again and your headset will reboot.
- Once it’s powered back up, connect to a new device and enter your Wi-Fi details on your headset.
7. Contact Meta Support

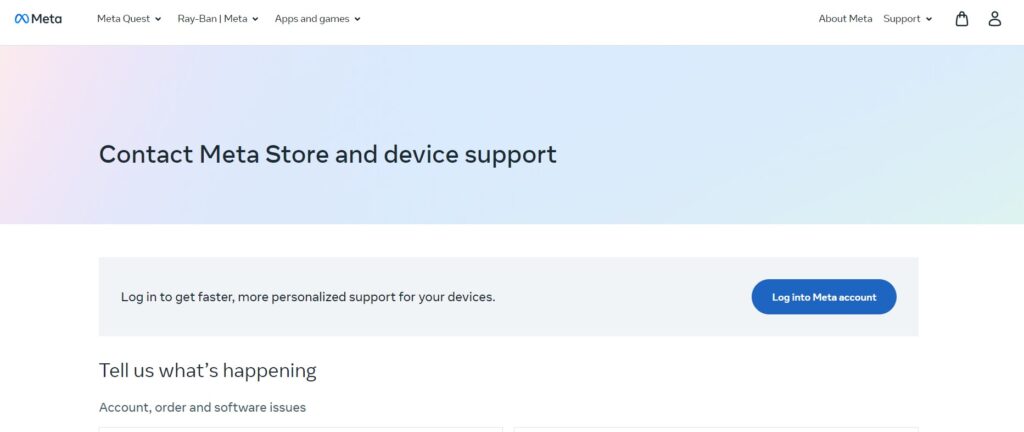
If you’ve gone through all the troubleshooting steps and your Meta Quest 3 microphone is still not working, it might be time to contact Meta support for further assistance.
There could be a hardware issue with the microphone that requires professional repair or replacement.
