If you’re experiencing battery issues with your Meta Quest 3, you’re not alone.
Many users have reported that their device is self-discharging or draining the battery too quickly.
This can be frustrating, especially if you’re in the middle of a game or VR experience and suddenly have to stop because your battery has died.
Fortunately, there are several things you can do to fix this issue.
How to Fix Meta Quest 3 Self Discharging or battery draining fast?
If your battery draining fast or discharging on the Meta Quest 3 then you should try adjusting the settings, make sure that the firmware is up to date, and try turning on the battery saver mode.
Down below, we have discussed the solution in step-by-step detail.
1. Adjust The Settings
One way to fix the battery draining issue is to adjust your settings.
You can turn off the auto wake-up feature, lower the screen brightness, and turn off the 120Hz refresh rate.
These settings consume a lot of power and can contribute to the battery draining fast.
To adjust the settings on your Meta Quest 3 to improve battery life, you can follow these steps:
Steps To Turn off Auto Wake-up Feature on your Meta Quest 3
Turning off the auto wake-up feature can help reduce battery drain. This can be done in the device settings menu.
To turn off the Auto Wake-up feature on your Meta Quest 3, you can follow these steps:
- Start by powering on your Meta Quest 3 headset.
- From the main menu, navigate to the “Settings” and select the “Devices” option.
- This will display power settings and options. Next, choose the “Power” setting which contains options to configure how the headset powers on and off.
- Here you will see a toggle for “Auto Wake Headset“
Steps To Lower Screen Brightness on Your Meta Quest 3
Lowering the screen brightness can also help save battery life. You can adjust the brightness in the settings menu or by using the quick settings panel.
To lower the screen brightness on your Meta Quest 3, you can follow these steps:
- Start by turning on your Meta Quest 3 headset.
- From the main menu, press the button labeled “Oculus” which is found on your right controller. This will open the universal menu overlay.
- Within this menu, hover your pointer over the area displaying the current time on the left side. In this location, you will see a brightness slider.
- Simply move the slider up or down to increase or decrease the screen brightness to your preferred level.
Steps To Turn off 120Hz Refresh Rate on your Meta Quest 3
The 120Hz refresh rate is a power-hungry feature that can cause your battery to drain faster.
If you’re experiencing battery issues, try turning off this feature in the settings menu.
To turn off the 120Hz refresh rate on your Meta Quest 3, you can follow these steps:
- Put on your Meta Quest 3 headset
- Select the “Settings” option from the main menu
- Choose the “System” category
- Locate the “Display” option
- Toggle the switch labeled “120Hz Refresh Rate” to the “Off” position
2. Update The Meta Quest 3 Firmware
Updating your Meta Quest 3 firmware can also help fix battery issues.
Firmware updates often include bug fixes and performance improvements that can help optimize battery usage.
To update the firmware on your Meta Quest 3, you can follow these steps:
- Turn on your Meta Quest 3 headset
- Open the “Settings” menu option
- Choose the “System” category
- Scroll to the bottom and select the “Software Update” option
- If a new update is available, it will be displayed here
- Tap/select the “Update Now” button to begin the download
- The headset will install the update automatically
- Follow any on-screen prompts until the update fully installs
3. Use The Battery Saver Mode
Another option is to use the built-in battery-saver mode.
This feature will automatically adjust your settings to help conserve battery life, such as reducing the screen brightness and turning off unnecessary features.
To use Battery Saver Mode on your Meta Quest 3, you can follow these steps:
- Turn on your Meta Quest 3 headset
- Open the toolbar menu by selecting the icon with three horizontal lines
- Choose the “Settings” option in the toolbar
- Select “System Settings“
- Navigate to the “Power” section
- Toggle the switch next to “Battery Saver” to the on position
4. Check The Power Bank Compatibility
If you’re using a power bank to charge your Meta Quest 3, make sure it’s compatible with your device.
Some power banks may not provide enough power, causing your Quest to discharge faster than it charges.
here are some power banks that are compatible with the Meta Quest 3:

- NIVRANA 10,000mAh VR Battery Pack: With a large 10,000mAh capacity, this power bank is compatible with Meta Quest 3 and can provide up to 8 hours of additional gameplay.
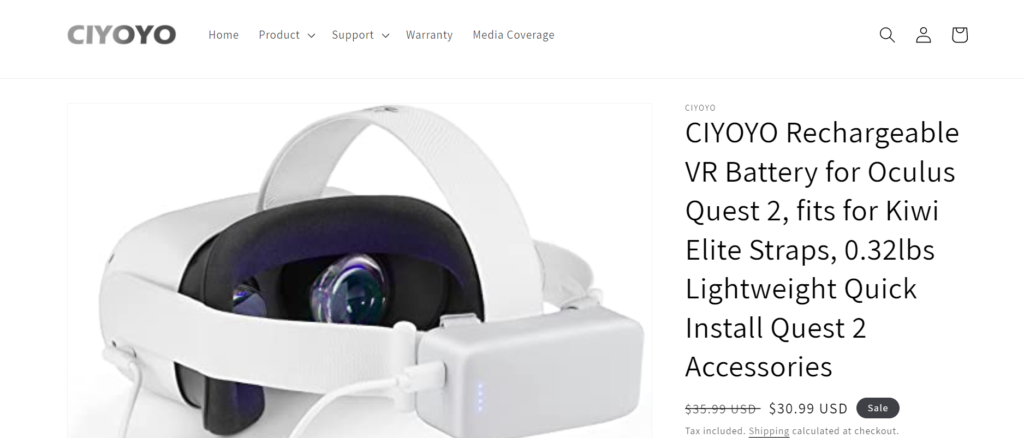
- CIYOYO 6700mAh VR Power Bank: Compatible with original Quest 2 models and accessories, this battery offers around 2.5-3.5 hours of extended playtime for Meta Quest 3 users.
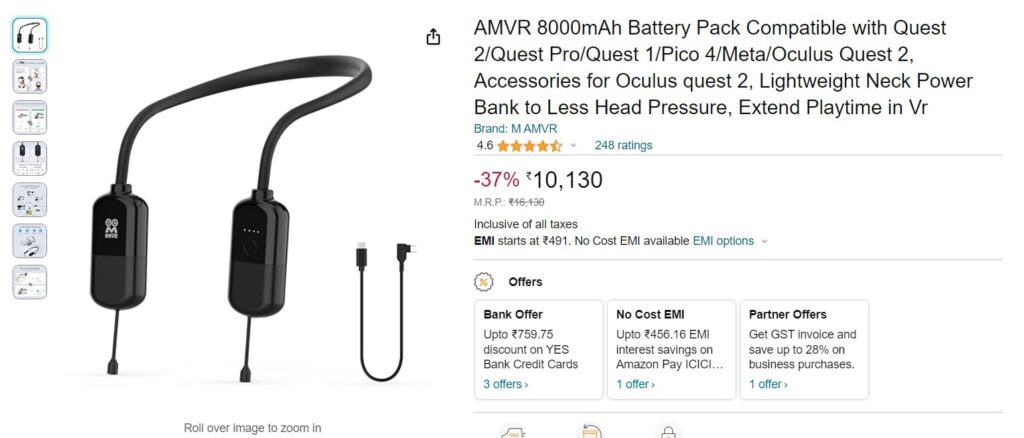
- AMVR Neck Power Bank: Featuring a unique neckband design for comfort, this power bank has been reported as an effective solution for prolonging the battery life of Meta Quest 3 headsets during extended play sessions.
5. Contact Meta Support

If none of these solutions work, contact Meta support for further assistance.
They may be able to offer additional solutions or recommend repairs if necessary.