Do you wish to add your SeatGeek tickets to your Apple Wallet? Have you recently purchased tickets for a live show, game, event, or concert through the SeatGeek app but are unable to add them to your Apple Wallet?
SeatGeek is an online ticket marketplace and aggregator that allows users to browse, purchase, and sell tickets for a wide range of live events, including sports games, concerts, theater performances, and other entertainment events.
The platform aims to make the process of buying and selling event tickets more user-friendly and transparent. SeatGeek is committed to providing a secure and safe ticket-buying experience and protecting user data and financial information.
SeatGeek is known for its Deal Score feature, which rates ticket listings based on factors like seat location and price to help users find the best value. Users can see the total cost of tickets, including fees, upfront before purchasing.
SeatGeek aggregates ticket listings from various sources, including primary ticket sellers (e.g., box offices and official websites) and secondary marketplaces (e.g., ticket resellers and fans).
This allows users to compare ticket prices and seating options from multiple sources in one place.

If you have purchased your tickets through the SeatGeek app but are unable to add them to Apple Wallet, do not worry, as this article will serve as a guide to help you understand the process of adding SeatGeek tickets to Apple Wallet.

How To Add SeatGeek Tickets To Apple Wallet?
To add SeatGeek tickets to Apple Wallet, locate your tickets on the SeatGeek app, select the ticket from the My Tickets option, add the tickets to your Apple Wallet, and then check your Apple Wallet to confirm that the tickets have been added successfully.
Adding tickets purchased from SeatGeek to your Apple Wallet can increase your convenience while accessing the tickets to the live show, event, or concert and save you precious time.
Follow these steps to add your SeatGeek tickets to your Apple Wallet:
1. Locate Your Tickets
Once you’ve purchased your tickets, you can usually access them in the SeatGeek app. Open the SeatGeek app on your mobile device or the web browser and log in to your account.
Navigate to the “My Tickets” or “Tickets” section within the SeatGeek app or website. Your purchased event tickets should be listed there.
2. Select the Ticket
A list of your purchased tickets should appear now. From the list of tickets, tap on the event ticket you want to add to Apple Wallet.
3. Add to Wallet
Look for an option within the SeatGeek app to “Add to Apple Wallet” or a similar option. It may also be labeled as “Add to Wallet” or “Add to Passbook” (Apple Wallet’s previous name). Select this option.
4. Confirm the Addition
Follow the instructions on your screen. You will be asked to confirm the addition of the ticket to Apple Wallet. Click on the Confirm option to proceed ahead and add your tickets to Apple Wallet.
5. Ticket Added To Apple Wallet
The selected event ticket should now be added to your Apple Wallet. You can access it by opening the Apple Wallet app on your iOS device.
To access your ticket, open the Apple Wallet app. There you should be able to see the ticket. Simply tap on it to display the ticket’s barcode or QR code.
When attending the event, present your digital ticket within the Apple Wallet app to the event staff for scanning.
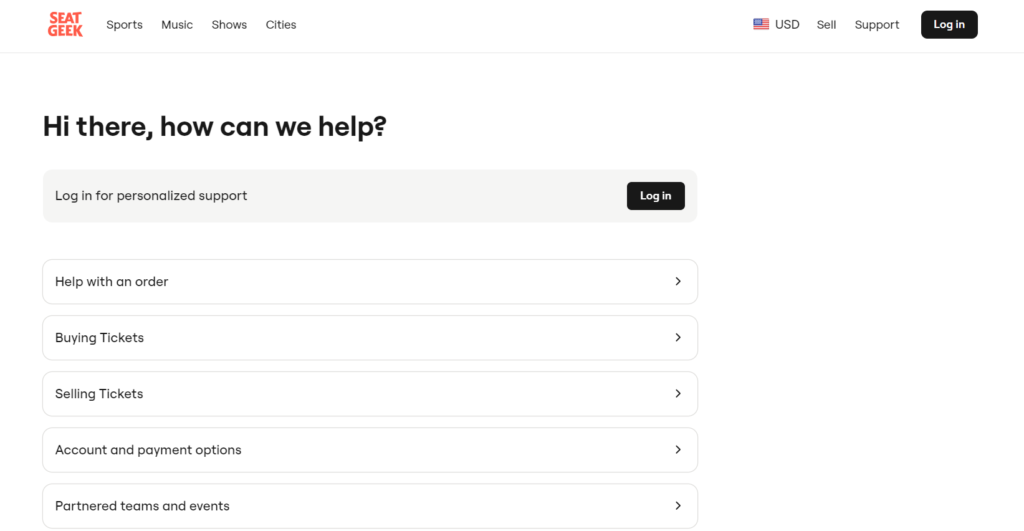
If you encounter any issues or need assistance, consider reaching out to SeatGeek’s customer support for guidance.

Additionally, make sure your Apple Wallet app is updated to the latest version from the App Store for the best experience.
