
Are you a proud owner of the Apple Vision Pro headset but wear glasses?
You might be wondering how to effectively use this cutting-edge device without compromising on comfort or functionality. Worry not!
In this guide, we will walk you through the seamless integration of Apple Vision Pro with glasses, ensuring that you make the most of this innovative technology without any hindrances.
How To Use Apple Vision Pro If You Have Glasses?
If you are a glasses wearer interested in using the Apple Vision Pro, you’ll need to use the ZEISS Optical Inserts which are compatible with Apple vision pro, as the headset is not designed to be worn with traditional eyeglasses.
Apple has partnered with ZEISS Optical to provide a solution that allows those with vision correction needs to enjoy the Vision Pro without compromising the immersive experience.
To purchase optical inserts for the Apple Vision Pro, follow these steps:
Step 1: Purchase ZEISS Optical Inserts
When buying your Apple Vision Pro, you will undergo a face scanning process. At this stage, you’ll be prompted to address your vision correction needs.
Since standard glasses cannot be worn with the headset, you’ll have the option to purchase ZEISS Optical Inserts. These can be crafted for reading or prescription lenses.
Step 1: Obtain Your Prescription
Make sure you have a current and comprehensive eye prescription from your optometrist.
Step 2: Visit Apple’s Website
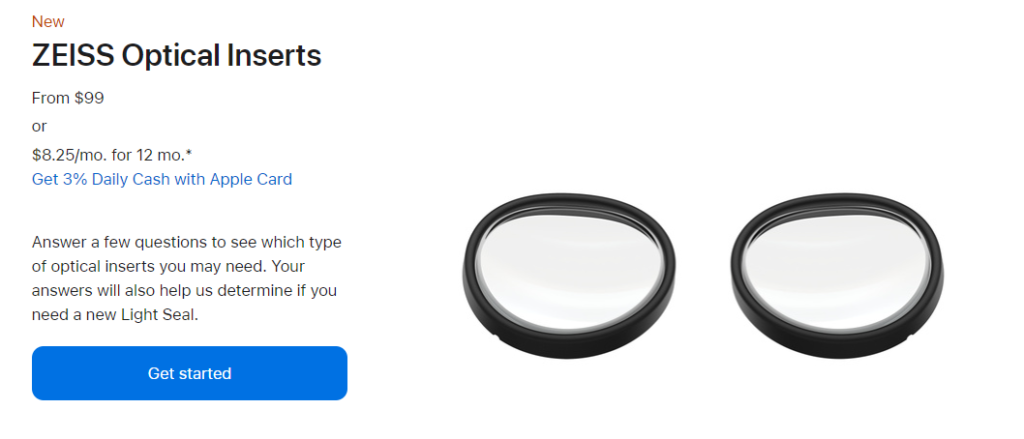
- Navigate to the Apple Product Website to find the ZEISS Optical Inserts product page and click on “Get started.“
Step 3: Answer Asked Q&A
- You need to answer few questions asked by Apple to get eligible to buy Apple Vision pro.
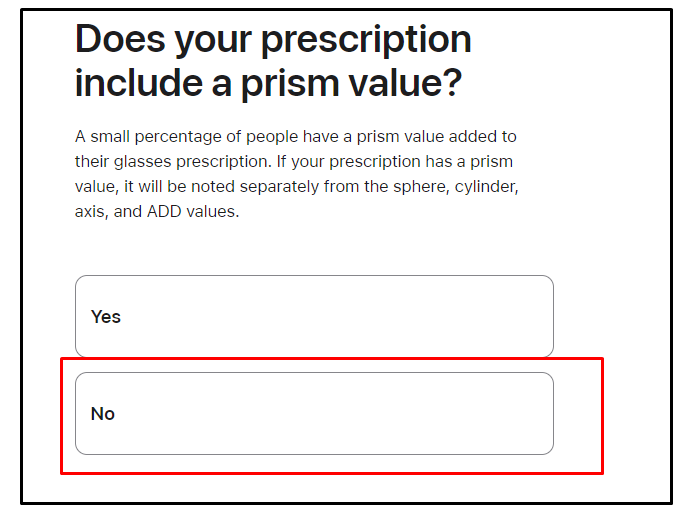
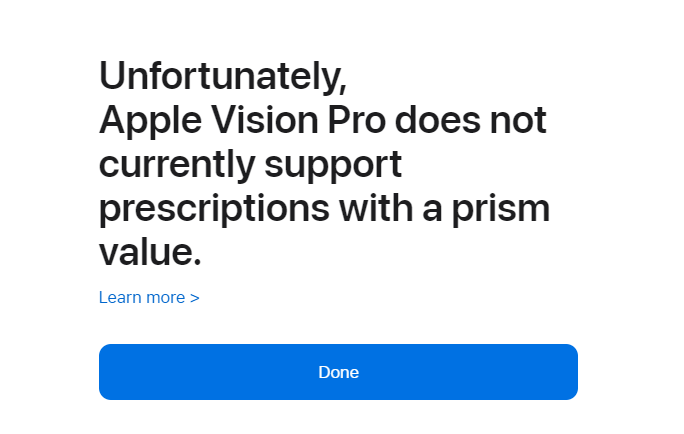
While answer the question about Prism value, make sure you click “NO” if you don’t have prism Value. Currently ZEISIS Optical inserts are not available for Prescriptions with Prism value.
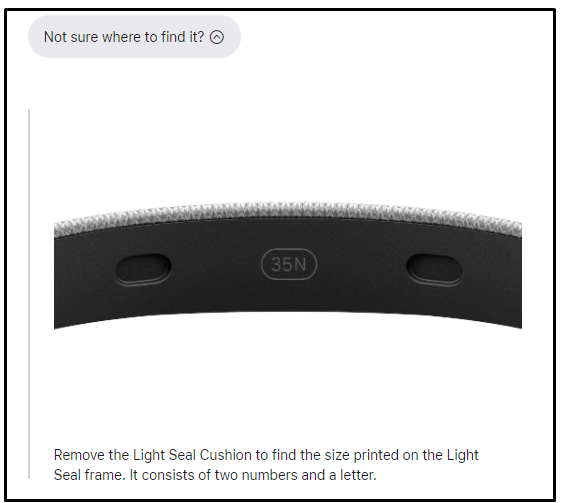
Step 4 : Provide Light Seal Value
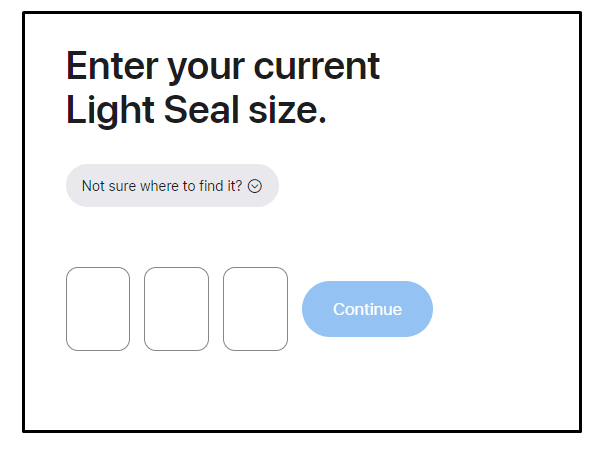
Once completed the Q&A you will be asked to provide Light Seal value of your headset. You can find the “Alpha-Numeric 3 digit” value by removing light seal cushion.
Step 5: Scan You iPhone
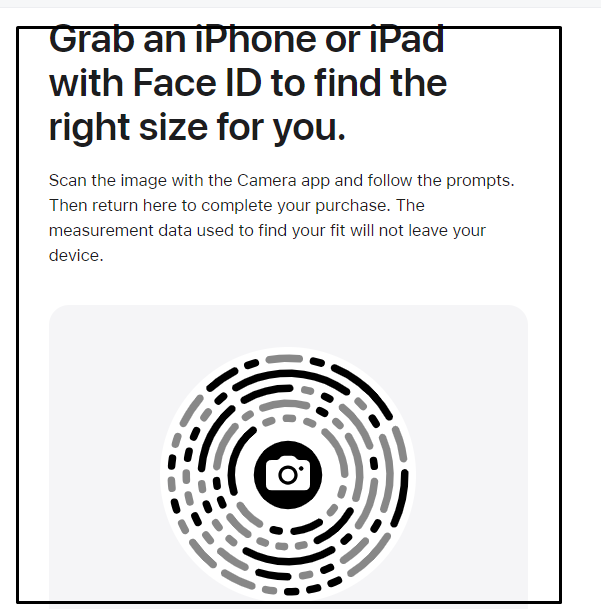
You will be asked to scan the circular code with your iPad or iPhone. Follow on screen instruction to purchase Optic Insert.
Step 6: Choose Your Inserts
Select the ZEISS Optical Inserts that match your prescription needs. If you require readers, those are available as well.
Step 7: Provide Prescription Details
You may be prompted to enter details from your prescription during the checkout process to ensure that the inserts are customized to your vision requirements.
Step 8: Place Your Order
After entering your prescription information and any other required details, proceed to checkout to complete your purchase.
Step 9: Wait for Delivery
Once your order is placed, the custom ZEISS Optical Inserts will be made to order based on your prescription and shipped to you.
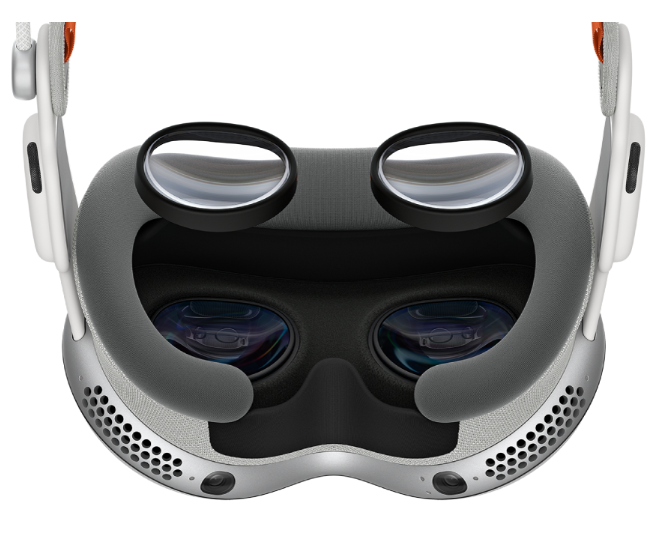
Remember, the ZEISS Optical Inserts are designed to magnetically attach to the Apple Vision Pro, allowing for an integrated and seamless experience.
Step 3: ZEISS Optical Activation
Upon receiving your ZEISS Optical Inserts, you’ll find clear instructions and a QR code for setup in the box.
It’s recommended to activate the free one-year warranty provided for the inserts, which can be done through a sign-up process included in the package.
Step 4: Attaching the Inserts to the Vision Pro
The inserts attach magnetically to the inside of the headset. Carefully align the labeled left and right lenses and let the magnets secure them in place.
The headset’s design allows for easy attachment and detachment, making it simple to clean the inserts or switch them out if necessary.
Step 5: Calibration and Setup
After attaching the Optical Inserts, use the provided QR code to begin the calibration process.
- Locate the QR code provided with the Optical Inserts packaging.
- Open the camera or QR code scanner on your Apple Vision Pro headset and scan the QR code.
- The headset will detect the Optical Inserts and initiate the calibration process.
- Follow the on-screen instructions, which will guide you through the eye-tracking calibration routine.
- Look at the dots that appear on the display, moving your gaze from one dot to another as instructed.
- Perform the finger-tapping exercise by tapping your fingers together when prompted. This action helps the system calibrate to your specific eye movements and hand-eye coordination.
- Complete the calibration routine until the headset indicates that the process is finished and your eye movements are accurately tracked.
Make sure to sit comfortably and maintain a natural head position throughout the calibration process for the best results. If calibration fails or seems inaccurate, repeat the process to ensure optimal performance.
Step 6: Use the Vision Pro
With the calibration complete, your Vision Pro is now tailored to your visual needs. The headset will adjust lighting and align displays to match your prescription, ensuring clarity and comfort.
- Once the calibration is complete, the Vision Pro headset will automatically adjust the lighting and display alignment to accommodate your individual prescription and visual preferences.
- Put on the Vision Pro headset and observe the clarity of the display. You should notice that text and images appear sharp and easy to read.
- If you feel that the display is not perfectly clear or if you experience any discomfort, you can access additional setup options to fine-tune the visual experience.
- To realign the displays or adjust the calibration, navigate to the settings menu on your Vision Pro headset.
- Look for an option labeled ‘Display Alignment’ or ‘Visual Settings’ and select it to make further adjustments.
- If you need to redo the eye-tracking setup, find and select the option labeled ‘Eye Setup’ or ‘Calibration’ in the settings menu.
- Follow the on-screen instructions to realign the displays or redo the eye-tracking calibration as needed.
The collaboration between Apple and ZEISS ensures a high-quality, integrated solution for vision correction that maintains the headset’s comfort and functionality.