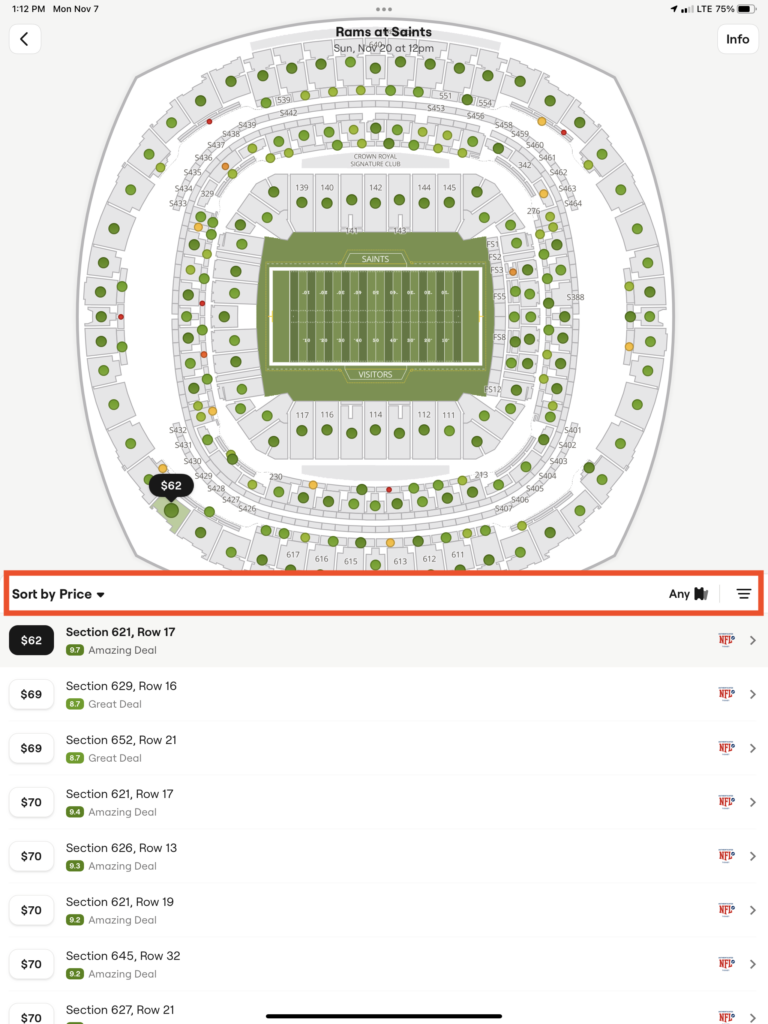
Are you using SeatGeek to purchase tickets for an event and want to see the seat view before making a decision?
It’s a great feature that allows you to visualize the view from your seat, but sometimes it can be difficult to access.
In this article, we will guide you through the steps to see the seat view on SeatGeek.
how to see seat view on SeatGeek?
To see seat view on SeatGeek: Visit SeatGeek, select your event and venue, use the interactive chart to find a section, click for Seat Views, and note images may differ slightly from the actual view.

Down below, we have discussed these in step-by-step detail.
Step 1: Begin with the Venue

Start by visiting the SeatGeek website and searching for the event you’re interested in.
You’ll need to find the specific venue where the event is taking place, as each venue will have a unique seating layout.
Step 2: Interactive Seating Charts
Once you’ve selected the “event” and are on the venue page, look for the interactive seating chart.
This feature is designed to help you navigate through the different sections with ease.
Step 3: Accessing Seat Views
Click on the desired section within the venue map. If Seat View images are available, you’ll be able to see a visual preview from that particular section.
These images are embedded in the venue maps to give you a better idea of what to expect.
Step 3: High-Resolution Images
For certain venues, SeatGeek provides high-resolution images on individual section webpages.
These images allow you to see the view with greater detail and clarity.
Step 4: Accurate Representations
It’s important to note that SeatGeek aims to provide the most accurate seat views possible.
However, there may be slight variations between the image and the actual view from your seat due to changes in stage setup or other factors.
