Is your VR session on hold because the “Oculus service keeps stopping” message keeps popping up?
This issue might stem from various causes, such as app conflicts or system glitches.
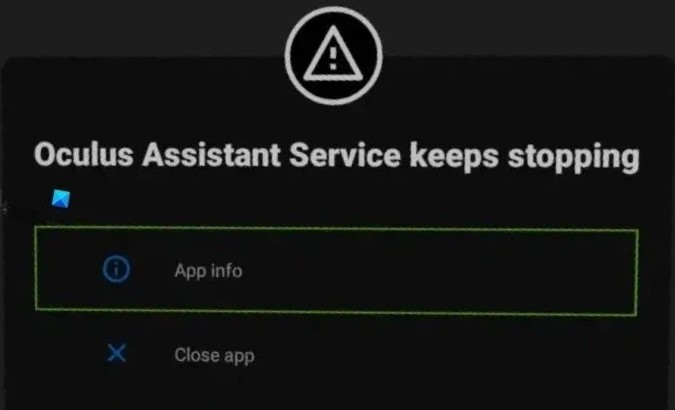
The error message usually reads: “Oculus Assistant Service keeps stopping“
In this article, we will walk you through the process of troubleshooting and resolving the issue.
How to Fix oculus service keeps stopping Issue?
If you are facing a service that keeps stopping issues on the Oculus then you should try updating the voice command app and ensure that the software is up to date.
Down below, we have discussed the solution in step-by-step detail.
1. Restart Your Oculus Device
The first and simplest step is to restart your Oculus headset.
A quick reboot can clear temporary glitches and is often the first troubleshooting step recommended for electronic devices.
To restart your Oculus Quest 2, hold down the power button on the side of the headset until you see the power off screen, then select “Restart.”
2. Update the Voice Command App
If updating the voice command functionality does not fix the problem, consider disabling the Voice Command App entirely.
Disabling the app can help determine if it is the source of the issue, as this will stop it from running and potentially interfering with the device’s operation.
To update the Voice Command app on Oculus, follow these steps:
- Go to the Oculus App on your device.
- Click on the drop-down menu and select “Oculus Apps.”
- Look for the Voice Commands icon and click on the three dots.
- Select “Details” and click on “Update” to download the latest version of the app
3. Disable Voice Commands
If you suspect that voice commands are causing the service to stop, try disabling them.
You can do this via the settings menu on your Oculus device.
To disable Voice Commands on Oculus, follow these steps:
- Press the Oculus button on your right Touch controller to bring up the universal menu.
- Aim at the clock on the left side of the universal menu to reveal Quick Settings, then select it to open the Quick Settings panel.
- Navigate to and select “Settings” in the top right corner, then choose “System.”
- Proceed to “Voice Commands.”
- Make sure that the switches next to “In-App Voice Commands” and “Controller Shortcut” are toggled to the off position.
4. Check for Software Updates
Ensure that your Oculus device is running the latest software version.
Outdated firmware can cause compatibility issues and may result in services stopping unexpectedly.
Here are the steps to update Oculus Quest 2:
- Put on your headset and open the Settings menu.
- Select ‘System‘, then ‘Software Update‘ from the left menu.
- If there’s an update available, you should see an “Update Now” button. Select it to begin the update process.
5. Reinstall the Oculus App
If the issue is related to your phone, consider reinstalling the Oculus app.
Uninstall the app, restart your phone, and then download and install the app again from the app store.
Here are the steps to Reinstall the Oculus app (Meta Quest) on Android:
- Open Settings > Apps.
- Find and tap on the Meta Quest app.
- Tap on “Storage” or “Storage & cache.”
- Select “Clear cache” to remove temporary files.
- Optionally, you can tap on “Clear data” to delete all app data, including settings.
Here Are The Steps To Reinstall The Oculus App (Meta Quest) On iOS:
- Open Settings and go to the list of installed apps.
- Locate and tap on the Meta Quest app.
- Choose “Offload App” or “Delete App” to remove it.
- Visit the App Store and reinstall the Meta Quest app.
- Launch the app, log in, and the cache and data will be cleared during reinstallation.
6. Factory Reset Oculus
If the above steps do not resolve the issue, a more drastic measure is to perform a factory reset.
This will erase all data from your device and return it to its original settings, so use this as a last resort.
To perform a factory reset on your Oculus Quest 2, follow these steps:
- Power off the headset by pressing and holding the power button for 10 seconds.
- Enter the boot screen by holding the power and volume (-) buttons together until the boot screen appears.
- Use the volume buttons to select Factory Reset and confirm with the power button.
- Select Yes to confirm and start the factory reset process.
7. Contact Oculus Support

If none of these steps work, it may be time to contact Oculus Support for further assistance.
They can provide more in-depth troubleshooting or potentially repair or replace your device if it’s under warranty.