Do you want to remove the filters on the CapCut video? Do you know how to delete the filters from your project? Do you know the methods for removing the filters in your project?
No need to worry. We have elaborated on the steps for removing filters on the app. You can use the methods to remove it in a few seconds.
CapCut is an editing application. Android and iPhone users.are using the app widely. TikTok users use the CapCut app to create and edit their videos. Users can also use the app to edit YouTube, Instagram, and social media videos and photos.
You can use the CapCut app on different devices. You can use the app on Android mobile, iPhone, Windows, and Mac. The app is a beginner-friendly editing app.
What Is Filter On The CapCut App?
The Filters on a video or picture change the mood, saturation, brightness, color, theme, light, and vibe according to the filter. CapCut presents a wide range of filters to change the image look.
There are seven sections for filters on CapCut. The sections of the filters are Food, Movie, Nature, Retro, B&W, and Style. There are filters offered for free to their customers. There are pro filters for CapCut premium users.
Filters are changes in the elements such as mood, light, theme, and vibe. You can also use the Effects option on the CapCut App to edit the image element.
You can use and check the filter effect on your image or video on the app. CapCut allows its users to play with the filter options. You can check and use the best filter for your project.
You can remove the filters if you feel the filter does not go well with your project. It might be tricky at times to choose a perfect filter. But you can remove it or use it again at any time.
How To Remove The Filter On The CapCut App?
To remove the filters on the CapCut app, try opening the app, going to the project, selecting the filter option, selecting the used filter tap, and removing the filter one by one.
Steps To Remove The Filter On The CapCut In Your Project:
- Open the CapCut app. Select the CapCut app on your mobile device to open the app.
- After opening the app, Select the project. Select the project in which you want to remove the filter.
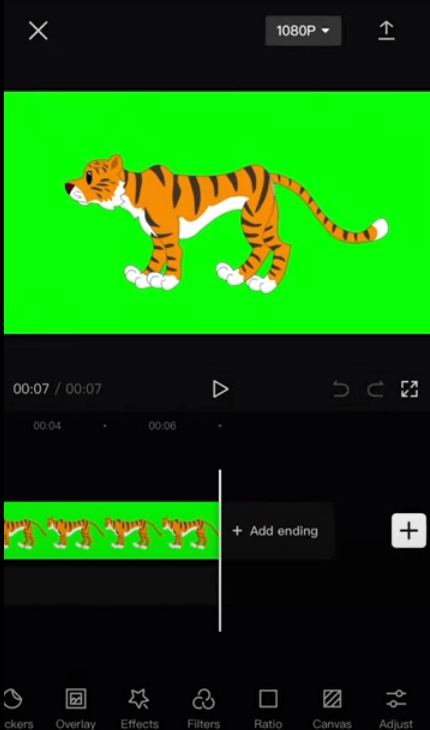
- Choose the Filter option on the CapCut app. The filter option is at the bottom of your mobile screen.

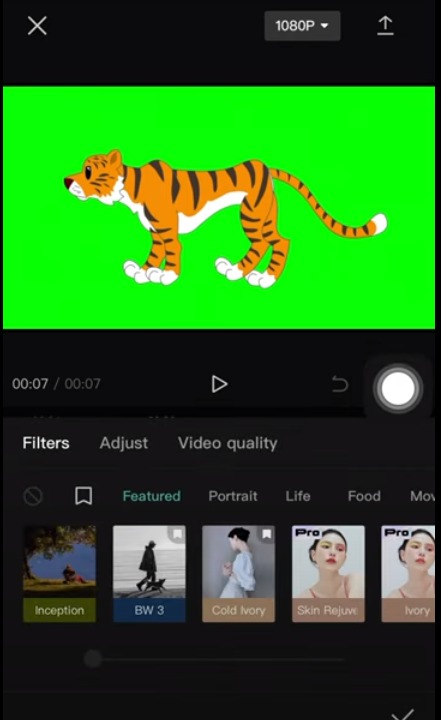
- Select the Used Filter option from the filter options. Choose the saved icon at the bottom of your screen to see the filters used in the video.
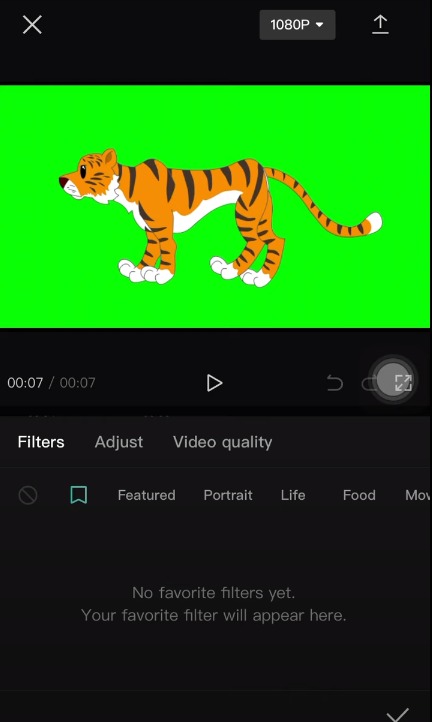
- Select the Filter you want to remove from the Video. Select the filters used in the video. It will remove the filter’s effect from the video. Select the filters one by one to remove them.
- Check whether you removed the filters from the clip. Remove all the filters you want in the particular clip. You can remove filters on other clips in your project. Follow the same steps to remove it.
Follow the steps to remove the filters from your project on the CapCut app. If you use different filters for each clip, you can remove the filter by selecting the clip. Select the video clip in which you want to delete the filters.
You can remove the filters by selecting the back option on your project. The back option will remove the changes you made on your CapCut project. You can use this method to remove the filter instantly.
You can remove the filters in your project by following the steps mentioned in the article. Try following all the steps without skipping. It is a simple process to remove the filter.
If you want to remove the CapCut watermark on your projects, you can visit our article on ‘How To Remove CapCut Watermark For Free.’ It explains the steps for removing the Watermark on your video and image edited on the CapCut app.