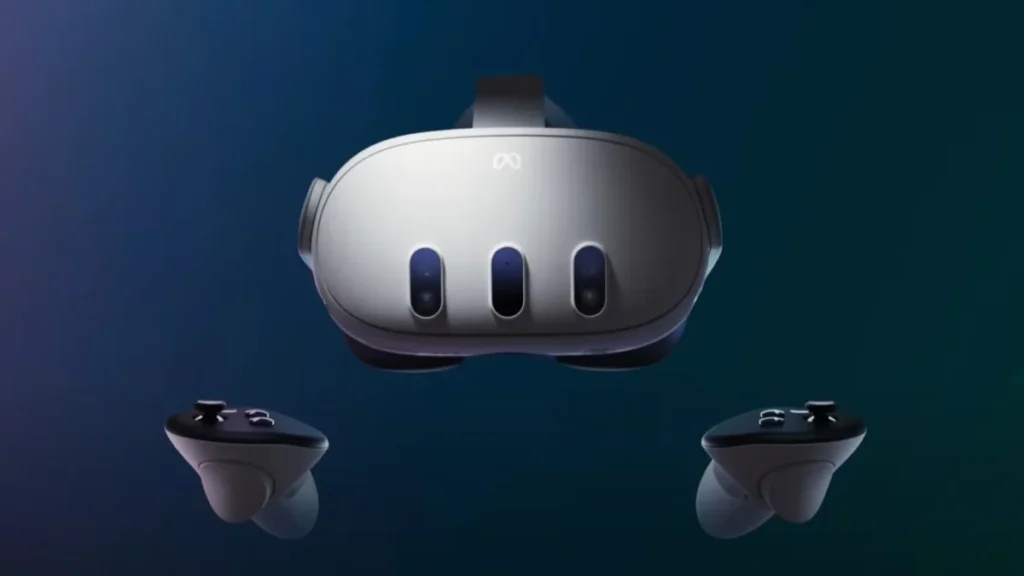
Are you facing difficulties getting your Meta Quest 3 to connect to your phone?
Some users have reported issues with connecting their Meta Quest 3 headset to their phones.
This can be frustrating, especially if you’re eager to dive into your favorite VR experiences.
In this article, we’ll explore some simple solutions to help you fix Meta Quest 3 not connecting to your phone.
How to Fix Meta Quest 3 not connecting to phone?
If you’re not able to connect your phone to Meta Quest 3 then you should make sure that the Bluetooth connection is stable, make sure that the app is up to date, and ensure that the Bluetooth and location service are turned on.

Down below, we have discussed the solution in step-by-step detail.
1. Check Wi-Fi Network Consistency
Firstly, ensure that both your Meta Quest 3 headset and your smartphone are connected to the same Wi-Fi network.
This is essential for the devices to communicate with each other during the setup process and for subsequent data syncing.
To ensure Wi-Fi network consistency between your Meta Quest 3 headset and your smartphone, follow these recommendations:
- Verify Connections: Check that both devices are connected to the same Wi-Fi network in their respective settings.
- Signal Strength: Move devices closer to the router for a stronger Wi-Fi signal.
- Forget and Reconnect: In Wi-Fi settings, forget the network and reconnect by re-entering the password.
- Restart Router: Power cycle your router to refresh the network.
- Reduce Interference: Eliminate physical and electronic interference near both devices and router.
- Switch Wi-Fi Bands: If available, switch between 2.4GHz and 5GHz bands on your router.
2. Restart The Devices
Sometimes, a simple restart can fix a myriad of electronic issues.
Try restarting both your Meta Quest 3 headset and your smartphone.
This can clear any temporary software glitches that might be preventing them from connecting.
3. Update the App
Ensure that your Meta Quest app is updated to the latest version.
If you do not see an option to add Quest 3 in your app, update the app, fully close it, and then reopen it to try adding the headset again.
4. Manage Multiple Users
If your headset is shared among multiple users, you may need to log out of the Meta Quest app and then log back in.
This step ensures that the app is correctly configured for the current user, which can help with connectivity.
Here are the steps to manage multiple users:
- Launch the app on your smartphone.
- Tap on your profile picture or the settings icon to access your account options.
- Select the log-out option to disconnect your account from the app.
- After logging out, sign back in with the credentials of the current user.
- Follow in-app instructions to reconnect the Meta Quest 3 headset.
5. Enable Bluetooth and Location Services
Make sure that Bluetooth is turned on, as it’s necessary for pairing the two devices.
Additionally, enable Location Services on your phone, as some apps require this to connect to hardware devices
Here are the steps to Enable Bluetooth and Location Services:
For Android:
- Bluetooth:
- Go to Settings > Connected devices.
- Tap on the Bluetooth toggle to turn it on.
- Location Services:
- Go to Settings > Location.
- Tap on the toggle to enable Location Services.
For iOS:
- Bluetooth:
- Go to Settings > Bluetooth.
- Toggle the Bluetooth switch to the on position.
- Location Services:
- Go to Settings > Privacy & Security > Location Services.
- Toggle the Location Services switch to the on position.
6. Contact Oculus Support

If none of these steps work, it may be time to contact Oculus Support for further assistance.
Reach out through the provided contact methods for personalized assistance.
