Are you experiencing issues with your Xfinity xFi Pods and think a reset might be the solution?
xFi Pods are mesh network extenders designed to work with your Xfinity gateway to provide a seamless internet connection throughout your home. If these pods are not performing as expected, resetting them can help to clear any technical glitches and restore their functionality.
In this article, we’ll guide you through the steps to reset your xFi Pods effectively.
How To Reset Xfinity xFi Pods?
To Reset Xfinity xFi Pods: Unplug Pod > Wait 30 seconds > Replug > Watch for light > Check connection.
Down below, we have discussed these in step-by-step detail.
Step 1: Remove xFi Pod From Xfinity App
First remove the xFi pod, that you want to reset, from Xfinity app.
- Open the “Xfinity xFi app” on your mobile device.
- Tap on ‘‘Network’‘ at the bottom of the screen.
- Choose the Pod that you want to remove from the list of connected devices.
- Tap on ‘‘Remove Pod’‘ you want to remove and disconnect it from your network.
Step 1: Disconnect the xFi Pod
Then, simply unplug the xFi Pod from its power source. This action will power down the Pod and clear its current state, which can resolve temporary glitches.
Step 2: Wait for 30 Seconds
After unplugging the Pod, it’s important to wait for about 30 seconds. This brief interval ensures that the Pod’s internal systems can fully reset.
Step 3: Reconnect the xFi Pod
Next, plug the xFi Pod back into the power source. This will start the reboot process. At this point, the Pod will attempt to reconnect to your home network.
Step 4: Observe the Connection Process
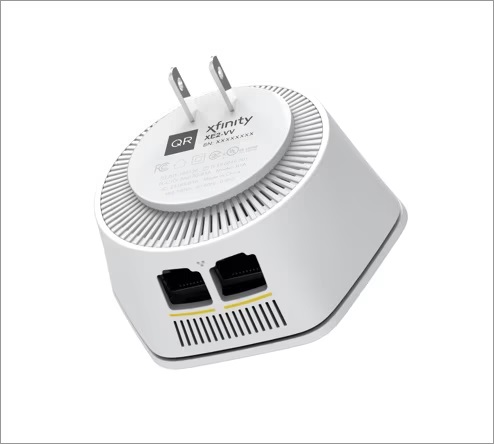
Allow a minute or two for the xFi Pod to establish a connection with your network. During this time, you should look for a small light on the front of the Pod. This light is an indicator that the Pod is powered and is in the process of connecting.
Once the light is on, your xFi Pod should be connected and ready to use. You can now check your device to ensure that the Wi-Fi signal has been restored or improved in previously problematic areas.
Step 5: Confirm the Pod is Online
Once the light is on, your xFi Pod should be connected and ready to use. You can now check your device to ensure that the Wi-Fi signal has been restored or improved in previously problematic areas.
Tips for Optimal Performance
Placement Matters
The location of your xFi Pods can significantly impact their performance. For the best results, place your Pods in a central, open area.
Avoid corners and closets which can limit their range. It’s also beneficial to position them off the floor, ideally on a shelf or table, to help the signal propagate more effectively.
Remember, Wi-Fi signals spread outwards and downwards, so higher placement can improve coverage.
Avoid Interference
Many household devices can interfere with your Wi-Fi signal.
Devices such as microwaves, cordless phones, Bluetooth speakers, baby monitors, and wireless security cameras can all cause disruptions due to the frequency they operate on.
Try to keep your xFi Pods at least a few feet away from such devices to minimize interference.
Regular Updates
Just like any other technology, your xFi Gateway and Pods receive software updates that can improve performance, add new features, and patch security vulnerabilities.
Use the Xfinity app to check for and install any available updates to ensure that your system is running the latest software version.
Staying updated is crucial for maintaining a secure and efficient network.
Here Are The Steps To Update Xfinity xFi Pods:
- Open the Xfinity app on your mobile device.
- Navigate to the “Account” or “Network” section.
- Look for any available updates for your xFi Gateway or Pods.
- Follow the prompts to install the updates if available.
- Regularly check for updates to keep your system secure and efficient.