Google WiFi Provisioner is an application designed to help users set up, manage, and troubleshoot their Google WiFi and Google Nest systems.
This app plays a critical role in ensuring that your home or office network is running smoothly and efficiently.
In this blog post, you will understand what is Google WiFi Provisioner and how it works.
What is Google WiFi Provisioner?
The Google WiFi Provisioner is not a standalone app; rather, it is a component within the Google Home app that is specifically designed for networks and devices, including naming your network, setting up a password, and configuring guest access and parental controls for Google WiFi and Google Nest WiFi networks.
The Google WiFi Provisioner found on Android devices is a system app that operates in the background as part of the Android operating system. Its primary function is to provision and manage Wi-Fi network configurations on the device.
However, Google has moved to update the app independently through the Google Play Store. It allows the provisioner to receive updates without the need for a full system update to Android, which can streamline the process of maintaining and improving the app’s functionality.
How Does Google WiFi Provisioner Work?
- Your Google Wifi Provisioner allows your phone to detect nearby Google Wifi devices during the initial setup and when managing your network.
- It pairs your mobile device with the Google WiFi Point by scanning a QR code or entering a setup key.
- Once paired, the app will transfer your Wi-Fi network details and preferences to the device, effectively bringing it online.
- Google Provisioned also help you to check whether the devices are seamlessly connected and configured for optimal performance.
What Are The Features And Benefits Of Using Google WiFi Provisioner?
The main benefits of using the Google WiFi Provisioner app include:
- Streamlined Setup: The Google Wifi Provisioner simplifies the network setup process, guiding you with straightforward steps.
- Enhanced Network Control: Gain greater control over your Wi-Fi settings, including device prioritization and access parameters, ensuring your network is tailored to your needs.
- Easy Setup: The app guides you through the process of setting up your Google WiFi or Google Nest network, making it straightforward for those who may not be technically inclined.
- Network Management: You can manage your network settings directly from the app, such as changing your WiFi name or password, setting up guest access and Adjusting device prioritization.
Do You Need Google WiFi Provisioner?
If you have a Google WiFi or Google Nest system and want an easier way to manage your network, this app is certainly beneficial.
Moreover, If you set up smart control devices in your house such as automatic lights, door locks, security cameras, TVs, Smart gadgets or multiple WiFi units Google Provisioner will be a good option to go with.
How To Configure Google WiFi Provisioner?
Google WiFi Provisioner will install automatically with the Google Home app. Without the Google WiFi provisioned component you cannot install or manage WiFi network devices.
Step-by-step guide on how to set up your network using the Google WiFi Provisioner functionality within the Google Home app:
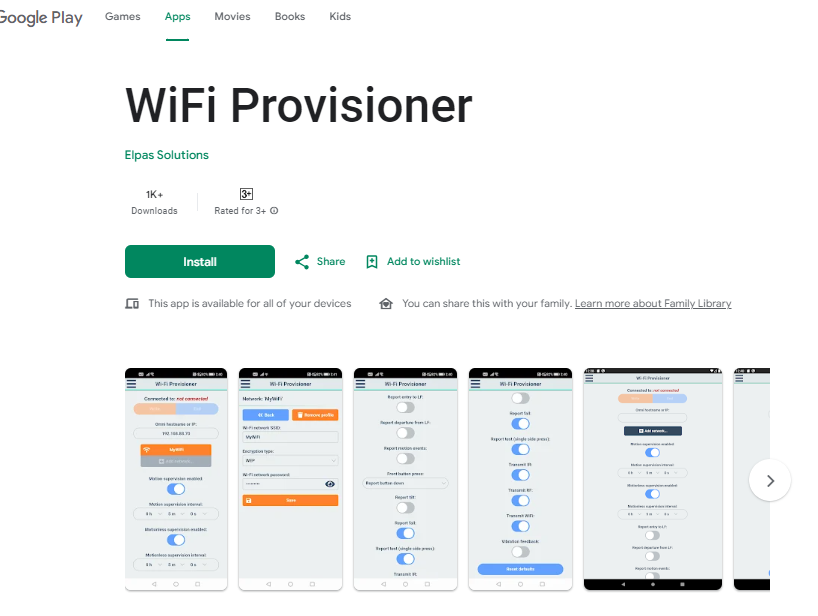
- Download the Google Home App: Install the Google Home app on your smartphone or tablet from the Google Play Store or the Apple App Store.
- Create or Log In to Your Google Account: Open the app and sign in with your Google account. If you don’t have one, you’ll need to create an account.
- Turn on WiFi: Ensure that the WiFi on your mobile device is turned on, as it will need to connect to the Google WiFi or Nest WiFi system during the setup process.
- Plug in Your Google WiFi Device: Connect your Google WiFi point or Nest WiFi router to the power outlet with an Ethernet cable from your modem. Wait for it to power up and the light to start pulsing in the front panel of the device.
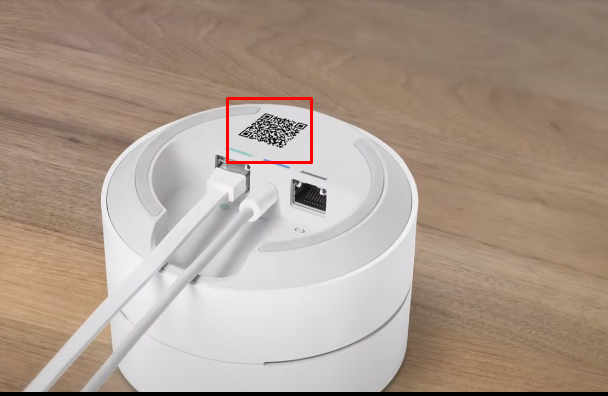
- Connect to the Google WiFi Device: Follow the in-app instructions to find your device. The app may use Bluetooth or a QR code on the bottom of the WiFi point to connect to it.
- Configure Your Network Using Google Provisioner: Once connected, the app will guide you through naming your WiFi network and setting a secure password.
- Open the “Google Home” app.
- Tap the “+” icon to add a new device.
- Select “Set up device” and choose “New devices”.
- The app will search for devices. Make sure your phone or tablet is connected to the same Wi-Fi network that you want your new device to connect to.
- Once the app finds your device, select it and follow the on-screen instructions to connect.
- Use your phone’s camera to scan the QR code on your WiFi point when prompted by the app.
- Set Up Your Network:
- During the setup process, you’ll be prompted to name your device and choose which room it belongs to for easy management.
- You may also be asked to connect the device to various services, such as linking your music streaming accounts or setting up voice match.
- If you have additional points, the app will guide you through setting them up.
- The app will connect your devices to the network and perform any necessary updates.
- Use the Google Home app to adjust settings, share your WiFi password, set up guest networks, and prioritize devices.
- Add Additional Points (if applicable): If you have additional Google WiFi points or Nest WiFi points, the app will guide you through setting these up to extend your network coverage throughout your home.
- Finalize Setup: After all your points are connected, the app will perform updates if necessary and finalize the network setup.
- Manage with Google Home: With your network up and running, you can use the Google Home app to manage settings, share your WiFi password, set up guest networks, prioritize devices, and more.
How To Manage Network Settings With Google WiFi Provisioner?
Through the Google WiFi Provisioner system, you can manage various network settings for your Google WiFi system. Which can be:
- To Set up a guest network for visitors Using Google WiFi Provisioner:
- Open the Google Home app and click on Settings.
- Look for a section labelled “Guest Network,” “Guest Access,” or something similar.
- Enable the Guest Network feature and type the “Network Name (SSID)” for your guest network. This is what guests will see when they search for Wi-Fi networks.
- Set a “password” for the guest network to ensure it is secure.
- Once you’ve configured the guest network to your liking, be sure to save or apply the changes.
- Use a device that’s not currently connected to your main Wi-Fi network, search for the new guest network SSID you created, and try connecting to it using the password you set.
2. To Adjust The device prioritization Using Google WiFi Provisioner:
- Open the Google Home app, and tap on the Wi-Fi icon.
- Scroll down past the ‘Devices’ section.
- Tap on ‘Set Priority Device,’ where you can select which device you would like to have prioritized on your network.
- After selecting the device, decide how long you want it to have priority. You can typically choose from options like 1 hour, 2 hours, 4 hours, or until a specific time.
- Confirm your settings, and the Google Home app will prioritize that device for the specified duration.
- You can check the status of your prioritized device within the Google Home app and remove the priority settings if needed.
3. To Modify The Wi-Fi network names and passwords Using Google WiFi Provisioner:
- Make sure you have the Google Home app installed on your smartphone or tablet. Open the app.
- Tap on “Wi-Fi” to access your network settings.
- In the “Wi-Fi” section, tap on the gear icon or “Settings” to access more options.
- Look for the network name (SSID) or password options. Tap on them to make changes.
- To change the network name, select the SSID field, and enter the new name you want for your Wi-Fi network.
- To change the password, select the password field and enter a new, secure password.
- After entering the new SSID and password, save your changes. There may be a “Save” button to press, or the changes may save automatically after editing.
- Reconnect to WiFi using the new SSID and password you’ve just set.