Setting up a VPN on a Starlink router can enhance security and privacy for users accessing the internet through the Starlink satellite network.
By establishing a secure connection to a VPN server, users can safeguard their online activities from potential threats and maintain anonymity while browsing.
In this article, we will explore the step-by-step process of setting up a VPN on a Starlink router, including the various methods and compatible VPN services available for seamless integration.
How To Set Up VPN on Starlink Router
While it is not possible to set up a VPN directly on the Starlink router, there are a few workarounds that you can use to secure your internet connection with a VPN.
1. Use a VPN Router To Bypass
One option is to use a second router that supports VPN. You can connect the second router to the Starlink router and set up the VPN on the second router. This way, all devices connected to the second router will be secured with the VPN.
However, keep in mind that using a VPN on a router may reduce your bandwidth.
Here are the steps you can use to bypass using a VPN:
- Connect an Ethernet cable from the LAN port of the primary router to the WAN port of the secondary VPN router
- Configure the VPN connection on the secondary router by following the steps provided by your VPN provider. The exact steps to set up a VPN on a VPN router will vary depending on the brand or model.
- Connect devices like computers, phones, gaming consoles, smart devices etc. to the secondary VPN router either via WiFi or by Ethernet.
- All internet traffic from devices connected to the secondary VPN router will now be secured by the VPN connection configured on that router.
VPN Routers Which Support Starlink Router
There are a few highly recommended VPN routers that can be used in conjunction with a Starlink router to add a VPN layer of security and privacy:
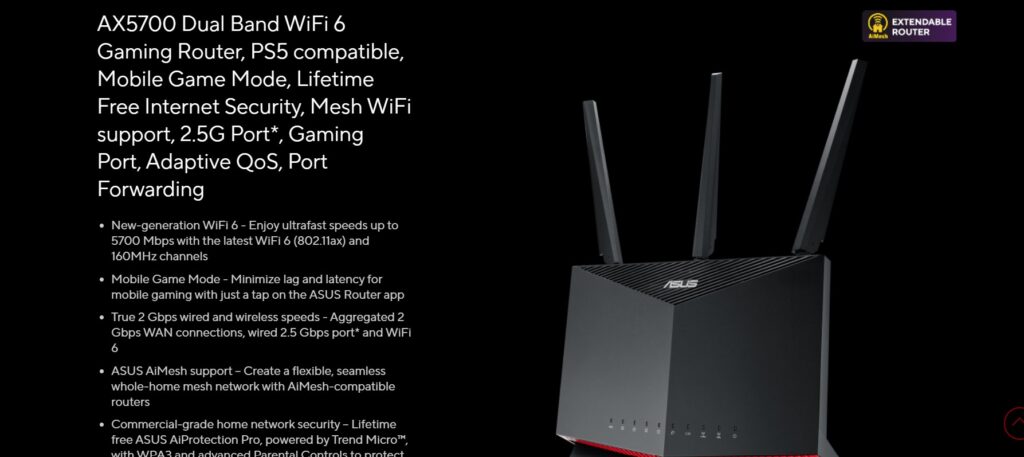
- Asus RT-AX86U Router – Asus makes some of the best VPN routers on the market and the RT-AX86U is a top choice for Starlink. It supports all major VPN protocols and has excellent speeds even when the VPN is enabled.

- Netgear Nighthawk XR1000 Router – Another high-performance option, the Nighthawk XR1000 easily handles VPN traffic while still delivering fast speeds. It has advanced security features and works seamlessly with all VPN services.
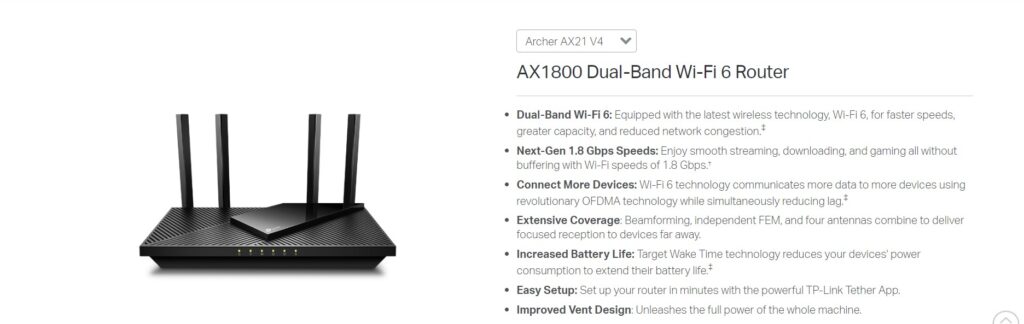
- TP-Link Archer AX21 Router – An affordable choice, the Archer AX21 still provides strong WiFi coverage and speeds. It allows OpenVPN, L2TP and PPTP connections to be configured for whole-home VPN protection.
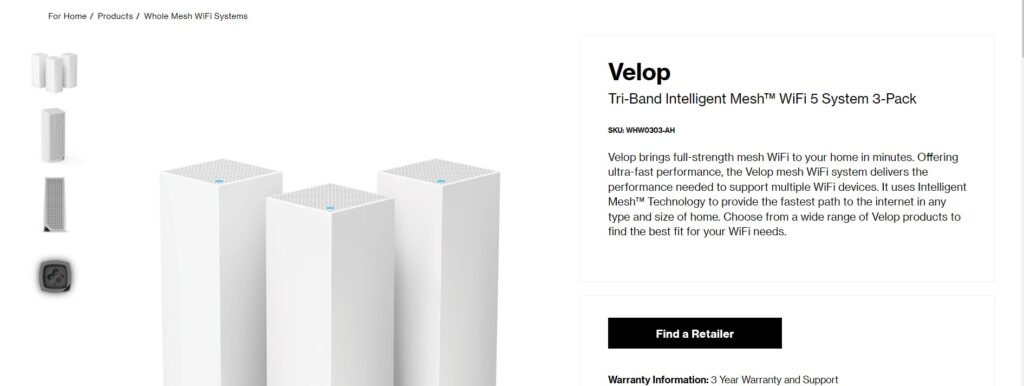
- Linksys Velop Mesh System – For larger homes, the Linksys Velop Mesh System supports VPN at the router level. Its tri-band technology minimizes speed loss even with multiple devices using the VPN simultaneously.
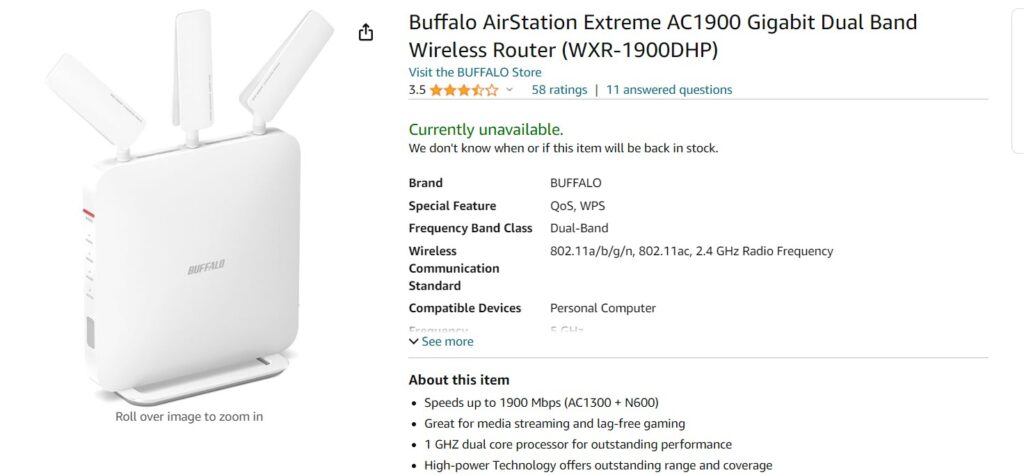
- Buffalo WXR-1900DHP Router – Buffalo routers are known for reliable VPN performance. The WXR-1900DHP can handle OpenVPN, IKEv2 and L2TP/IPSec protocols and ensures fast connections throughout the home.
Any of these routers can be connected to the Starlink router via an Ethernet cable to add a dedicated VPN tunnel for all networked devices in the home.
2. Download A VPN On Individual devices
Another option is to set up the VPN on individual devices connected to the Starlink router.
You can download and install a VPN service on each device and connect to the VPN when you need to secure your internet connection.
This method gives you more control over which devices are secured with the VPN and may result in better performance compared to using a VPN on a router.
Here are the steps to set up a VPN on individual devices connected to the Starlink router:
- Download a VPN app from your VPN provider on each device you want to secure. Popular VPN providers include ExpressVPN, NordVPN, Surfshark etc.
- Install the VPN app and open it on your device: The app will guide you through login and server selection.
- Once logged in, toggle the VPN switch “ON” in the app to establish a secure VPN connection.
- Your internet traffic is now secured and filtered through the VPN. You can use the internet as normal with the VPN active.
- To disable VPN, simply toggle the switch in the app to “OFF“. Internet will now be unsecured.
- Repeat steps 2-5 for each additional device you want to protect with the VPN.
3. Use DNS Service
Finally, you can use a dynamic DNS service to automatically update your VPN configuration with the current IP address of your Starlink connection.
This way, you can always connect to your VPN server even if your IP address changes.
how to set up DNS on starlink router?
To set up DNS on your Starlink router, you have two options: you can either use the Starlink app or a web browser. Both methods are straightforward and easy to follow.
Steps To Change DNS Using the Starlink App:
- Connect to your Starlink Wi-Fi network and log in to your Starlink account in the app.
- Tap on “SETTINGS” on the home screen.
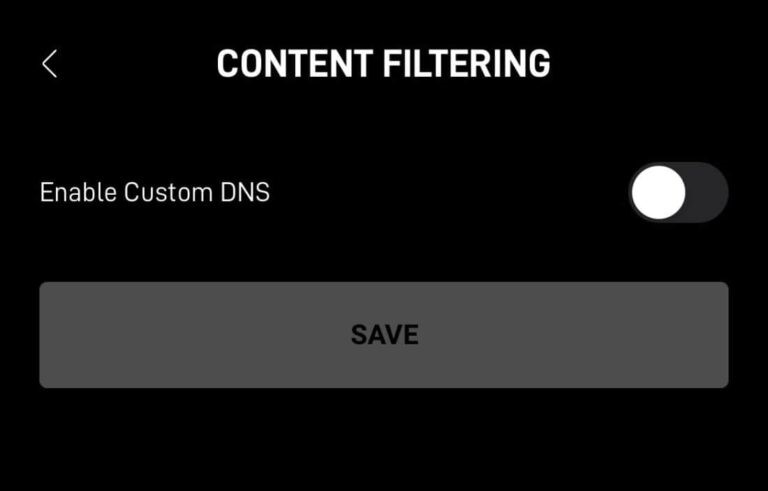
- In the advanced router settings, you can enable custom DNS.
Step To Change DNS Using a Web Browser:
- Connect a device to your Starlink home network.
- Open a web browser and enter the following IP address: http://dishy.starlink.com/ or http://192.168.100.1.
- You can then access the router settings and enable custom DNS.