Are you trying to rotate a picture in your photo library on Apple Vision Pro but can’t seem to get it right?
Whether you’ve snapped a photo that’s come out sideways or you just want to change the orientation of an image for better viewing, rotating pictures is a basic yet essential editing task.
In this article, we’ll show you the simple steps to adjust your images to the perfect angle directly within your Apple Vision Pro’s photo library.
How to rotate a pic in photo library on Apple Vision Pro?
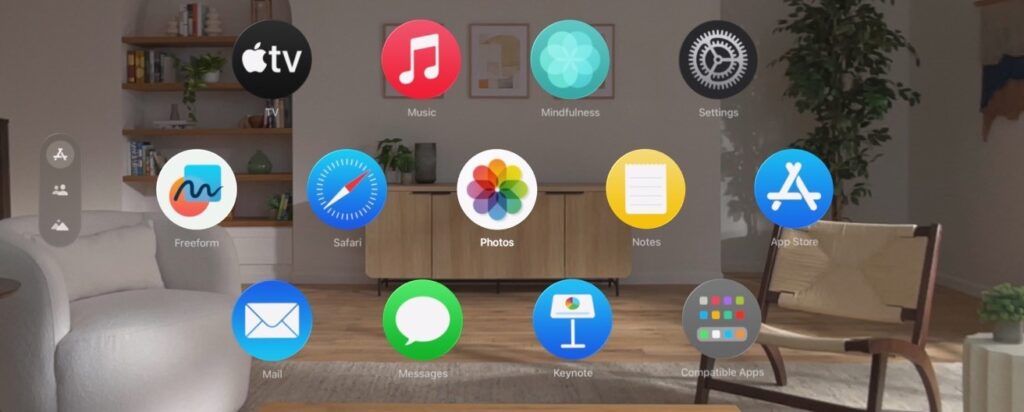
Step 1: Open the Photos App
Tap on the Photos app icon on your home screen to open the app
Step 2: Select the Photo
Browse through your photo library and tap on the photo you wish to rotate.
Step 3: Enter Edit Mode
Once the photo is open, tap on the “Edit” button located in the upper right corner of the screen.
Step 4: Access the Crop Tool
In edit mode, tap the crop icon, which typically looks like two right angles intersecting or a square with arrows indicating rotation. This icon is usually located at the bottom of the screen.
Step 5: Rotate the Photo
In the crop mode, you’ll see a rotate icon, often represented by a curved arrow. Tap this icon to rotate your photo 90 degrees clockwise.
If you need to rotate it more, keep tapping until it’s at the desired orientation.
Step 6: Save Your Changes
Once you’re satisfied with the rotation, tap the “Done” button in the bottom right corner to save the changes to your photo.