Are you staring at a pairing screen on your Oculus Quest 2 that just won’t budge?
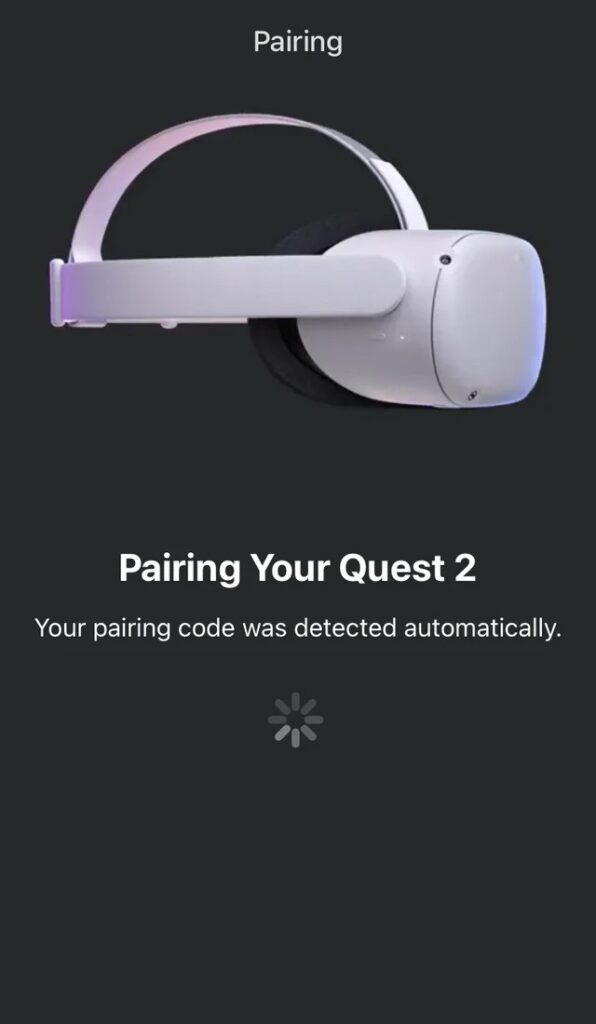
This issue “Pairing Your Quest 2, Your pairing code was detected automatically“can often be attributed to connectivity problems or minor glitches within the system.
In this guide, we’ll walk you through the troubleshooting process to help you resolve the problem and get your Oculus Quest 2 up and running again.
How to Fix Oculus Quest 2 stuck on the pairing screen?
If you are stuck on pairing on Oculus Quest 2, then you should make sure that the device is well connected to Bluetooth or Wi-Fi, try unpairing and repairing the headset, and ensure that the device is up to date.
Down below, we have discussed the solution in step-by-step detail.
1. Restart Your Devices
A simple yet often effective method is to restart both your Oculus Quest 2 headset and your mobile device.
This can clear any temporary glitches that may be causing the problem.
To restart your headset, press and hold the power button on the right side to open the power menu, then select ‘Restart’.
2. Check Your Bluetooth and Wi-Fi Connections
Ensure that Bluetooth is turned on your mobile device and that both the headset and the phone are connected to the same Wi-Fi network.
Interference or weak signals can sometimes cause connectivity issues.
3. Unpair and Repair the Headset
Unpairing and repairing the headset can resolve the issue of being stuck on the pairing screen by refreshing the connection between the Oculus Quest 2 and your mobile device.
To unpair and repair the Oculus Quest 2 headset, you can follow these general steps:
- Turn on your Oculus Quest 2 and put on the headset.
- Go to “Settings” > “Device” > “Bluetooth” and select the device you want to unpair.
- Select “Forget Device” to unpair the device from your headset.
- To repair the headset with a new device, follow the manufacturer’s instructions for the specific device you want to pair with your Oculus Quest 2.
4. Update Your Oculus Software
Outdated software can lead to compatibility issues and bugs, including the “stuck on the pairing screen” error.
Ensure that your Oculus software is up to date. You can check for updates in the settings menu of your Oculus device or companion app.
Here are the steps to update Oculus Quest 2:
- Put on your headset and open the Settings menu.
- Select ‘System‘, then ‘Software Update‘ from the left menu.
- If there’s an update available, you should see an “Update Now” button. Select it to begin the update process.
5. Reinstall the Oculus App
If you’re using Oculus with a companion app on your phone and encountering this error, reinstalling the app can help.
Uninstall the Oculus app from your phone, then reinstall it from the app store. Log back into your account and reconnect your headset.
Here are the steps to Reinstall the Meta Quest app on your Android:
- Go to your device’s “Settings.”
- Tap on “Apps” or “Application Manager” (this might differ depending on your device).
- Find the Meta Quest app in the list and select it.
- Tap “Uninstall.”
- Open the Google Play Store on your device.
- Use the search function to find the Meta Quest app.
- Select the app and tap “Install.”
- Once installed, open the app and log in with your Meta account.
Here Are The Steps To Reinstall the Meta Quest App On Your iOS:
- From your iPhone’s home screen, locate the Meta Quest app.
- Press and hold the app icon until a menu appears or all the icons start to jiggle.
- Tap “Remove App” or the “X” icon to uninstall the app.
- Open the App Store on your iPhone.
- Use the search function to find the Meta Quest app.
- Tap the cloud icon or “Get” to reinstall the app.
- Once the app is reinstalled, open it and log in with your Meta account.
6. Factory Reset the headset
If the problem persists, a factory reset might be necessary, although this will erase all data on the device.
To factory reset your Meta Quest, there are two methods you can use. The first method involves using the headset itself. Here are the detailed steps:
- Turn off your Meta Quest headset.
- Simultaneously hold down the power and volume down buttons until the boot screen appears on your headset.
- Use the volume buttons on the headset to navigate the boot menu.
- Highlight the “Factory Reset” option using the volume buttons and press the power button to select it.
- Subsequently, highlight “Yes” and press the power button to confirm and initiate the factory reset process.
The second method is to use the Meta Quest mobile app. Here are the steps:
- Open the Meta Quest mobile app on your smartphone.
- Tap on “Devices” located in the bottom menu of the app.
- Select the specific headset that you want to factory reset.
- Tap on “Advanced Settings” within the headset menu.
- Then, tap on “Factory Reset.”
- Finally, tap on “Reset” to confirm and initiate the factory reset process.
7. Contact Meta Support

If none of the above steps work, it may be time to contact Meta support for assistance.
There may be a more complex issue at play that requires professional help.