Have you recently replaced the batteries in your Meta Quest 3 controller only to find that it’s not working properly?
If you’ve replaced the batteries in your Meta Quest 3 controllers and find that they’re not working, it can be a frustrating experience.
In this article, we’ll help you troubleshoot and fix the problem of your Meta Quest 3 controller not working after a battery replacement.
How to Fix Meta quest 3 controller not working after battery replacement?
If you are facing an issue with the controller after replacing the battery then you should check the batter compartment, ensure that the software is up to date and Re-Pairing the Controller.
Down below, we have discussed the solution in step-by-step detail.
1. Check the Battery Compartment
First, ensure that the battery compartments and terminals are clean and free of any dust, dirt, or damage.
Dirt and debris can prevent proper contact between the batteries and the terminals, which can lead to power issues.
2. Ensure Proper Battery Orientation
It might seem obvious, but it’s always worth double-checking that the batteries are inserted correctly with the positive and negative ends matching the controller’s battery compartment indications.
3. Perform a Hard Reset
Sometimes, a hard reset on the controllers can resolve the issue.
To do this, remove the batteries from the controller for at least 30 seconds before reinserting them. This can help reset the controller’s internal hardware.
Steps to perform a hard reset on the Meta quest 3 controller after battery replacement:
- Power off the Meta Quest 3 headset.
- Press and hold the power button for 10-15 seconds until “Restart” option appears.
- Release the power button when you see “Restart“.
- Use the volume buttons to select “Restart“.
- Wait for the headset to finish rebooting fully.
- Repair the controller through the Devices menu or Oculus app. Test the controller functions once paired again.
4. Use the Correct Batteries
Make sure you’re using the right type of batteries. The Meta Quest 3 controllers are designed to work with AA batteries.
If you’re using rechargeable batteries, ensure they are fully charged before use.
5. Check for Firmware Updates
Ensure that your Meta Quest 3 headset is up to date with the latest firmware. Sometimes, updates can include fixes for controller issues.
Here are the steps to check for and install updates on your Meta Quest 3 headset:
Using the Meta App:
- Open the Meta app on your smartphone while ensuring that your headset is powered on.
- Select your headset and navigate to “Headset Settings.”
- Open “Advanced Settings” and select “Software Update” to check for the current software version. If a new version is available, a button to download the update will appear.
Using the Headset:
- Press the Meta logo on the right side of your controller to bring up the menu.
- Navigate to “Settings” and select “System.”
- Scroll down to “Software Update” and check for available updates. If a new version is available, you can initiate the update from this menu.
6. Re-Pair the Controller
If the controller is still not working, try re-pairing it with your Meta Quest 3 headset.
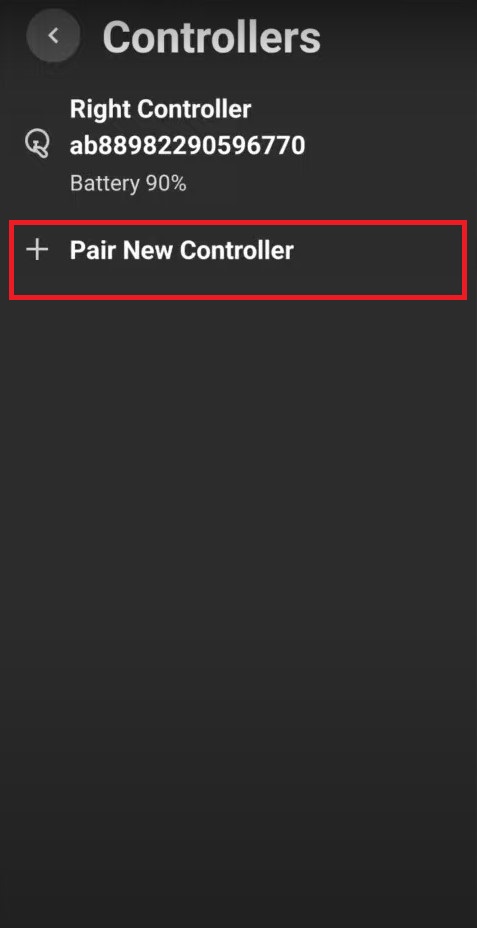
In the Meta Quest app, you should find an option to pair a new controller; follow the on-screen instructions to attempt re-pairing.
Here are the steps to re-pair the Meta Quest 3 controller:
- Turn on the Oculus Quest 2 headset.
- Go to Settings > Devices > Controllers > Pair New Controller.

- Select the left or right controller to pair it.
- Follow the instructions for the specific controller.
7. Contact Meta Support

If none of the above solutions work, it might be a hardware issue. In this case, reaching out to Meta Community Forums or Oculus Support for further assistance would be the next step.
