
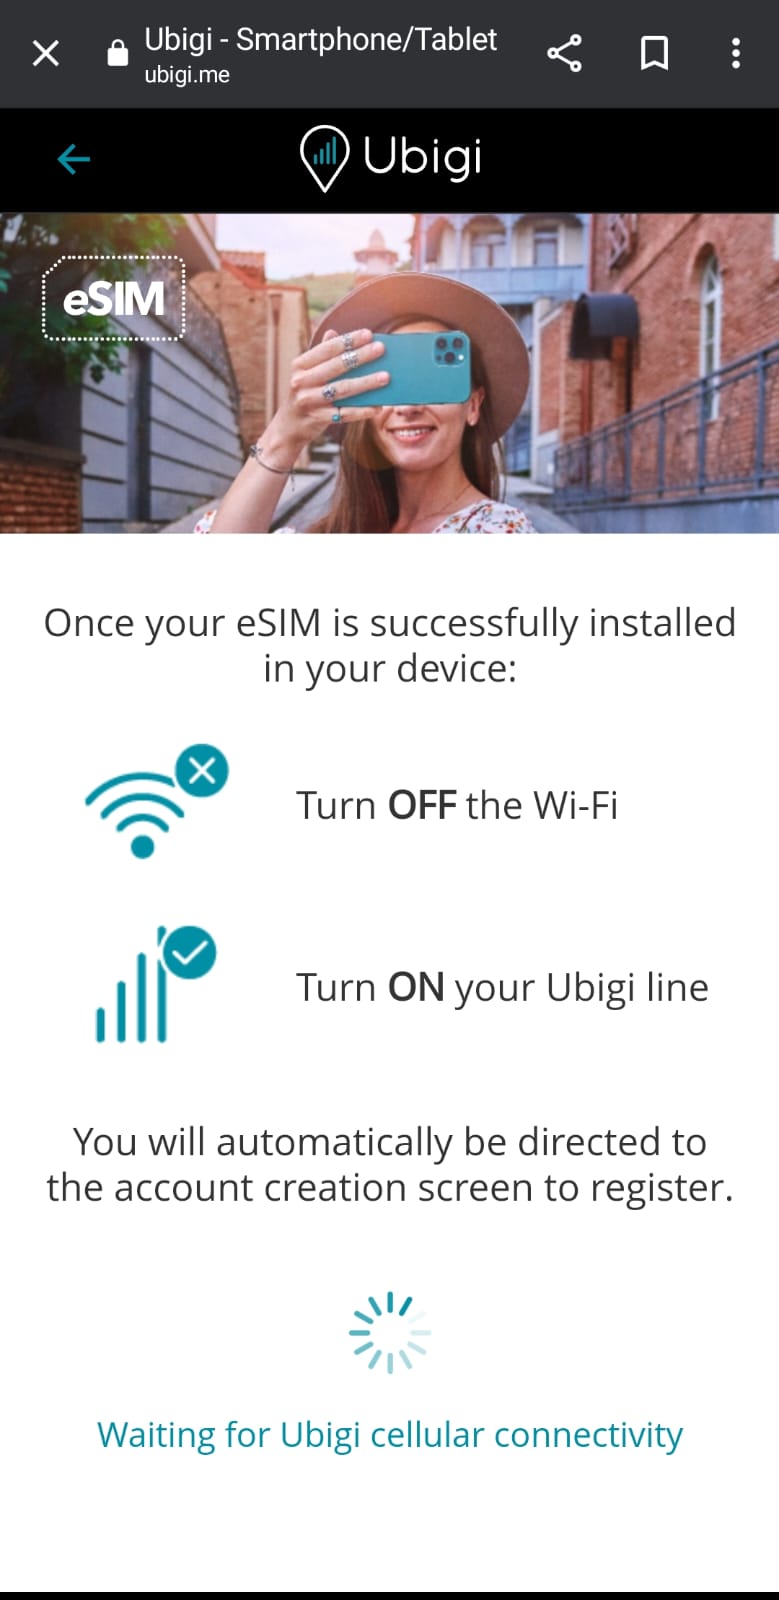
If you’ve encountered the frustrating “waiting for Ubigi cellular connectivity” message on your device, you’re not alone.
Many users have faced similar issues with their Ubigi eSIM profiles. Fortunately, there are several troubleshooting steps you can take to resolve this problem and get your Ubigi connectivity up and running smoothly.
How To Fix Ubigi Waiting For Ubigi Cellular Connectivity?
You should check network coverage, and initial connection time, try to activate 3G and LTE, enable airplane mode, and restart. Moreover, you may also initiate a manual network search, and check and activate roaming settings.
Below is a detailed explanation of all the above-mentioned fixes:
1. Check Network Coverage
Before proceeding with troubleshooting, it’s crucial to ensure that your current location is covered by Ubigi’s services.
Visit the Ubigi website or use their coverage map tool to confirm that you are within a supported area.
If your location is not covered, you may experience connectivity issues that are beyond the scope of device settings.
To use their coverage map tool to confirm that you are within a supported area:
- In the address bar of your web browser, type the URL for the Ubigi website. The Ubigi website address is typical “www.ubigi.com“.
- Once you are on the Ubigi website’s homepage, look for a section or link related to coverage information. This might be labeled as “Coverage Map”, “Check Coverage”, or “Coverage Information”.
- If there is a specific coverage map tool available, click on the corresponding link or button to access it. This may be prominently displayed on the homepage or within a dedicated section of the website.
- If the coverage map tool requires input, enter your specific location, address, or area of interest. Some tools may allow you to simply zoom in on the map to view coverage details for a particular region.
- Once your location is entered or selected, review the coverage map provided by Ubigi. This map should indicate the supported areas where Ubigi’s services are available.
- Pay attention to the color coding or legend on the coverage map to understand the level of coverage in your area. Green or blue areas often indicate strong coverage, while yellow or red areas indicate areas with limited coverage.
2. Allow Some Extra Time To Initial Connection
If this is your first connection with the eSIM, it’s important to allow a few minutes for the eSIM to establish a connection.
During the initial setup, the eSIM may require some time to synchronize with the network and complete the activation process.
Patience during this period is essential before attempting additional troubleshooting steps.
3. Try To Activate The 3G and LTE Connection Mode
Enabling 3G and LTE network modes provides compatibility with Ubigi’s network and ensures that your device can establish a connection using the available cellular technologies.
To ensure that both 3G and LTE (4G) network modes are activated on your device:
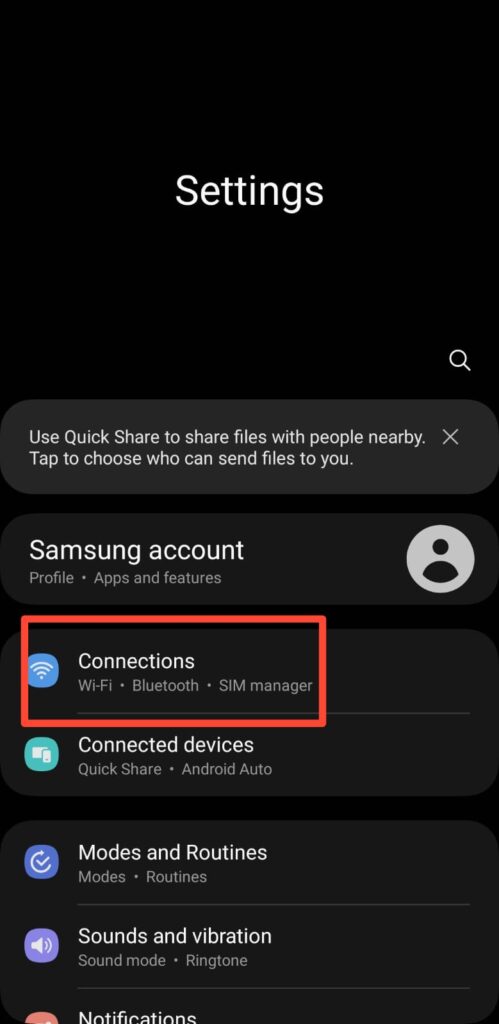
- Open the “Settings” app on your device.
- Navigate to “Connections” or “Network & Internet.”
3. Select “Mobile Networks” or “Cellular Networks.”

4. Locate “Network Mode” or “Preferred Network Type.”
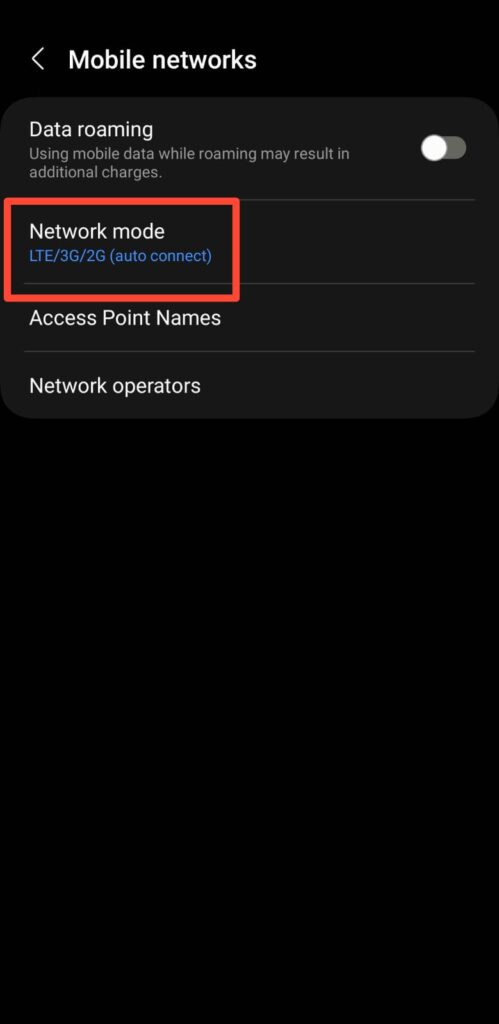
5. Choose the option that enables both 3G and LTE, such as “LTE/3G/2G (Auto)” or “LTE/3G/2G (Auto-connect).”
4. Enable Flight/Airplane Mode And Restart

If no network appears on your screen after the initial connection time, try activating “Airplane Mode” on your device to temporarily disable all wireless connections. After a few seconds, disable Airplane Mode to re-enable cellular connectivity.
Additionally, consider restarting your device to refresh the network settings and potentially resolve any temporary connection issues.
5. Initiate A Manual Network Search
For devices that support manual network selection, follow these steps:
- Navigate to the device’s settings and select “Network & Internet” or “Connections.”
- Choose the “Mobile Network” or “Cellular Network” option.
- Look for the “Search Networks” or “Choose Network” feature and initiate a manual search for available networks.
- From the list of available networks, select one of Ubigi’s local partners to establish a connection.
6. Check And Activate Windows 10, Windows 11 & Android Roaming Settings
For users of Windows 10, Windows 11, and Android devices, follow these steps to check and activate roaming settings:
For Windows 10 and Windows 11:
- Open Settings: Click on the “Start” button, then select “Settings” (gear icon).
- Navigate to Network & Internet: Select “Network & Internet” from the Settings menu.
- Access Cellular Settings: Click on “Cellular” to access cellular network settings.
- Activate Roaming: Toggle the “Data roaming” option to enable roaming settings.
For Android:
- Access Settings: Open the “Settings” app on your Android device.
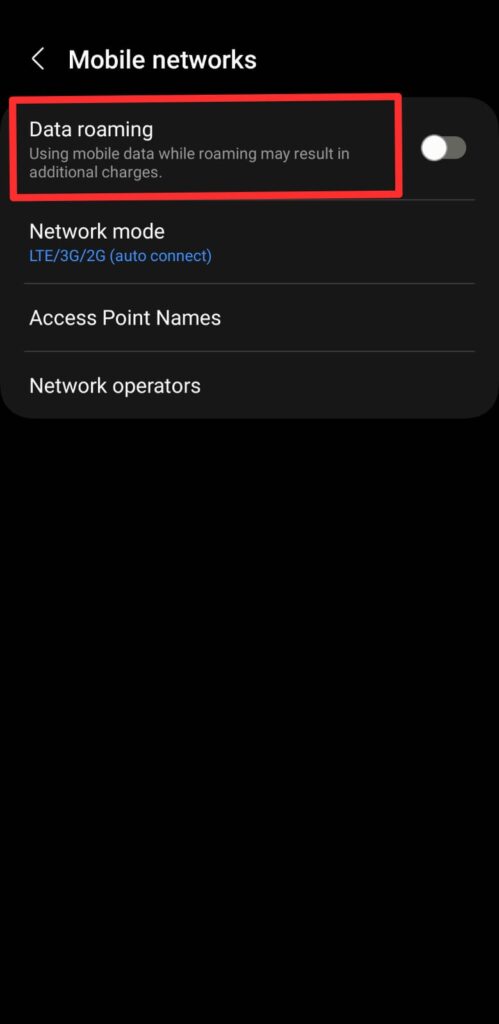
- Navigate to Mobile Networks: Select “Connections” or “Network & Internet” and then choose “Mobile Network” or “Cellular Network.”
- Enable Roaming: Toggle the “Data roaming” option to activate roaming settings.
Enabling data roaming is essential for maintaining connectivity, especially when using Ubigi’s services in different regions.