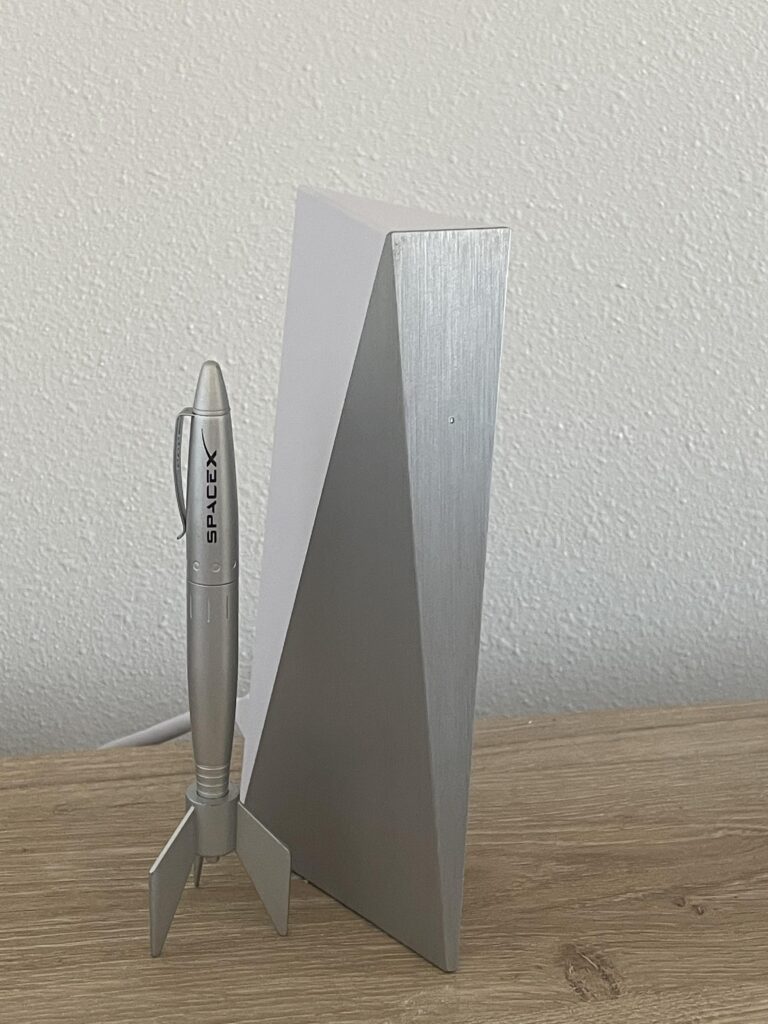
Are you facing issues with your Starlink mesh node not connecting?
If you are experiencing difficulties with your Starlink mesh node not connecting, we understand how frustrating this can be.
In this article, we will guide you through practical steps to troubleshoot and resolve this problem effectively.
How to Fix Starlink mesh node not connecting?
To resolve the issue with the Starlink mesh node, you should try restarting both devices and disabling WPA3 Security on the Starlink router.

Down below, we have discussed the solution in step-by-step detail.
1. Power Cycle Both Router and Mesh Node
When trying to resolve connectivity issues, sometimes the easiest solution is the most effective.
To get started, try power cycling both your Starlink router and mesh node.
This means turning them off, waiting for a few minutes, and then turning them back on. Doing this can reset any temporary issues that might be causing your connectivity problems.
2. Check Proximity to Primary Router
For optimal performance, ensure that your mesh nodes are evenly spread out within a certain range from the primary router.
The Starlink Mesh Getting Started guide suggests keeping nodes no more than one to two rooms apart, as they may not communicate effectively if placed too far apart.
3. Check for Firmware Updates
It’s important to keep your Starlink router and mesh nodes up-to-date with the latest firmware.
This helps to fix any issues with connectivity and even adds new features.
You can check for updates easily using the Starlink app, which automatically updates the firmware of your Starlink Mesh WiFi Routers (mesh nodes) and main router.
To update the firmware on your Starlink router, follow these steps:
- Open Starlink App: Access the Starlink app on your smartphone.
- Navigate to Settings: Go to the settings section within the app.
- Check for Updates: Look for an option to update the firmware and follow the prompts to install any available updates.
4. Disable WPA3 Security on Starlink router
If you’re having trouble connecting your devices to the Starlink mesh node, it could be because of compatibility issues with WPA3 security.
Some devices might not support this newer security standard, so you could fix the connection problem by switching to WPA2.
You can do this by changing the security configuration on your router through the Starlink app or web interface.
steps to Disable WPA3 Security on the Starlink router:
- Access the Starlink router settings through the Starlink app or web interface.
- Navigate to the Wi-Fi settings section.
- Locate the security options for your Wi-Fi network.
- Change the security protocol from WPA3 to WPA2.
- Save the changes and allow the router to restart if necessary.
- Reconnect your devices to the network using the new WPA2 security protocol.
5. Factory Reset Starlink Router
Performing a factory reset on your Starlink router can resolve deeper system issues by restoring it to its original settings and eliminating any custom configurations that may be causing problems.
This process will remove any potential errors in the router’s configuration that could be preventing the mesh node from connecting.
To perform a factory reset on the Starlink router:
- Flip the router to view the bottom side.
- Use a paper clip or small screwdriver to press the reset button.
- Wait for the router to reboot and connect to the new STARLINK Wifi network
6. Contact Starlink Support

If you’re having trouble with Starlink, you can contact their customer support for help.
