
Are you experiencing a black screen with audio on your Oculus Quest 2?
This glitch can interrupt your VR experience, but there are effective methods to troubleshoot and solve it.
In this article, we’ll guide you through the process of troubleshooting and resolving the black screen issue on your Oculus Quest 2.
How to Fix Oculus Quest 2 black screen with audio?
To fix the issue, you should check the proximity sensor, ensure that the device has sufficient charging and make sure that the device is up to date.
Down below, we have discussed the solution in step-by-step detail:
1. Give a Try To Hard Reboot
One of the simplest and most effective fixes is to perform a hard reboot of your Oculus Quest 2.
To do this hold the power button for 10 seconds to force a shutdown and restart.
This can often reset the device and clear up any issues that are causing the screen to remain black
2. Check proximity sensor
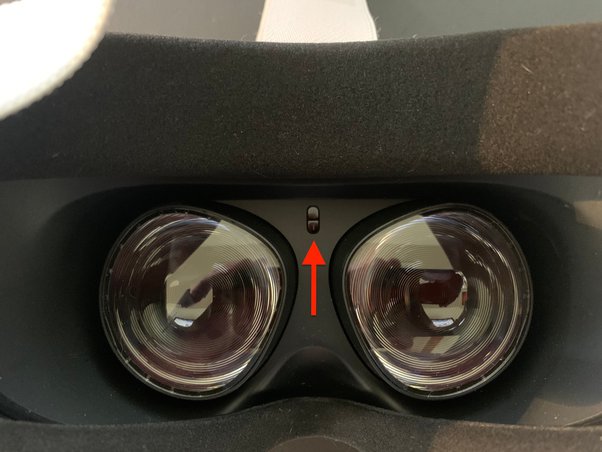
Make sure nothing is covering the proximity sensor between the lenses, as this can cause the screen to stay black.
The Oculus Quest 2 uses a proximity sensor located between the lenses to detect when the headset is being worn.
If this sensor is covered by dust, debris, or screen protectors, it may mistakenly think the headset is not in use and keep the screen turned off.
Therefore, it’s important to check and clear any coverings from the proximity sensor to ensure the screen can activate when the headset is worn.
3. Check the Battery
Ensure that your Oculus Quest 2 is fully charged.
It’s essential to regularly check the battery status and keep the device charged to prevent such issues.
Charging your Oculus Quest 2 to full capacity can help rule out battery level as the cause of a black screen with audio.
4. Check for Software Updates
Outdated software can sometimes cause display issues.
Ensure your Oculus Quest 2 is running the latest software version by checking for updates in the settings menu.
Steps for Updating Meta Quest Headset Software:
- Put on your headset, and from the universal menu, select “Settings.”
- Navigate to the “About” section to see if there are any updates available.
- If an update is available, you should see the option to “Download” or “Update.”
5. Factory Reset The Headset
If all else fails, a factory reset could be the last resort.
This will erase all data on the device and return it to its original state, which can often clear up persistent issues.
You can perform a factory reset through the Oculus app on your paired smartphone.
Make sure to back up any important data before doing this, as it will be lost during the reset process.
To factory reset your Meta Quest, there are two methods you can use. The first method involves using the headset itself. Here are the detailed steps:
- Turn off your Meta Quest headset.
- Simultaneously hold down the power and volume down buttons until the boot screen appears on your headset.
- Use the volume buttons on the headset to navigate the boot menu.
- Highlight the “Factory Reset” option using the volume buttons and press the power button to select it.
- Subsequently, highlight “Yes” and press the power button to confirm and initiate the factory reset process.
The second method is to use the Meta Quest mobile app. Here are the steps:
- Open the Meta Quest mobile app on your smartphone.
- Tap on “Devices” located in the bottom menu of the app.
- Select the specific headset that you want to factory reset.
- Tap on “Advanced Settings” within the headset menu.
- Then, tap on “Factory Reset.”
- Finally, tap on “Reset” to confirm and initiate the factory reset process.
6. Contact Oculus Support
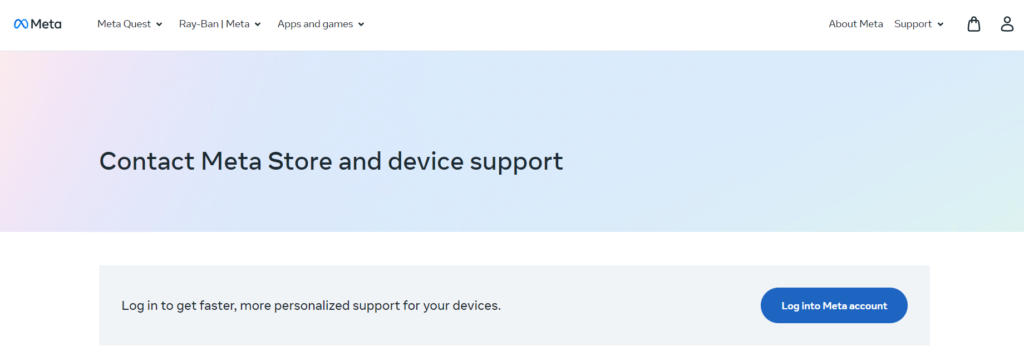
If you’ve tried all the above steps and your Oculus Quest 2 still displays a black screen with audio, it might be time to contact Oculus Support for further assistance.
There could be a hardware issue with your device that requires professional repair or replacement.