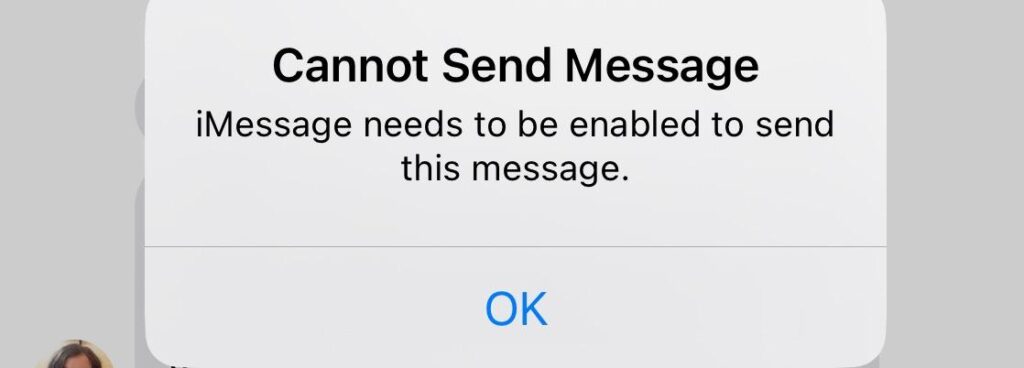
Are you experiencing issues with using iMessage on your device with a Ubigi eSIM?
Many users have encountered challenges when trying to use iMessage with Ubigi, but fret not, as we’ve got you covered.
In this comprehensive guide, we will explore the common issues faced when using iMessage with Ubigi and provide step-by-step solutions to help you resolve them.
How To Fix iMessage Not Working With Ubigi?
If your iMessage is not working with Ubigi, then you can select your email address or tap Apple ID, install Ubigi eSim, and activate Ubigi eSim. Moreover, you may also need to enable AT&T SIM and contact the Ubigi support team if nothing works.
Below is a detailed explanation of all the above-mentioned fixes:
1. Select Your Email Address Or Tap Apple ID
Selecting your email address or tapping on your Apple ID within the iMessage settings allows you to specify the email address associated with your iMessage account.
By selecting your email address or tapping on your Apple ID and choosing your email address within the iMessage settings, you can re-establish the connection and ensure that iMessage works as usual again.
This action essentially refreshes the association between iMessage and your email address, resolving any potential issues related to account identification and message delivery.
- Open the “Settings” app on your device.
- Scroll down and tap on “Messages” and then “Send & Receive“.
- Select your email address tap your Apple ID and then select your email address. This step can help re-establish the connection with iMessage.
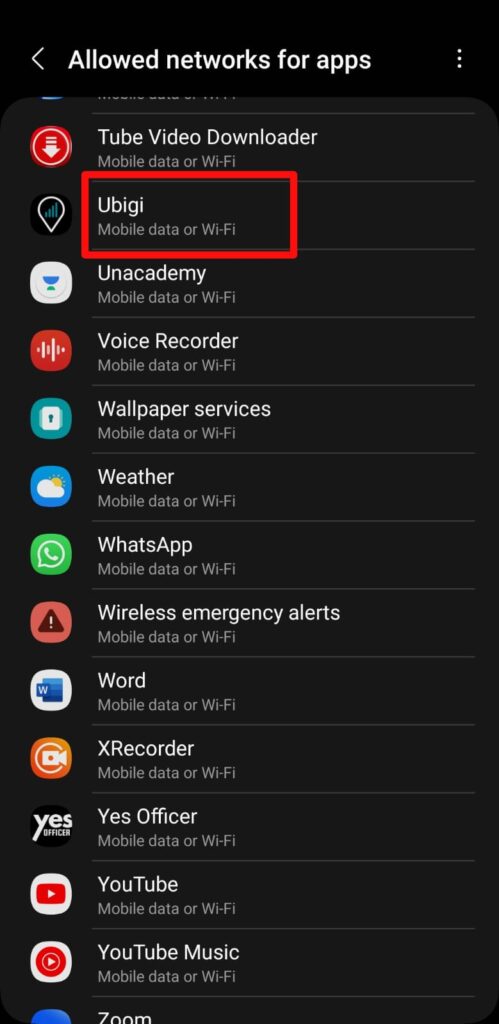
2. Install The Ubigi eSIM
Before you can use iMessage with Ubigi, you need to make sure you have installed the Ubigi eSIM on your device. Follow these steps to install the Ubigi eSIM:
- Open the Settings app on your iPhone.
- Tap on “Mobile Data“.
- Tap on “Add Data Plan“.
- Scan the QR code that you received from Ubigi or enter the activation code manually.
- Follow the on-screen instructions to complete the installation process.
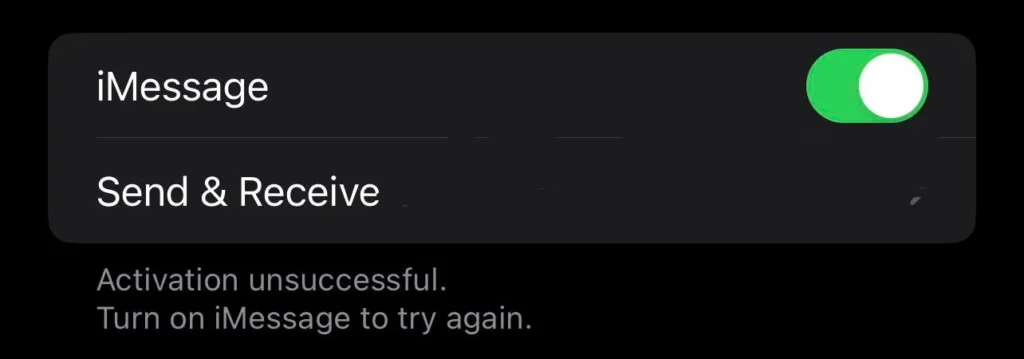
3. Activate The Ubigi eSIM Properly
To ensure that iMessage works effectively with your Ubigi eSIM, it’s important to have both your home SIM and eSIM activated.
After installing the Ubigi eSIM, you need to activate it to use it as your primary data plan. Follow these steps to activate the Ubigi eSIM:
- Open the Settings app on your iPhone.
- Tap on “Mobile Data”.
- Tap on “Mobile Data Options”.

4. Select “Ubigi” as your primary data plan.
5. Follow the on-screen instructions to activate the Ubigi eSIM.
4. Enable AT&T SIM
To ensure proper functionality of iMessage with your Ubigi eSIM, it’s important to have your AT&T SIM enabled.
You can optimize your settings by turning off data roaming for AT&T and then locking the AT&T SIM using the SIM PIN (settings -> cellular -> AT&T -> sim pin -> 1111).
After completing these steps, restart your phone and do not enter the SIM PIN for AT&T when prompted during the startup process.
By doing so, your AT&T SIM won’t be connected or incur charges, but it will remain enabled, thereby ensuring that iMessage is not disabled.
If still, nothing works then you may try contacting Ubigi customer support by clicking here. They will guide you with better options.