Are you also wondering how to use Photoshop’s new AI tool Generative Fill for free?
Adobe Photoshop is a popular picture editing tool by computer software giant Adobe.
For many years now, Photoshop has been a widely loved application amongst its users, who range from newbies and amateurs to professionals.
With the newfound interest amongst the masses for artificial intelligence, Photoshop announced a brand new AI-powered feature called Generative Fill.
Here is an extensive guide into how you can use this exciting tool for free on Photoshop.

What is Photoshop AI Generative Fill?
Generative Fill is an exciting new feature introduced by Adobe for its Photoshop app, which allows users to use the vast potential and power of artificial intelligence to make changes in their images.
This allows users to experiment and push the boundaries of the content they are capable of making on Photoshop by getting powerful assistance from this new tool.
All the user has to do is select an area of the image, and give the AI tool a prompt.
Generative Fill will then proceed to fill in the selected area by generating an image that is representative of the prompt provided by the user.
The user even has the freedom to switch around between different options, allowing them the opportunity to explore different possibilities while providing them with the control to choose how the final image turns out.
This is a new and innovative step in AI technology, and many users are excited to make use of Generative Fill.
How to Use Photoshop AI Generative Fill for Free?
To use Photoshop’s AI Generative Fill for free, you can sign up for Adobe’s 7-day trial or use Adobe’s online platform, Firefly. Alternatively, Photopea, a free online tool, offers a similar feature called Magic Replace.
Many people are excited about Generative Fill, but some may be wondering how to even get it for free in the first place.
To use Photoshop AI’s Generative Fill feature for free:
- Adobe offers a 7-day free trial for new users. You can sign up on Adobe’s official website and download the Photoshop (Beta) app, which includes the Generative Fill feature.
- Use Adobe Firefly, an online platform where you can access Generative Fill for free. Make sure you are signed into your Adobe account to access this feature.
- Consider alternatives like Photopea, a free tool that offers a similar feature called Magic Replace. Simply launch Photopea in your browser and select the Magic Replace tool.
Below, Have written the few ways, using which you can use Photoshop’s latest AI feature Generative AI for free:
1. Sign Up For Your Free Photoshop Trial to Use AI Generative Fill
If you are a new user or have never used Photoshop or any Adobe Creative Cloud products before, you may be able to get a free trial of the tool.
Adobe Creative Cloud offers first-time users a free of cost one week’s trial so that they can explore the exciting features and uses of its applications (Photoshop being one of them) without having to worry about paying for its use.

This is an incredibly easy process which can open up the doors to the endless possibilities of Generative Fill for you.
Follow the steps given below:
- Go to the Adobe Photoshop webpage.
- Click on Free Trial in the Menu panel at the top of the page.
- A pop-up window on your screen will show you different types of subscription plans for Adobe Photoshop.
- Browse through the different plan options and select the one that is most appealing to you. Keep in mind that you will only get 7 days for your free trial, after which you will have to start paying the selected amount if you do not cancel your subscription before the trial is over. You cannot get a free trial without signing up for a plan.
- Once you have made your choice and selected the plan, click on the Continue button in the bottom right corner of the pop-up window.
- Follow the directions to download the Photoshop and Creative Cloud apps by Adobe.
- Once Installed, open the Adobe Creative Cloud app on your desktop.
- Click on the Beta Apps option under Apps on the left side of the screen.
- Click on the Install button under the Photoshop (Beta) app.

Once installed, you will be able to run the beta version of Photoshop, which has the Generative Fill feature.
2. Use Adobe Firefly to Use AI Generative Fill
Firefly is Adobe’s current base for all the different tools and features created by them that uses the power of artificial intelligence to help the user explore and push the boundaries of creativity.
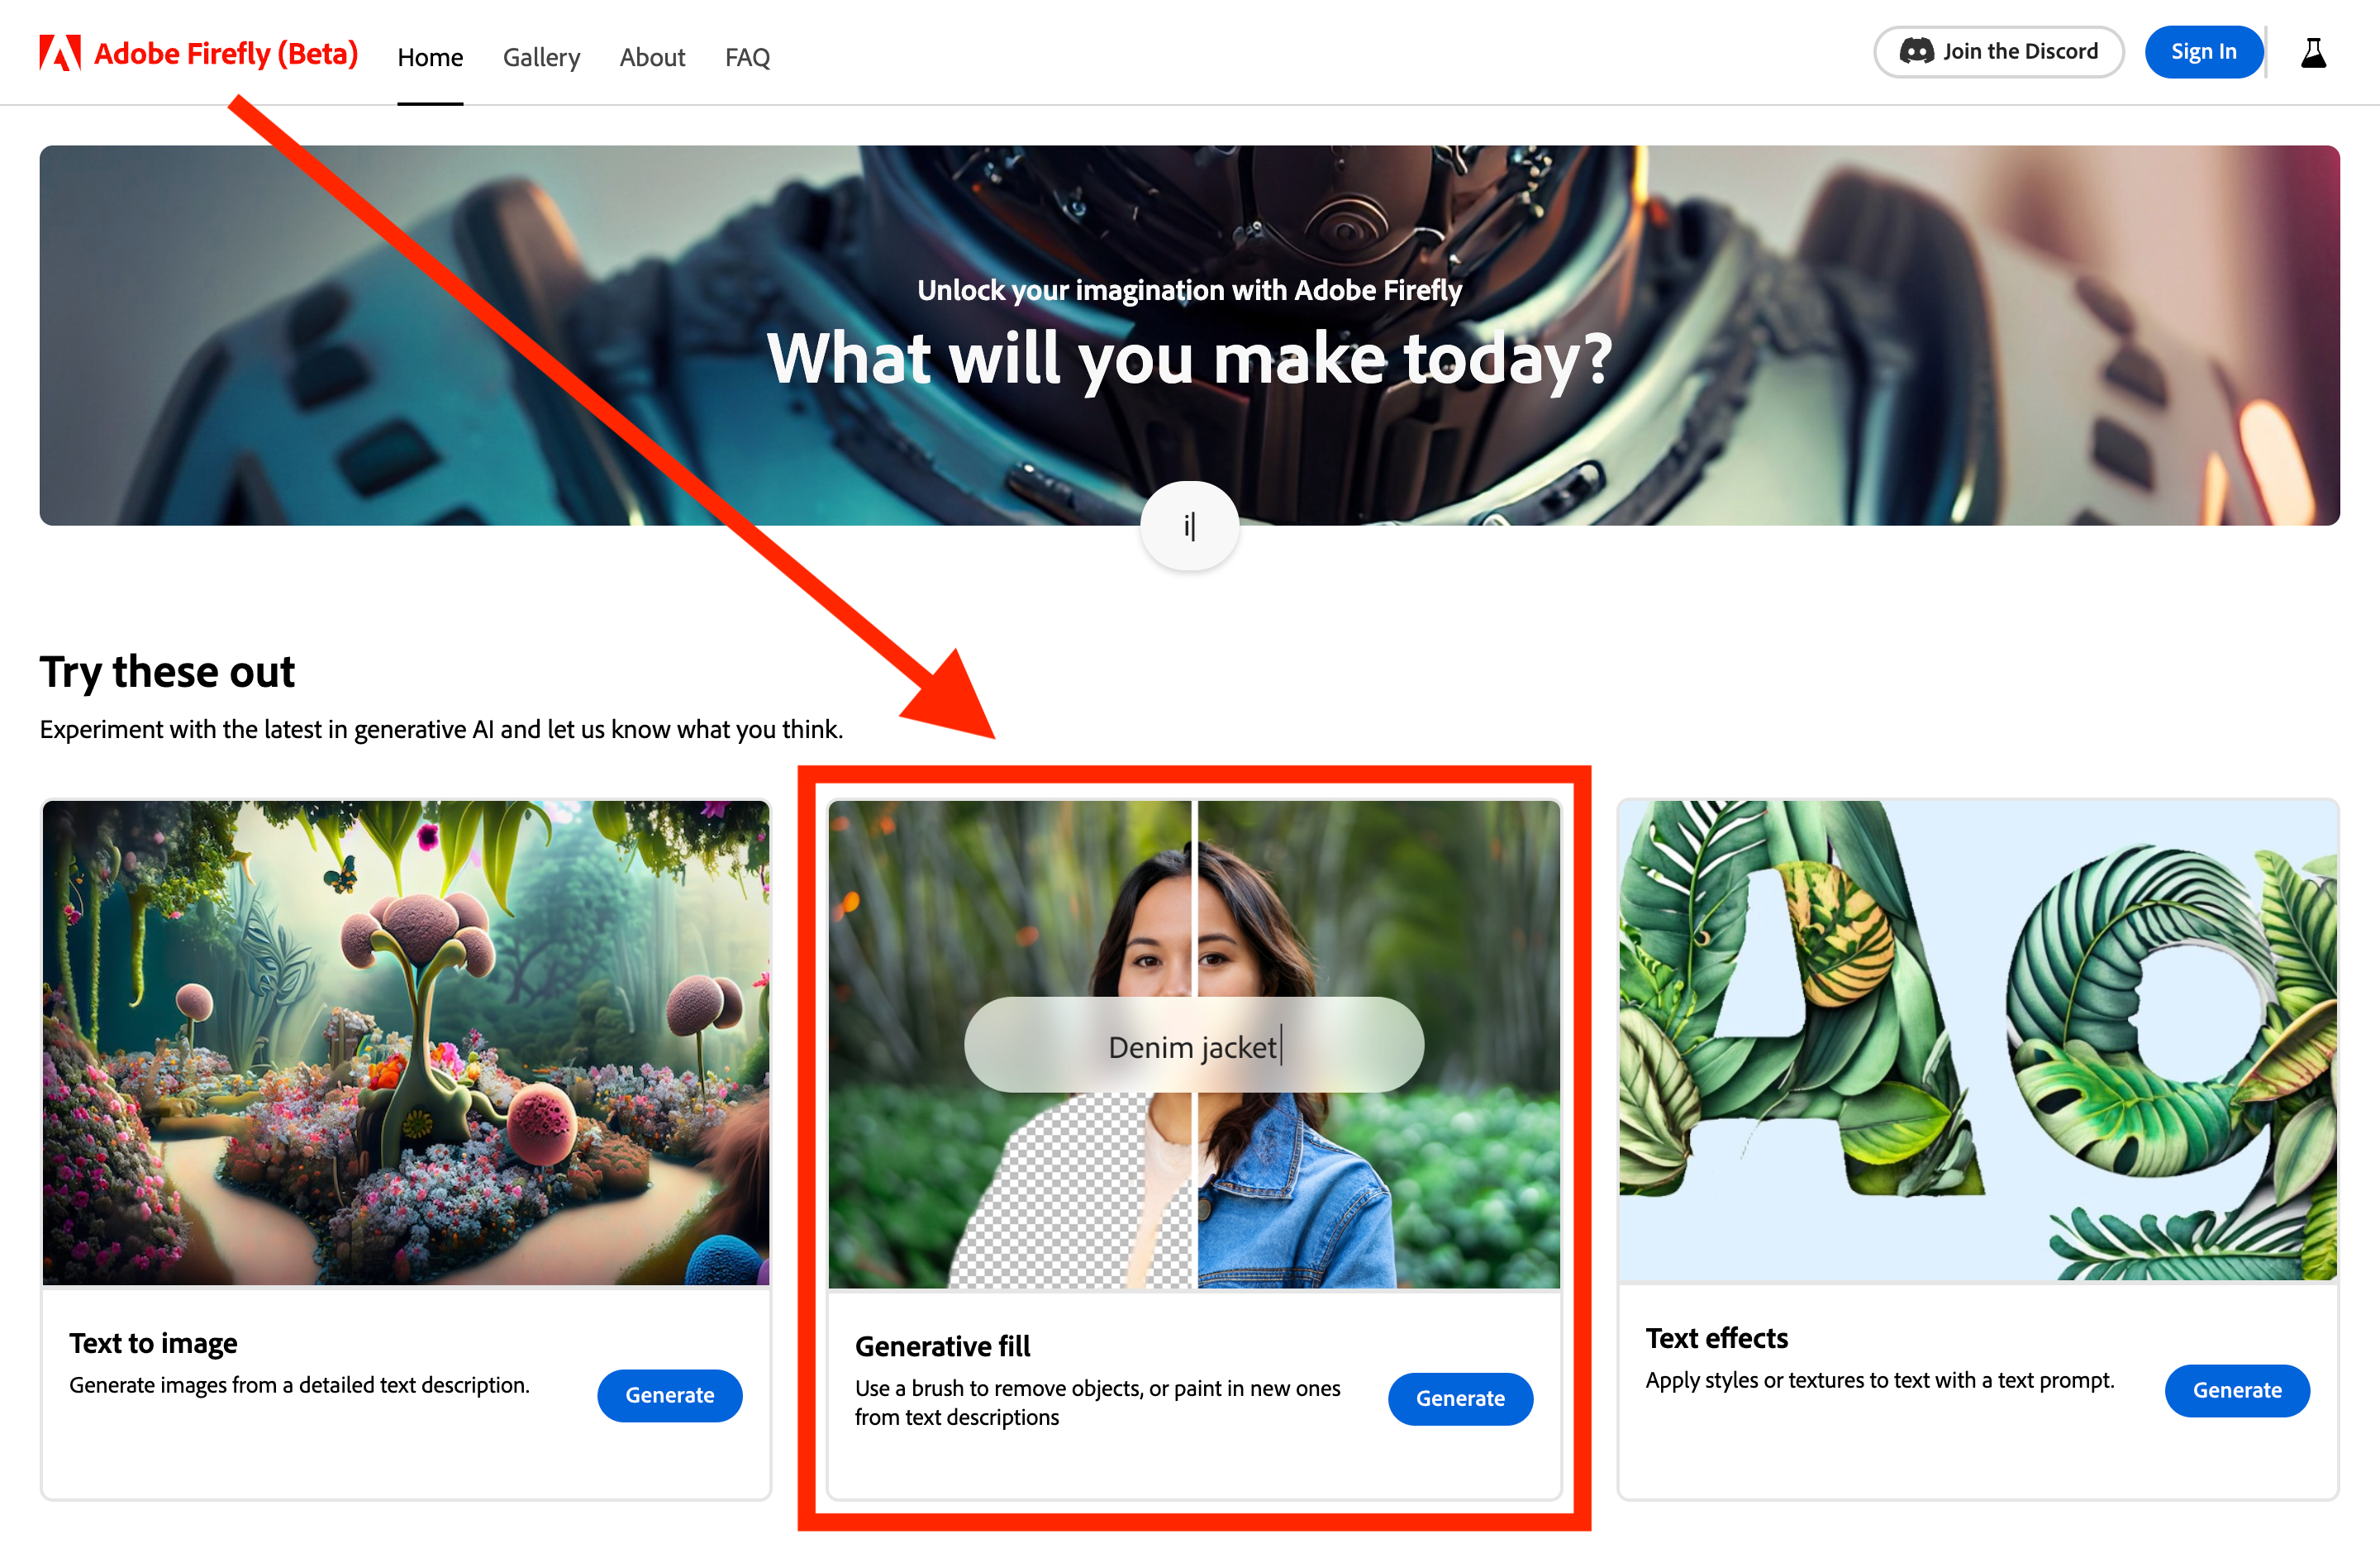
Currently an online platform, Firefly also offers Generative Fill for free, alongside other exciting new AI tools which Adobe is working on, including generative recolor, text to image, and 3D to image.
To use Generative Fill on Adobe Firefly, follow the steps below:
- Go to the Adobe Firefly webpage.
- Click on the Explore Firefly button on the home page.
- This will take you to the online platform for Adobe Firefly.
- Make sure you are signed in to your Adobe account.
- If you are not signed in, click on the Sign in button in the top right corner of the page.
- This will redirect you to the Sign in page.
- Enter your credentials, or sign in using your Google, Apple, or Facebook account.
- Once you are logged in, you will be redirected to the Adobe Firefly Home page.
- Scroll down until you find Generative Fill.
- Click on the Generate button in the bottom right corner of the card.

This will take you to the online version of Generative Fill, where you can try out the feature for free without paying anything!
Make sure you are logged in to your Adobe account, or else you will not be able to use Generative Fill online, and will instead be shown a preview video of its use.
3. Use Magic Replace on Photopea as a Free Alternative
Photopea is a popular and free alternative to Photoshop, often favored by many users for providing the same features and experience as the latter without the worries of payment or even downloading it to your desktop.
Recently, Photopea also introduced a tool similar to Photoshop’s Generative Fill, called Magic Replace.

To use the Magic Replace feature on Photopea, follow the steps as given below:
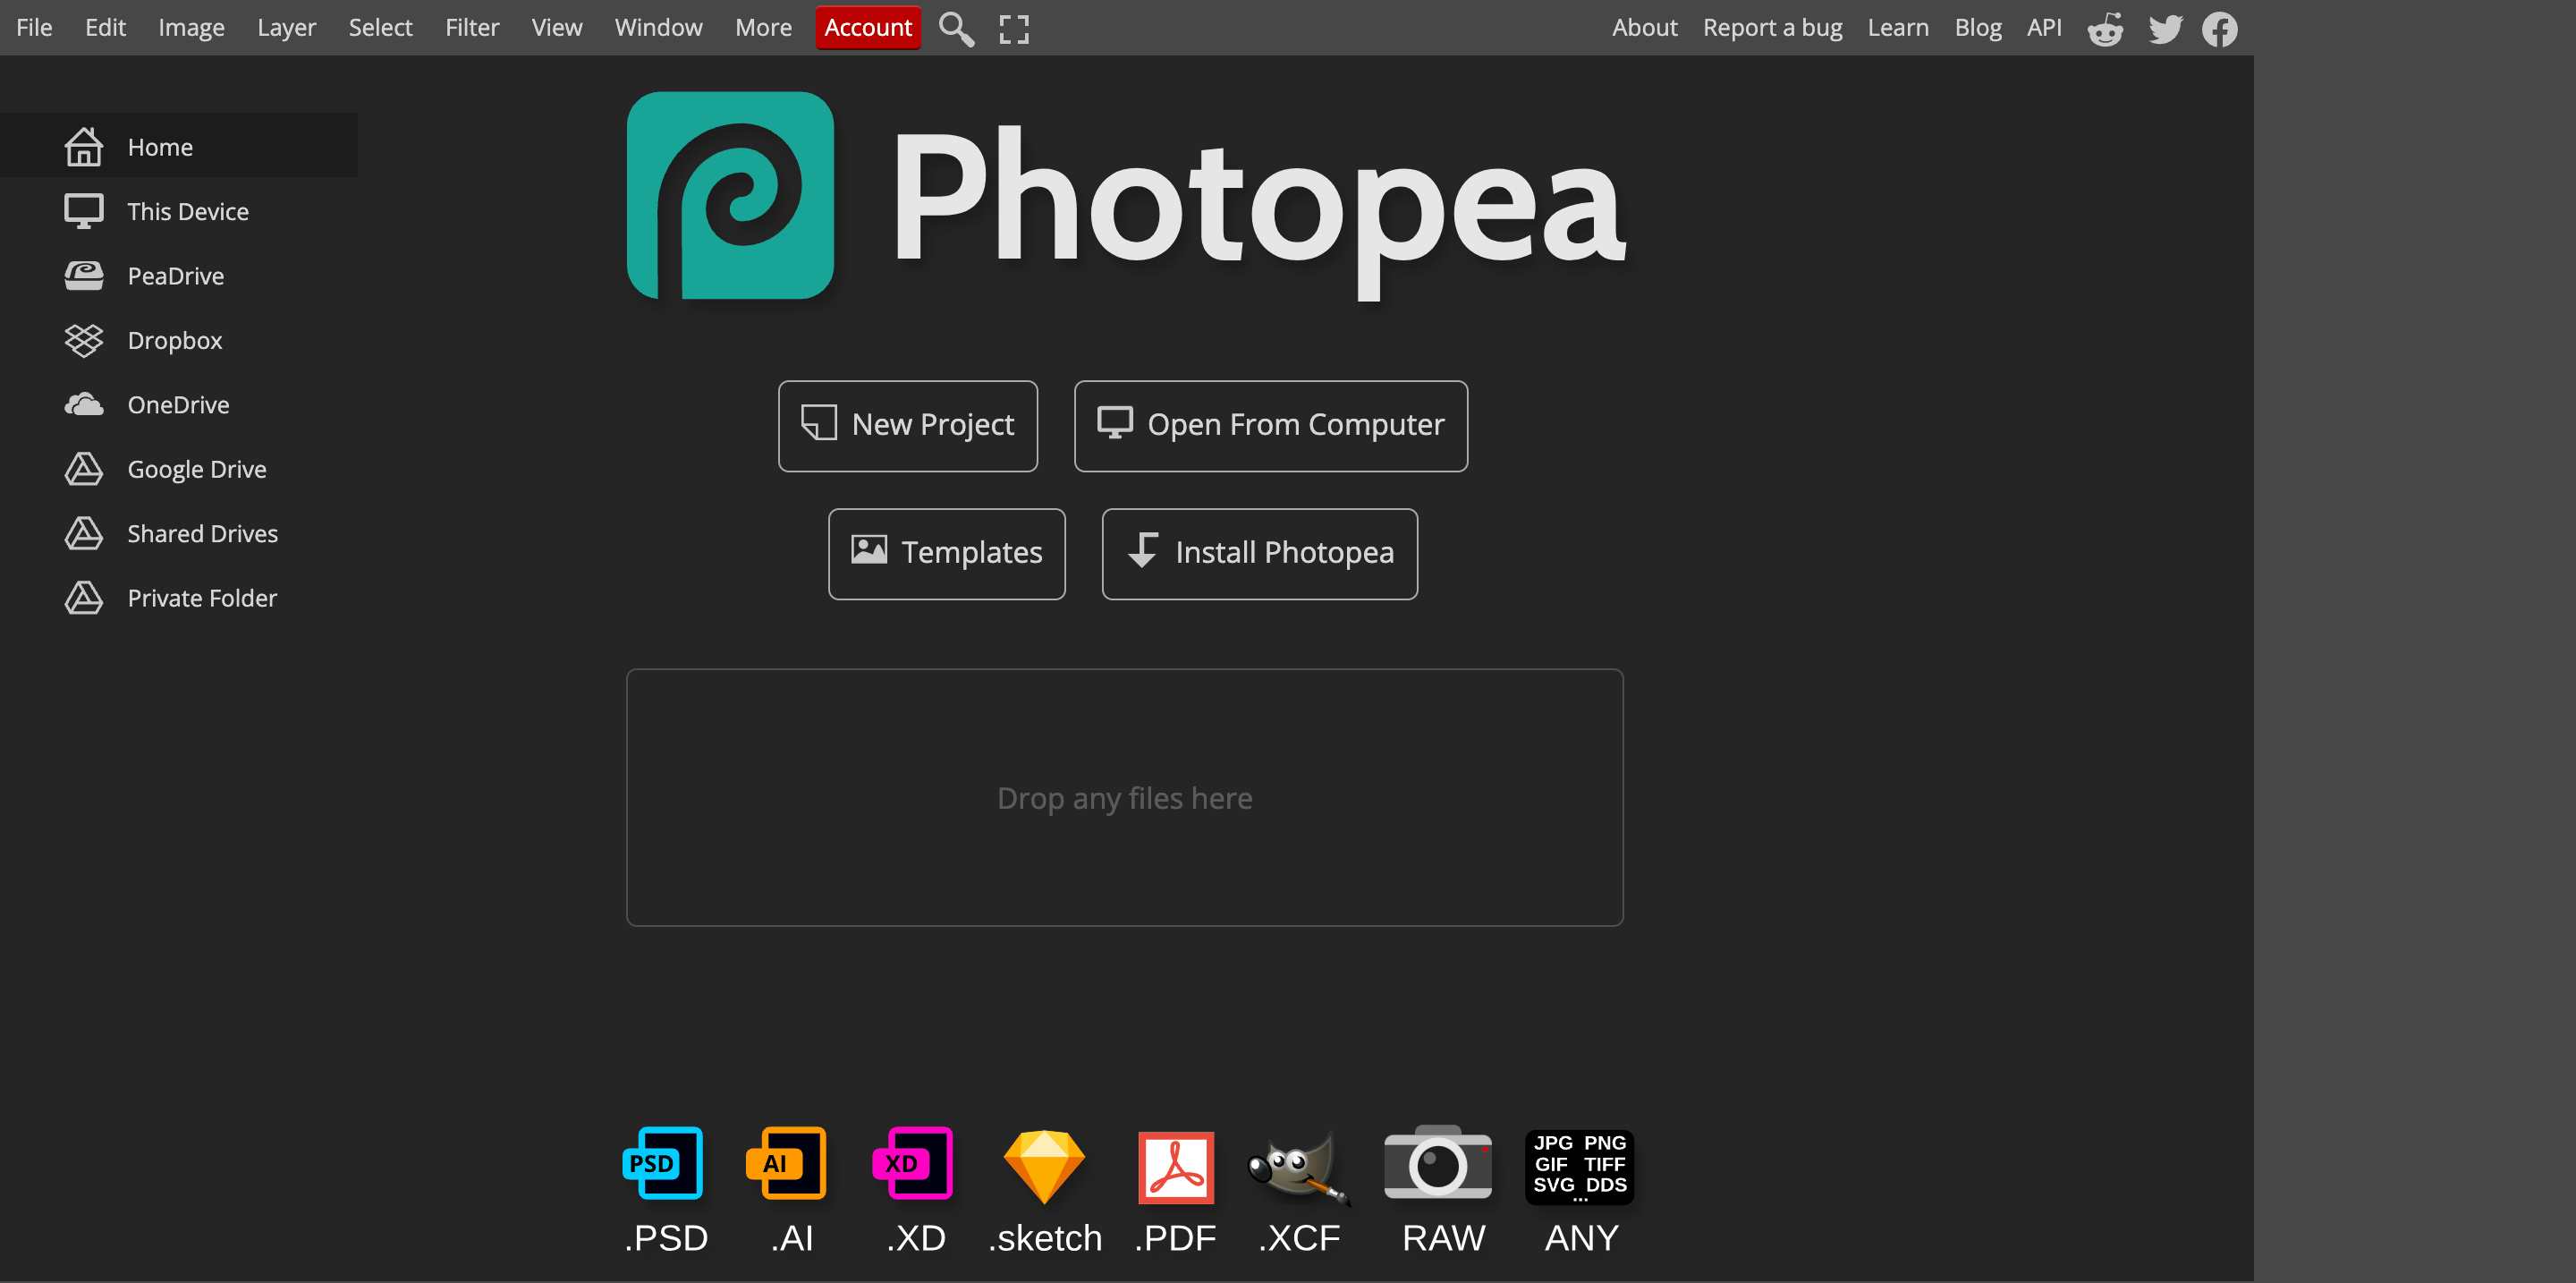
- Open Photopea on your browser.
- Click on the New Project option.
- This will open a pop-up window on your screen where you can adjust the format of the new project as you like.
- Once you are done, click on Create on the left hand side.
- This will open up a new project.
- Click on Layer at the top of the page on the Menu bar.
- Select New.
- Click on Layer in the sub menu that opens up.
- This will add a new layer to your project.
- Add your image to the canvas.
- Click on the Magic Replace tool in the left hand column. If you cannot find it, you can search for it by opening the search bar at the top of the page.
- The Magic Replace tool will then be visible in the Tools Column on your left hand side.
You will then be able to use Magic Replace in the exact same way as you would use Generative Fill in Photoshop.