If you got a message saying your page is disabled on Meta Business Suite, don’t worry. We’re here to help.
Whether it’s a temporary issue or a more serious problem, it’s important to know why it happened and what to do next.
We’ll guide you through the steps to appeal the decision, fix any rule violations, and follow Meta’s guidelines.
What are the Reasons for Meta Business Suite Your Page has been disabled?
If you received a message stating that your Meta Business Suite page has been disabled, it is likely due to a violation of the platform’s terms and conditions. Here are some of the reasons why your page may have been disabled:

1. Infringement of Intellectual Property Rights
If you have been posting content on your page that infringes someone else’s intellectual property rights, your page may be disabled. This can include using copyrighted images, videos, or music without permission.
2. Misleading Content
If you have been sharing content that is misleading or false, your page may be disabled. This includes sharing spammy links or making false claims in your posts.
3. Violating Community Standards
If you have been posting content that violates Meta’s community standards, your page may be disabled. This can include posting hate speech, promoting violence, or sharing sexually explicit content.
4. Suspicious Activity
If Meta detects suspicious activity on your page, such as using fake accounts to like or comment on your posts, your page may be disabled.
How to Fix Meta Business Suite your page has been disabled?
To fix Meta Business Suite “your page has been disabled” error, first review the disabled page and then update the page to address the issue. Additionally, you can also contact the support team of Meta to fix the issue.
1. Check Page and Account Status
Visit your Facebook Page to confirm that it is still active and not marked as deleted or disabled.
- Open a web browser and go to business.facebook.com.
- Log in to your Meta Business Suite account using your credentials.
- Once logged in, navigate to the “Pages” section in the Meta Business Suite dashboard.
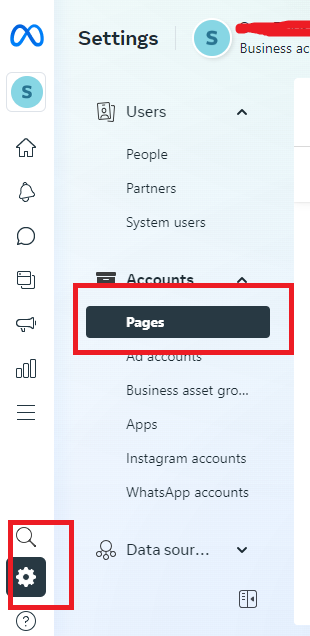
- Select the specific Facebook page that you want to visit from the list of available pages.
- You will be directed to the dashboard for the selected Facebook page, where you can manage and view the page’s content, insights, and settings.
2. Review Content for Policy Violations
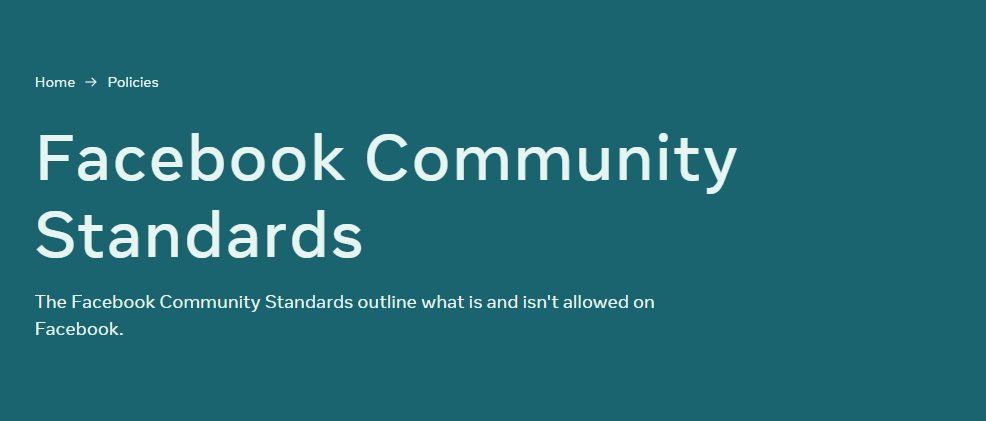
Carefully review your page content and ads to ensure compliance with Facebook policies, particularly those related to spam, clickbait, or misleading claims.
- Log in to your Meta Business Suite account using your credentials.
- Navigate to the “Pages”.
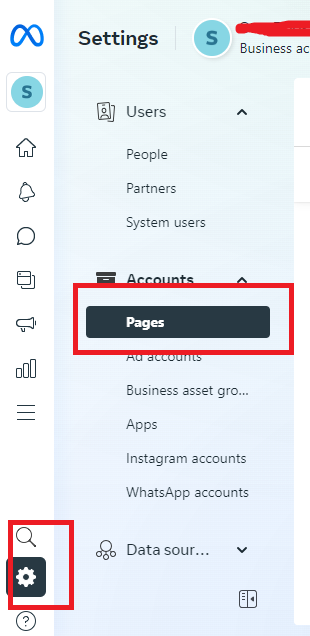
- Select the specific Facebook page that you want to review.
- Look for any notifications, alerts, or indicators.
- Review the content on the page, including posts, ads, and other material, to ensure compliance with Facebook’s Community Standards and policies.
- If you identify any potential violations, take the necessary actions to address them.
3. Assess Third-Party Apps
Verify that any third-party apps you’ve used are still approved by Facebook. Revoke permissions for any unused or unrecognized third-party apps.
4. Reconnect Instagram and Page
Consider reconnecting your Instagram and/or page in Meta Business Suite as demonstrated here. Sometimes, re-establishing the connections can resolve issues.
- Open the Instagram app and navigate to your profile.
- Tap the menu icon (three horizontal lines) and select “Settings.“
- Tap “Account,” then select “Instagram Account.”

- Choose “Add Instagram Accounts,” and enter your Facebook login credentials if prompted.

- Once logged in, select the Facebook page you want to connect to your Instagram account.
- Confirm the connection.
5. Review the Reason for the Disabled Page
The first step to fixing your disabled page is to review the reason for the disabling. This information can be found in the notification you received from Meta.
- Open Meta Business Suite and navigate to the “Pages” section.
- Select the specific Facebook page for which you want to review the quality.
- Look for the “Insights” tab or section within the page management interface.
- Within the Insights tab, you should find the option to view “Page Quality” or “Quality Check” metrics and details for the selected page.
6. Address the Issue
Once you have identified the reason for the disabling, take action to address the issue. This may involve removing content that violates Meta’s policies, updating your page information, or providing additional information to Meta to verify your account.
7. Contact Meta Support
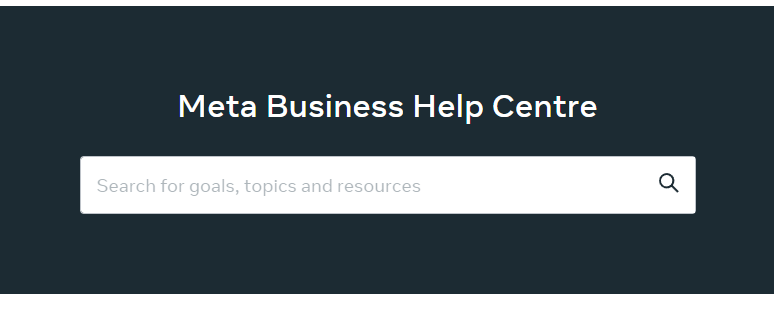
If you have taken steps to address the issue and your page is still disabled, you can contact Meta support for further assistance. You can do this by going to the “Help Center” in Meta Business Suite and clicking on “Contact Support.”
You can also contact Facebook through this form and report your disabled Instagram account in case that is the reason for the issue with your Facebook page.
Provide a detailed explanation of why you believe the account was disabled by mistake and wait for a response from Meta’s support team.
8. Consider Creating a New Account
As a last resort, you may consider creating a new Meta Business Suite account with a new page and Instagram profile. Ensure strict adherence to all policies to prevent recurring disabled messages.
- Open a web browser and navigate to business.facebook.com.
- Click on “Create Account” or “Sign Up” to begin the account creation process.
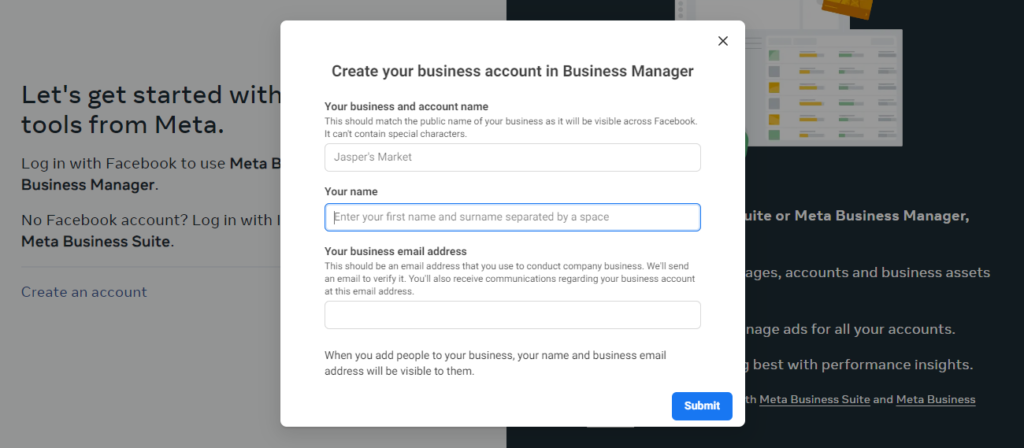
- Enter the required information, such as your business name, email address, and other details as prompted.
- Follow the on-screen instructions to complete the account setup, including verifying your email address and providing any additional business information.
- Once the account setup is complete, you can begin managing your business assets, including Pages, Ad Accounts, and other resources within Meta Business Suite.
