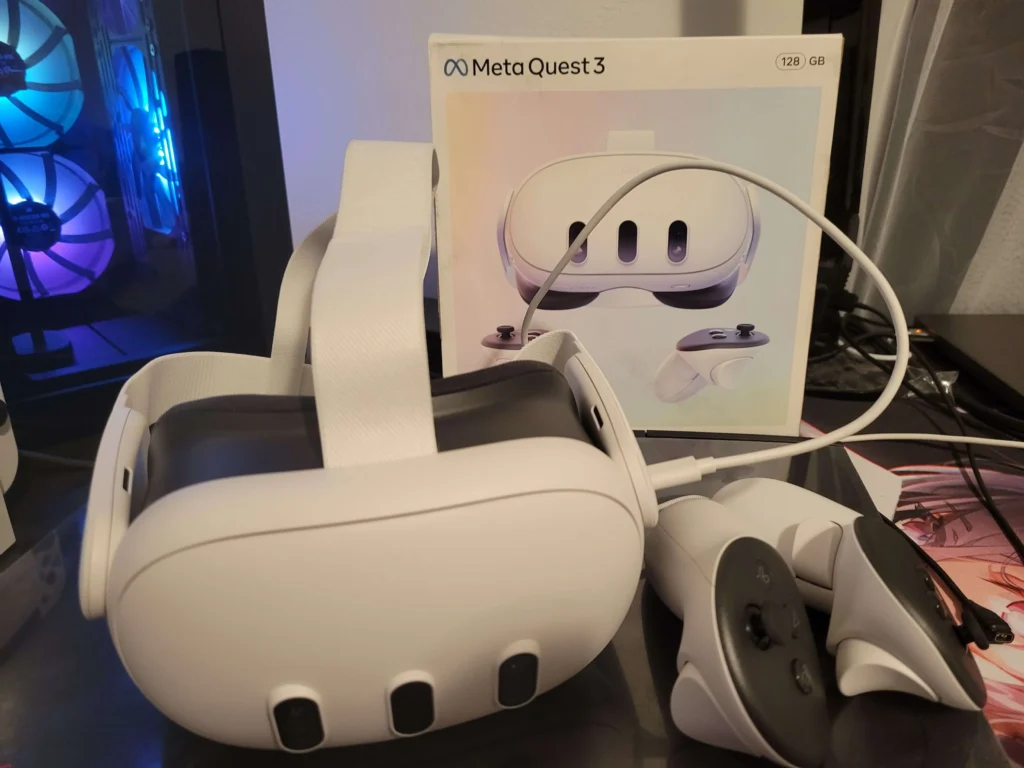
Meta Quest 3 is a popular virtual reality headset that provides an immersive gaming experience.
However, like any other electronic device, it can encounter issues that prevent it from turning on.
If you’re facing the frustrating problem of Meta Quest 3 not starting, don’t worry, there are a few things you can try to fix it.
In this article, we’ll provide you with a step-by-step guide on how to troubleshoot and fix the issue of Meta Quest 3 not starting.
How to Fix Meta Quest 3 Won’t Start?
To resolve the issue of “Meta Quest 3 Won’t Start,” you should ensure that the device has a sufficient battery level, try restarting the device, ensure that the software is up to date, and lastly, factory reset the device.

Down below, we have discussed the solution in step-by-step detail.
1. Check the battery Level
The first and most obvious solution is to check the battery level of your Meta Quest 3.
If the battery is completely drained, the device will not turn on.
Connect the device to a power source and wait for it to charge. It is recommended to use the original charging cable and adapter that came with the device.
2. Restart the device
Restarting the device is a simple yet effective solution to fix Meta Quest 3 when it won’t start.
This is because sometimes the device may encounter a software glitch or a minor issue that can be resolved by restarting it.
Restarting the device is also a quick solution that does not require you to erase any data or settings.
To restart your Meta Quest 3 device, you can follow these steps:
- Press and hold the circle button located on the left side of the device for about 3 seconds.
- The Meta logo will appear, indicating that the device is restarting.
- Release the button and wait for the device to fully restart.
3. Check for software updates
Checking for software updates is an important step to take when Meta Quest 3 won’t start.
Software updates often contain bug fixes and performance improvements that can help resolve issues with the device.
By installing the latest software updates, you can ensure that your device is running smoothly and efficiently.
To check for software updates on your Meta Quest 3 device, you can follow these steps:
- Turn on your Meta Quest 3 device and connect it to a Wi-Fi network.
- Put on the device and navigate to the home screen.
- Select the “Settings” option from the bottom toolbar.
- Scroll down and select the “About” option.
- Select the “Software Update” option.
- If an update is available, select the “Download” option to start the update process.
4. Perform a factory reset
If restarting the device does not work, try performing a factory reset.
This will erase all data and settings on the device, so make sure to back up your data before proceeding.
To perform a factory reset, follow these steps:
- Turn off the device.
- Press and hold the power button and volume down button simultaneously.
- Release the buttons when the Meta logo appears.
- Use the volume buttons to navigate to “Wipe data/factory reset” and press the power button to select it.
- Confirm the action by selecting “Yes – erase all user data“.
- Wait for the device to reset and then select “Reboot system now“.
5. Contact customer support of Meta Quest

If none of the above solutions work, contact Meta customer support.
They will be able to provide further assistance and may offer a replacement device if the issue cannot be resolved.