
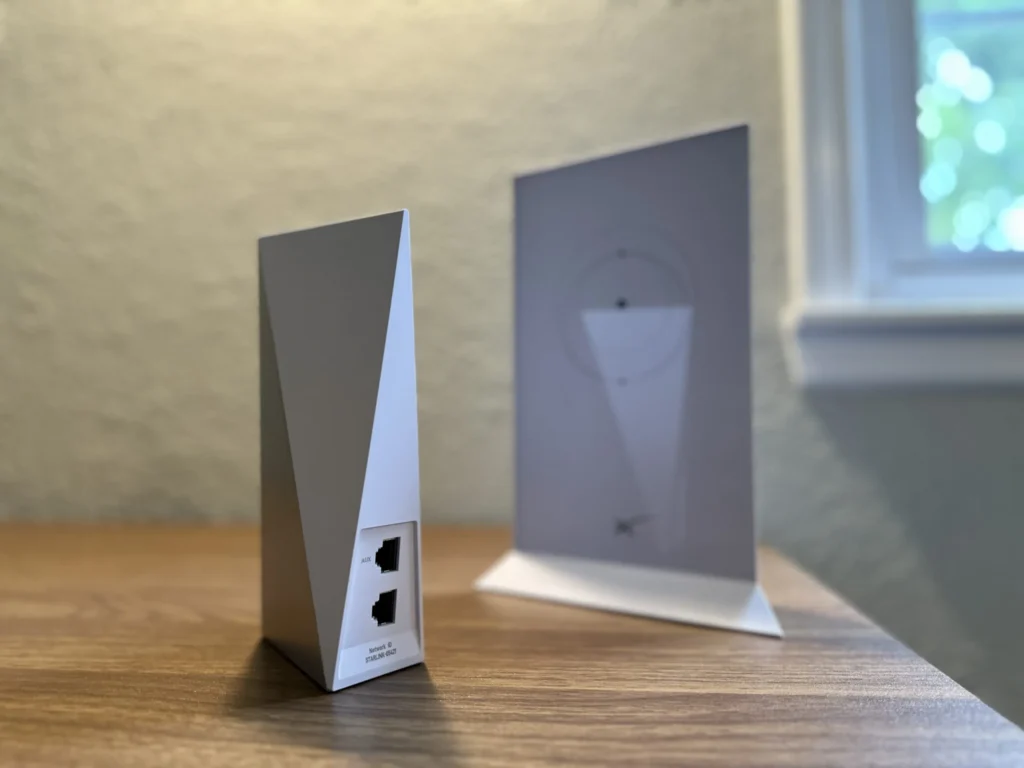
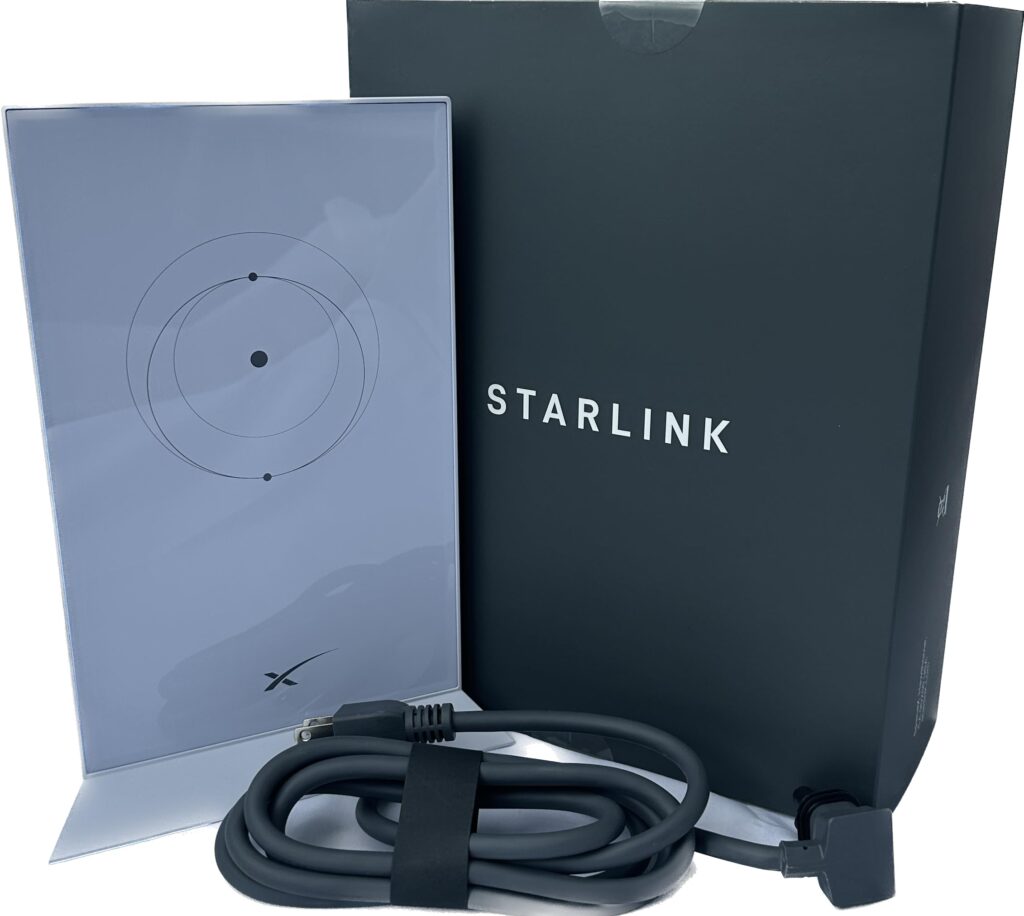
One popular option for internet service is the Starlink router, which offers fast and reliable internet connectivity.
However, there may come a time when you need to factory reset your Starlink router due to technical issues or to restore it to its original settings.
Factory resetting a router can help resolve various connectivity issues, improve overall performance, and troubleshoot any problems that may arise.
In this article, we will provide a detailed guide on how to factory reset your Starlink router, including step-by-step instructions and important considerations to keep in mind.
How To Factory Reset the Starlink Router?
Before performing a factory reset, it’s important to note that this will erase all of your current network settings and configurations.
This means that you’ll need to set up your network from scratch after the reset is complete.
It’s also a good idea to make note of any important network information, such as your Wi-Fi network name and password, before starting the reset process.
If you’re experiencing issues with your Starlink router or you want to restore it to its original settings, you can perform a factory reset.
The process is straightforward and can be done in a few simple steps.
In this section, we’ll provide detailed instructions on how to factory reset your Starlink router.
1. steps for First Generation Starlink Router
To factory reset your first generation Starlink router, follow these steps:
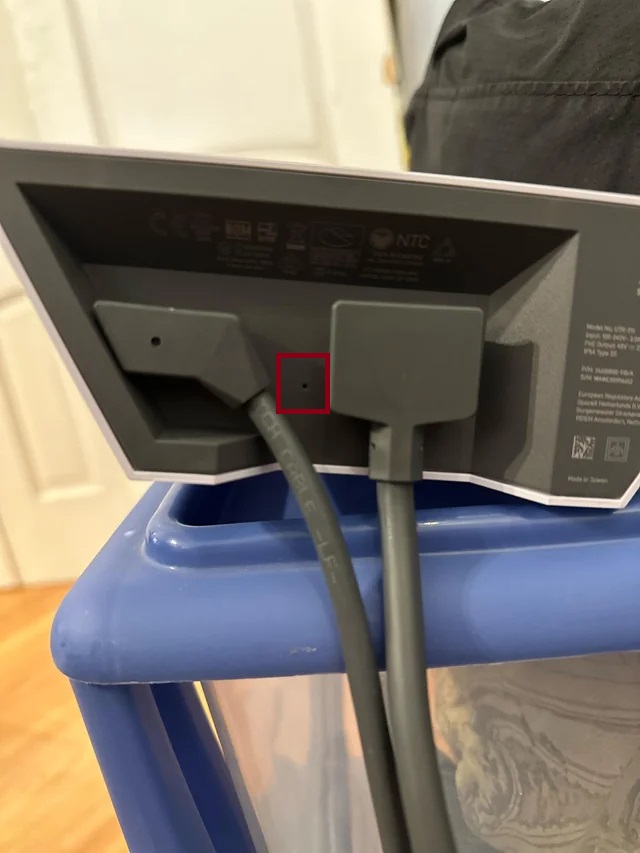
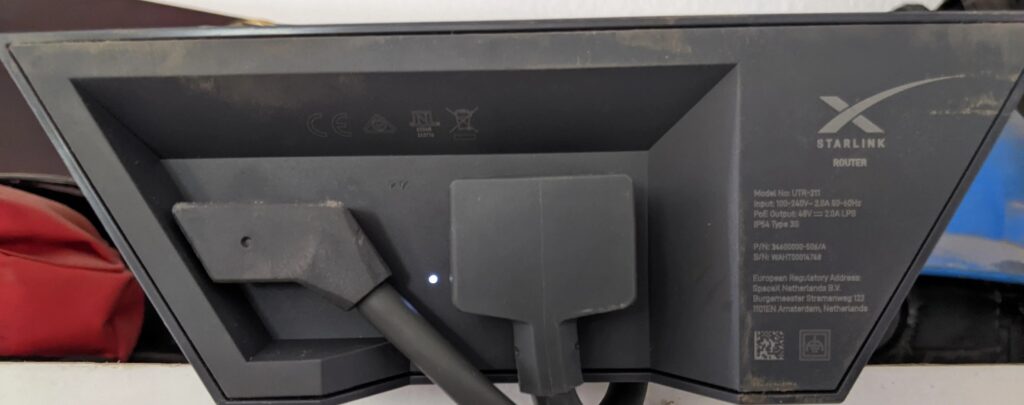
- Locate the reset button on the bottom of the router.
- Using a paperclip or a small object, press and hold the reset button for 10 seconds.
- Release the reset button and wait for the router to reboot.
2. steps for Second Generation Starlink Router
If you have a second generation Starlink router, the process is slightly different. Here’s how to factory reset it:
- Power cycle the router by unplugging it from power and then plugging it back in six times in a row.
- After the six power cycle, leave the router unplugged for a few seconds.
- Power on the router and wait for it to boot up.
- Open the Starlink App and connect to the new STARLINK Wifi network.
- Set a new Network ID and Password for the router.
3. steps for Factory Reset Rectangular Starlink Router
- Power cycle the router by unplugging it from power and then plugging it back in six times in a row.
- After the six power cycle, leave the router unplugged for a few seconds.
- Power on the router and wait for it to boot up.
- The router will take a few minutes to reboot and will require you to reconnect and set a new Network ID and Password.
4. steps for Factory Reset Circular Starlink Router
If you have a circular Starlink router, the process for factory resetting it is similar to the rectangular router:
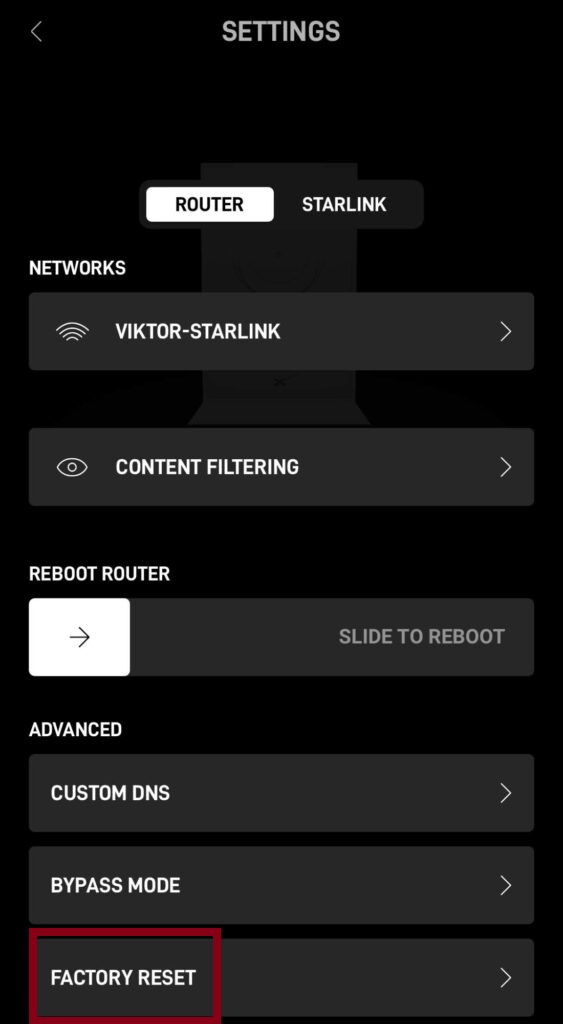
- Open the Starlink app.
- Click on “Settings” and scroll down to “Factory Reset.”
- Click on “Factory Reset” and wait for the router to reboot.
5. steps for Factory Reset Starlink Mesh Router
If you have a Starlink mesh router, the process for factory resetting it is slightly different:
- Power cycle the mesh node by unplugging it from power and then plugging it back in Six times in a row.
- After the Six power cycle, leave the mesh node unplugged for a few seconds.
- Power on the mesh node and wait for it to boot up.
- Open the Starlink App and connect to your primary Starlink router’s network.
- After 1-2 minutes, the Starlink App will prompt you with a “PAIR MESH NODE” notification.
- Follow the on-screen instructions to pair the mesh node with your primary Starlink router.
- Set a new Network ID and Password for the mesh node