Meta Quest is a virtual reality headset that allows users to experience immersive gaming and social experiences.
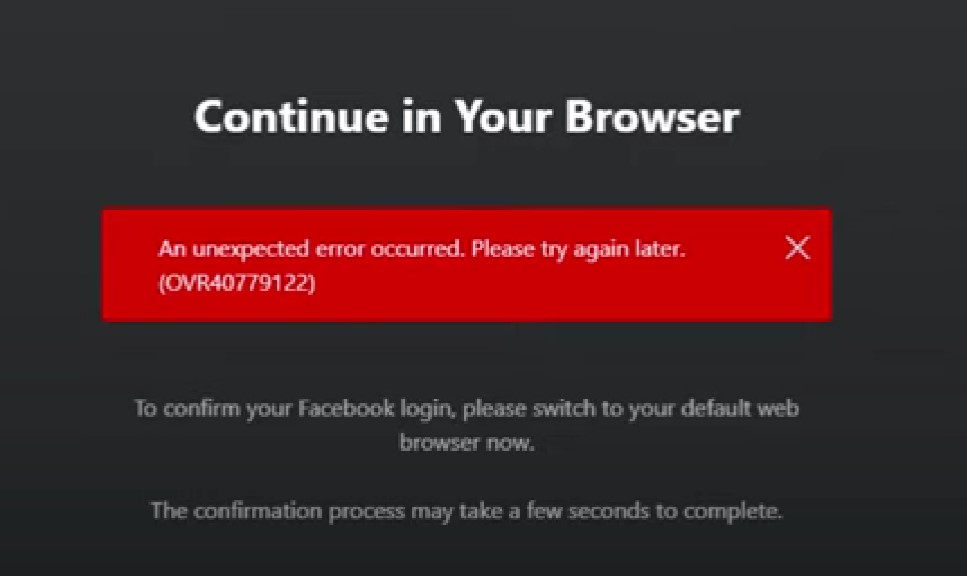
However, some users have reported encountering an error message that reads “An error occurred, please try again later” when trying to connect to a new Meta account.
This error can be frustrating and prevent users from accessing the full range of features offered by the headset.
The full error message usually reads: “An unexpected error occurred. Please try again later. (OVR40779122)”
In this article, we will explore the possible causes of this error and provide step-by-step instructions on how to fix it.
How to Fix Meta Quest “An error occurred, please try again later” when trying to connect to the new Meta account?
To resolve the issue of the “An error occurred, please try again later” when trying to connect to the new Meta account, you should check your internet connection, ensure that the software is up to date, try clearing the Meta Quest app cache and data, restart your device, and lastly, factory reset your device.
Down below, we have discussed the solution in step-by-step detail.
1. Check your internet connection
The first thing to check when you encounter this error is your internet connection.
Make sure that your device is connected to a stable Wi-Fi network or cellular data.
A weak or unstable connection can cause this error message to appear.
Here are the steps to Check your internet connection:
- Turn off your router or modem, wait for a few seconds, and then turn it back on.
- If the problem persists, you can reset your network settings on your device. Go to the network settings menu and look for an option to reset or restart network settings.
- Try connecting your device to a different Wi-Fi network or switch to a cellular data network to see if the issue is specific to your current network.
- If possible, try connecting to the internet using a different device, such as a smartphone or tablet, to see if the issue is specific to your device.
2. check for updates
Another possible solution to fix the “An error occurred, please try again later” error message when trying to connect to a new Meta account on your Meta Quest device is to check for updates.
Sometimes, outdated software versions can cause this error to occur.
To check for software updates on your Meta Quest device, you can follow these steps:
- Turn on your Meta Quest device and connect it to a Wi-Fi network.
- Put on the device and navigate to the home screen.
- Select the “Settings” option from the bottom toolbar.
- Scroll down and select the “About” option.
- Select the “Software Update” option.
- If an update is available, select the “Download” option to start the update process.
3. Clear cache and data for Meta Quest app
If your internet connection is stable, the next step is to clear the cache and data of the Meta Quest app.
This will remove any temporary files that may be causing the error.
Here are the steps to clear the cache and data for the Meta Quest app on Android devices:
- Open Settings > Apps.
- Find and tap on the Meta Quest app.
- Tap on “Storage” or “Storage & cache.”
- Select “Clear cache” to remove temporary files.
- Optionally, you can tap on “Clear data” to delete all app data, including settings.
Here Are The Steps To Clear The Cache And Data For Meta Quest App On iOS Device:
- Open Settings and go to the list of installed apps.
- Locate and tap on the Meta Quest app.
- Choose “Offload App” or “Delete App” to remove it.
- Visit the App Store and reinstall the McDonald’s app.
- Launch the app, log in, and the cache and data will be cleared during reinstallation.
4. Restart your device
If clearing the cache and data doesn’t work, the next step is to restart your device.
This can help to refresh the system and clear any temporary issues.
To restart your Meta Quest device, hold down the power button until the power options appear, then click on “Restart.”
5. Factory reset your device
If none of the above steps work, the last resort is to factory reset your Meta Quest device.
This will erase all of your data and settings, so make sure to back up any important files before doing this.
Here are the steps for Factory Resetting the Meta Quest Headset:
- Turn on your Meta Quest headset and put it on.
- From the home screen, navigate to the settings menu by selecting the gear icon in the bottom right corner of the screen.
- In the settings menu, select the “Device” tab from the list of options.
- Scroll down until you see the option to “Reset” and select it.
- Choose “Factory Reset” from the list of reset options.
- Follow the on-screen instructions to complete the reset process. This will erase all data and settings on the headset, so make sure that you have backed up any important data before proceeding.
6. Contact Customer Support

If you have tried all of the above steps and still can’t connect to your new Meta account, it’s time to contact Meta support.
They will be able to help you troubleshoot the issue and provide additional steps if necessary.