The Apple Vision Pro is a ground breaking device in the world of augmented reality (AR) and virtual reality (VR), offering users a high-fidelity experience with a range of applications from productivity to entertainment.
However, Apple Vision Pro, while primarily known for its advanced display technology and immersive experience, does not natively support HDMI input.
Fortunately, users have found creative ways to integrate HDMI input functionality into their workflow with this device. In this blog post, let’s explore how HDMI input can work with Apple Vision Pro and how you can use it effectively.
How HDMI Input Works with Apple Vision Pro
HDMI (High-Definition Multimedia Interface) is a common method for transferring high-definition audio and video signals from one device to another.
To use the HDMI input on the Apple Vision Pro:
- You need to connect their external device to a compatible transmitter or casting device.
- This transmitter then communicates with the Apple Vision Pro to display the HDMI source as a virtual monitor within the headset’s environment.
- Finally, You can then interact with this virtual display using the Vision Pro’s intuitive control interface, enjoying a flexible and immersive viewing experience.
To use your Apple Vision Pro as an HDMI display through NDI streaming, follow these steps:
1. Hardware And Software Requirement
1. HDMI NDI Encoder
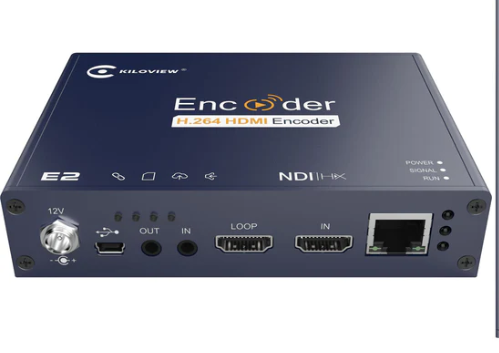
The “Kiloview N40 “is recommended for its 4K60 support, fan-less design, and “USB-C “power input. The Kiloview N60 offers more features but is larger and has a fan.
2. Vxio app
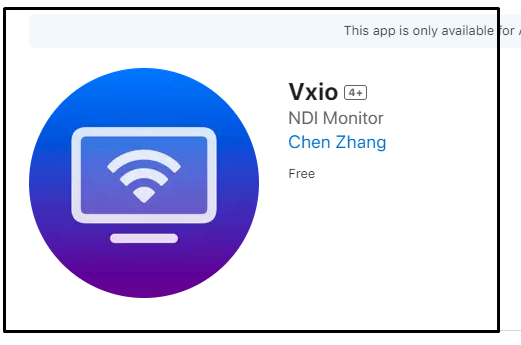
Download and Vxio App on Apple Vision Pro. Developed for this purpose, or you can choose other NDI monitor apps.
To Download Vxio App On Apple Vision Pro:
- Hold and press the “Crown button” at the top the Head set and Tap on “App icon” from the tab bar at the left side of the screen.
- Go to “Apple Store” and Search for “Vxio”(Once you selected the search box, virtual key board will appear and type the app name and press Enter)
- See and tap Install button next to the app.
2. Network Requirement
- Network Bandwidth: NDI streams require high bandwidth, ensure your network can handle 250~300mbps for 4K60 streams. If you encounter issues, adjust the encoder settings to reduce stream quality.
- Latency: Encoding and decoding introduce a delay, typically around 50ms, comparable to moonlight streaming.
2. Setup Steps To Connect HDMI Input to Apple Vision Pro Via Vxio App
Streaming process of HDMI Input to Apple Vsion pro: Source Computer to HDMI > NDI Encoder > Internet > WIFI > Vxio > Vision Pro
Step 1: Connect NDI Encoder To HDMI And Network Path
- Plug your HDMI source from Monitor into the NDI encoder as input and connect the encoder to your local network via Ethernet, which act as a output.
- Provide power to the encoder, preferably through USB-C for the Kiloview N40.
Step 2: Grant Network Permissions On Apple Vison Pro
- If vision OS prompts for Local Network permission, grant it. If the app still doesn’t connect, force close and reopen it.
- To Force Close App On vision Pro:
- Hold and press the “Crown button” at the top the screen until “Force quit Application” Appears
- Tap on” Vxio App” and Tap on “Fore Quite Application” to close the apps.
Step 3: Launch Vxio App On Apple Vision Pro
- See the “Vxio app” on your Apple Vision Pro, and Open it using hand gesture.
Step 4: Select the Encoder Source
- Choose the “encoder source” in the Vxio app to start displaying your HDMI content on the Apple Vision Pro.
- With the HDMI display now visible on your Apple Vision Pro, you can enjoy your content with relatively low latency.