
Are you excited to personalize your Apple Vision Pro experience with your very own 3D avatar?
Creating a Persona on your device is not just fun, it’s also a great way to bring a touch of you into the augmented reality world.
In this article, we’ll guide you through the steps to create your unique Persona, making your interactions within the Apple Vision Pro ecosystem more engaging and personal.
How to create your Persona on Apple Vision Pro?
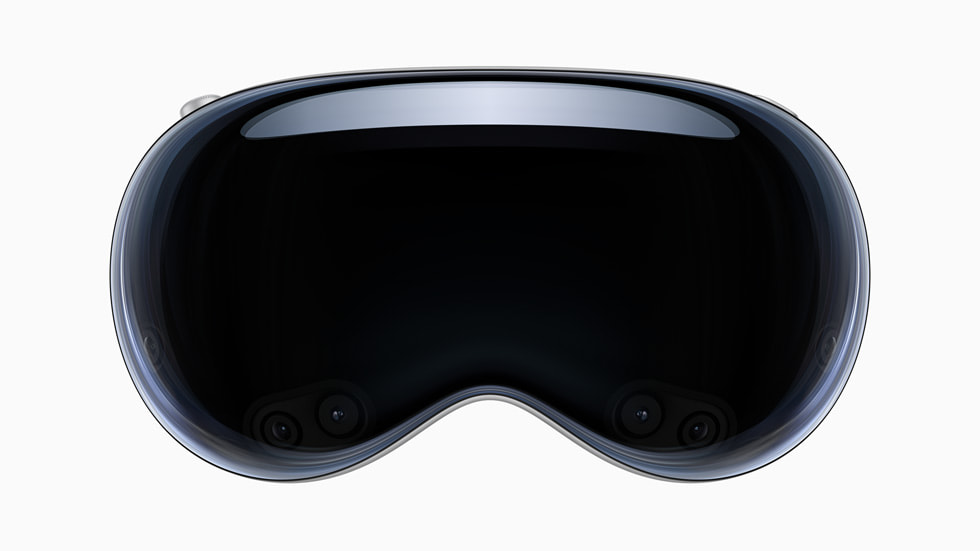
Step 1: Gear Up and Power On
Start by placing the Apple Vision Pro comfortably on your head and turning on the device. Make sure it’s fully charged to avoid any interruptions during the setup process.
Step 2: Dive into Settings
Navigate to the Settings menu on your Apple Vision Pro, and look for the “Persona” option. This is your starting point for creating your digital twin.
Step 3: Initiate Setup
Tap “Get Started” to launch the Persona creation process. The Apple Vision Pro will present a tutorial video that outlines the best practices for capturing your likeness accurately.
Step 4: Capture Your Features
When prompted, remove the Apple Vision Pro and hold it at eye level, ensuring the front is facing you. The device will guide you through a series of head movements and facial expressions to capture a detailed representation of your face.
Step 5: Fine-Tune Your Avatar
Once your features are captured, you’ll have the opportunity to adjust various settings like lighting, temperature, and brightness. You can also try on different virtual glasses to add a touch of style to your Persona.
Step 6: Save Your Progress
After tweaking your avatar to your liking, don’t forget to tap “Save” to store your Persona on the device.
Step 7: Edit Anytime
If you ever wish to make changes to your Persona or recapture it, simply return to Settings > Persona. From there, you can tap “Edit Details” or “Recapture” to update your digital self.
Step 8: Accessibility Features
For those who are hard of hearing or prefer visual cues, the EyeSight display on the Apple Vision Pro provides visual instructions during the Persona capture process.
Step 9: Privacy and Security
Your Persona is securely stored on your device and is encrypted for your privacy. Access to your Persona is protected by either Optic ID or your device passcode, ensuring that your digital representation remains private and secure.
Step 10: Optic ID Considerations
If you choose to use Optic ID for an extra layer of security, keep in mind that your Persona will be automatically deleted if you decide to disable this feature. This is a safeguard to protect your personal data.
