Struggling with Google Voice and your messages just won’t send? It’s a common hiccup that can be a real headache.
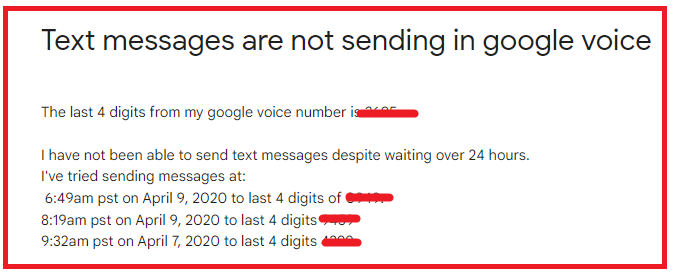
Mnay people have reported facing this issue where they are unable to send message through Google Voice on their device, but don’t worry, there are some easy fixes you can try to get things back on track.
This guide will walk you through each step, so you can start sending messages again without any fuss in Google Voice.
What are the Reasons for Google Voice Not Sending Messages?

If your Google Voice messages are failing to send, this could be due to various reasons ranging from internet connectivity issues to outdated app versions as we have discussed below.
1. Incorrect Account Sign-In Google
If you’re not signed into your Google account, Google Voice won’t function correctly.
Ensure that you’re logged in with the correct credentials that are associated with your Google Voice number.
2. Internet Connectivity Issues
Google Voice requires a stable internet connection to send messages. Check if your device is connected to Wi-Fi or has a strong mobile data signal.
A lack of internet access could be preventing your messages from sending.
3. Outdated Google Voice App
An outdated app can lead to functionality issues. Verify that you have the latest version of Google Voice installed on your device.
If not, update it through your app store to resolve potential glitches.
4. Incorrect Phone Number Format
When sending messages, make sure you’re using the correct format, including country codes for international numbers. For instance, numbers in the United States require a +1 prefix.
5. Service Outages in Google Voice
Occasionally, service disruptions can affect Google Voice’s messaging capability. You can visit Google’s Workspace Status Dashboard to check if there’s an ongoing issue with the service.
How to Fix Google Voice Not Sending Messages?
You will have to check the internet connection, check Google Voice settings and verify the Google Voice number. Additionally, make sure that your Google account is active to fix the issue.
1. Check Internet Connection
Ensure your device is connected to the internet. A stable Wi-Fi or mobile data connection is necessary for Google Voice to function properly.
- Test your internet speed using online speed test tools.
- Ensure Wi-Fi is connected and has a strong signal, or check that cellular data is turned on and you have good reception.
- You can also reset your modem by plugging it out from the power and then plugging it in again after 3 minutes.

2. Review Google Voice Settings
Access your Google Voice settings to confirm that you haven’t accidentally enabled any settings that could be blocking your messages.
- Navigate to the Google Voice settings.
- Ensure ‘Messages’ is turned on under the ‘Messages‘ tab.
- Review any blocked numbers under the ‘Security’ tab to make sure you haven’t blocked texts inadvertently.
3. Verify Google Voice Number
Make sure your Google Voice number is correctly set up and active. Incorrect setup can prevent messages from being sent.
- Go to Google Voice: Visit the Google Voice website.
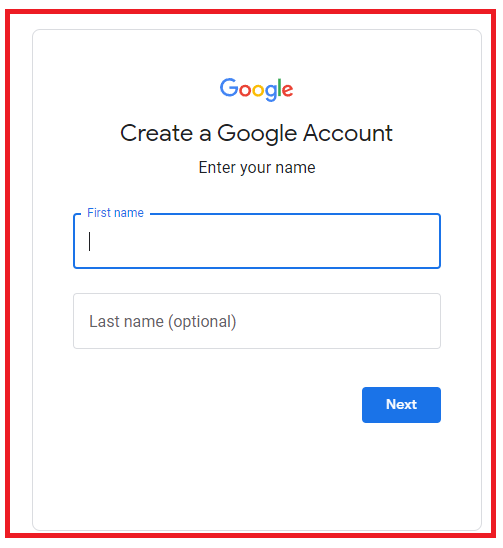
- Sign In: Log in with your Google account.
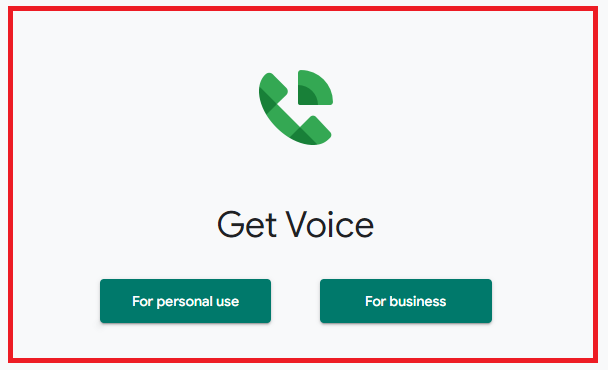
- Get a Voice Number: Choose ‘For personal use‘ and select a new Google Voice number or opt to use your existing number.
- Link Your Phone: Enter your phone number to link it with Google Voice.
- Receive a Code: Google will send a verification code to your phone via text or call.
- Enter Verification Code: Input the six-digit code you received into the verification field on the Google Voice site.
- Complete Verification: Click ‘Verify’ to complete the process and start using Google Voice.
4. Clear App Cache and Data of Google Voice
Clearing the cache and data from the Google Voice app can resolve issues stemming from outdated or corrupted data.
Clear Cache for Android
- Go to Settings on your device.
- Open Apps.
- Select Manage Apps.
- Navigate to Google Voice and tap on it.
- Tap on Clear Data or Clear Cache.
Clear Cache for iPhone
- Go to iPhone settings.
- Go to General.
- Find the Google Voice App and click on that.
- Tap on the Offload App button.
- Again Reinstall the Google Voice app.
5. Update Google Voice App
Regular updates are important. Check for any available updates for Google Voice in the app store and install them.
- Open the Google Play Store or App Store on your device.
- Search for Google Voice and select it.
- Tap ‘Update’ if an update is available.
6. Check Google Voice App Permissions
App permissions are essential for functionality. Check your device’s settings to ensure Google Voice has the permissions it needs to operate.
For Android:
- Open Settings: Go to your device’s main ‘Settings‘ menu.
- Apps & Notifications: Tap on ‘Apps‘ or ‘Apps & Notifications’.
- Find Google Voice: Scroll through the app list and select ‘Google Voice’.
- Permissions: Tap on ‘Permissions’.
- Review Permissions: Check and adjust the permissions as needed to ensure functionality.
For iOS:
- Open Settings: Go to your device’s ‘Settings‘ app.
- Scroll to Google Voice: Find and tap on ‘Google Voice’ from the list of apps.
- Check Permissions: Ensure that the necessary permissions like ‘Microphone’ and ‘Notifications’ are enabled.
7. Ensure your Google Account is Active
Your Google Account must be in good standing and active for Google Voice to work. Verify the status of your account if you’re encountering issues.

- Sign In: Go to the Google Account login page and sign in with your email and password.
- Account Status: If you can sign in successfully, your account is active. If there are issues, Google will provide instructions to help you regain access.
- Account Activity: You can also check recent activity by visiting the Google Account security page to review security events.
- Check Services: Try accessing various Google services like Gmail, Google Drive, or YouTube to ensure they are operational with your account.
8. Contact Google Voice Support

If you’ve gone through all the previous steps and still have issues, reaching out to Google Voice Support might be necessary.
You should tell them the fixes that you have tried till now and they will be able to provide you with a solution.
