
Embarking on the journey of mastering the Apple Vision Pro means unlocking a world of cutting-edge technology and immersive experiences.
Whether you’re a seasoned tech enthusiast or new to the Apple ecosystem, these insights will enhance your interaction, boost your productivity, and elevate your overall user experience with this revolutionary device.
This guide is designed to provide you with the best tips and tricks to help you make the most out of your Apple Vision Pro using gesture control and Accessibility Feature.
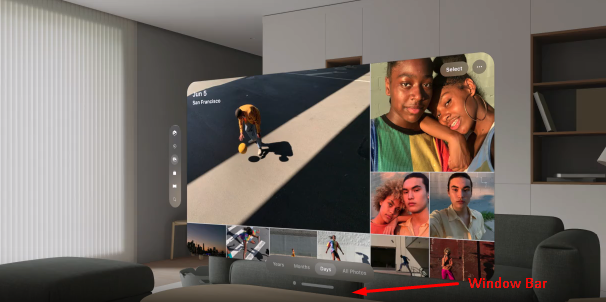
How To Use Apple Vision Pro: Best Tips & Tricks
1. Maintain Optimal Lighting and Camera Lens
- Ensure Proper Lighting: Use Apple Vision Pro in a well-lit area to improve camera tracking of hand gestures.
- Keep Cameras Clean : Regularly clean the cameras to prevent smudges from affecting gesture recognition.
2. Maintain Hand Visibility
- You can keep your hands on a desk or in your lap instead of holding them up while interacting with the device. Holding hands cause tracking issue.
- Make sure your hands are in view of the Apple Vision Pro’s cameras and not hidden under objects.
- Avoid gloves, long sleeves, and large jewelry that might obstruct the cameras’ view of your hands.
- Keep your hands separate during gestures to prevent misinterpretation by the tracking system.
3. Know About Hand Gestures
- Use Tap Gesture for Selection: Tap your thumb and index finger together to select items, mirroring the action of tapping on an iPhone or clicking on a Mac.
- Pinch-and-Drag for Moving Items: Pinch your thumb and index finger together, then drag to move items around, similar to clicking and dragging with a mouse.
- Versatile Gesture Use: Employ the pinch-and-drag gesture for tasks like arranging apps, resizing shapes, or dragging images into messages.
- Precise Scrolling: Use the pinch-and-drag gesture for slow, precise scrolling through content.
3. Modify Accessibility Settings
You can turn on the Accessibility for the features that you use often.
For example: If you enable Zoom Feature: Apple’s Zoom feature allows for both full-screen and windowed magnification across various apps and can be used in tandem with Voice Over for enhanced visual and auditory accessibility.
To Turn On Accessibility Settings for requires features:
- Press the “Crown Button” at the top of the Headset to enter Home View
- Click on “Tab Bar” at the left side of the screen.
- Click on “App icon” and “Launch Setting App” from the App list.
- Click on “Accessibility” and “Turn On” required features.
Apple devices offer an extensive range of accessibility features tailored to support individuals with diverse needs across vision, hearing, physical and motor skills, and general use:
- Vision Settings: Voice Over screen reader, Zoom magnification, customizable display and text size, reduced motion settings, spoken content, and audio descriptions enhance visual accessibility. For Example: If you are a seamless reader, enabling “display and text size” will help you to customize the txt option.
- Eye and Physical/Motor Input Settings: Eye-tracking control, Assistive Touch, Sound Actions, Dwell Control, Switch Control, and Pointer Control options assist users with physical and motor skill challenges. For Example: With the help of eye input, you can adjust setting to use one eye for navigation.
- Voice Settings: Voice Control and Siri enable hands-free device operation, while the Digital Crown on Apple Watch offers an alternative input method.
- Keyboards and AirPods Settings: Customizable keyboards and AirPods features support unique user interaction preferences.
- Hearing Settings: Compatibility with hearing devices, mono audio and balance settings, sound recognition, and background sounds support users with hearing difficulties.
- Media Media Settings: Subtitles and captions make audio and video content accessible.
- General Features: Guided Access helps users stay focused on a task, while the Accessibility Shortcut provides quick access to frequently used features.
- Per-app Settings: Customize accessibility settings on a per-app basis for a personalized experience.