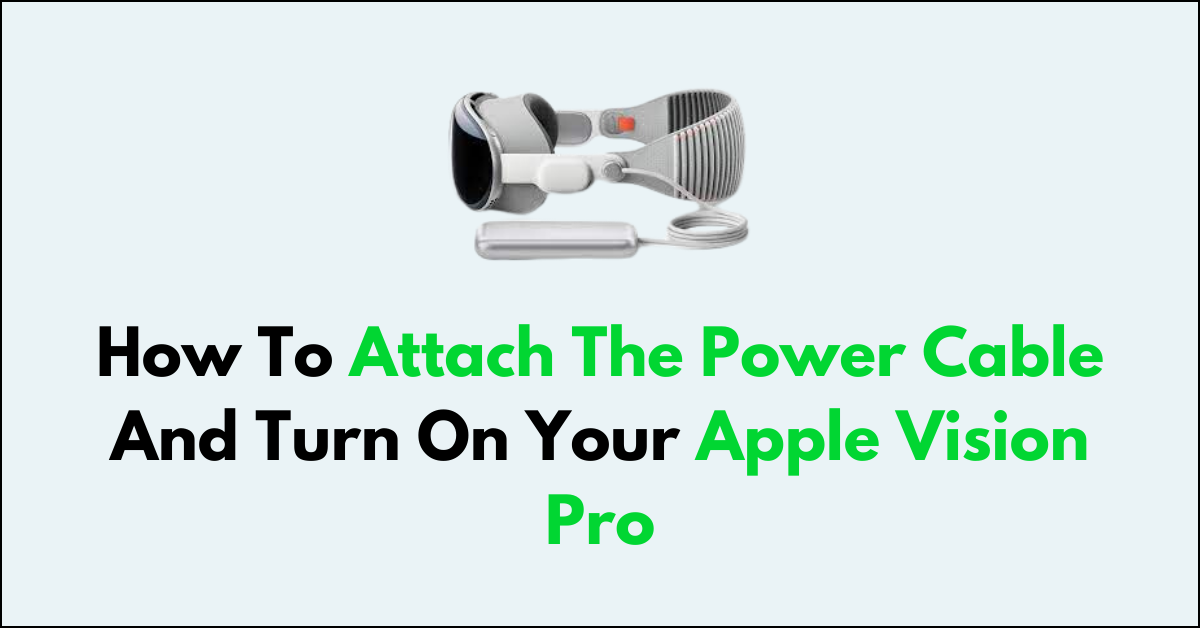
Are you ready to set up your Apple Vision Pro and dive into a world of stunning visuals and powerful performance?
Attaching the power cable correctly and turning on the device are the first steps to enjoying its feature
In this article, we will guide you through the simple process of attaching the power cable and turning on your Apple Vision Pro.
How to attach the power cable and turn on your Apple Vision Pro?

Step 1: Stable Surface
Begin by placing your Apple Vision Pro on a stable surface, such as a table, to prevent any accidental drops or instability while you’re connecting the power cable.
Step 2: Align the Connectors
Look for the dot on the power cable and the corresponding circle next to the power connector on your Apple Vision Pro. This is an important step as it helps you to align the connectors properly.
Step 3: Angle the Cable
Position the cord so that it is angled slightly upward, which is the correct orientation for attaching the cable to the device.
Step 4: Connect the Cable
Gently press the power cable onto the power connector on your Apple Vision Pro. You should feel the grooves of the connector align with the cable, allowing it to latch securely onto the connector.
Step 5: Secure the Connection
Once the cable is in position, rotate it clockwise. The dot on the power cable should line up with the dot next to the power connector on the device.
You will know the cable is properly secured when you hear a click, signaling that it has locked into place. An LED will also pulse to indicate a good connection.
Step 6: Listen for the Startup Tone
With the power cable now attached and secured, your Apple Vision Pro should automatically power on. Listen for a startup tone, which signifies that the device is booting up and is ready for use.
Step 7: Device Setup
If it’s your first time using the device, you may need to go through some initial setup steps on-screen.
