When your Reolink NVR’s LAN port is not functioning as expected, it can disrupt the entire surveillance network.
This can be frustrating, especially if you need to use the Reolink NVR for the security purpose of your house.
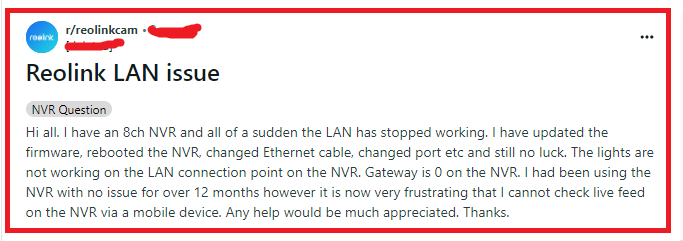
Many people recently have reported encountering the issue where the Reolink NVR LAN port is not working.

In this article, we will be discussing the reasons why the Reolink NVR LAN port not working and exactly how you can fix it.
What are the Reasons for the Reolink NVR LAN Port Not Working?
If the LAN port on a Reolink NVR is not working, there could be several reasons behind the malfunction as we have discussed below.

1. Faulty Ethernet Cable
A common cause of LAN port issues is a damaged or defective Ethernet cable.
Physical damage, wear and tear, or a manufacturing defect can impede the cable’s ability to transmit data, leading to connectivity problems.
2. Router or Switch Port Failure
The problem may not necessarily be with the NVR’s LAN port but could be with the router or switch it’s connected to.
A defective port on these devices can prevent a successful connection to the network.
3. Incorrect Network Configuration
Network settings that are improperly configured can cause the LAN port to appear inactive.
This includes incorrect IP addressing, subnet masks, or gateway settings that do not align with the broader network configuration.
4. LAN Port Hardware Issue
The LAN port on the NVR itself may be physically damaged or suffering from an internal hardware fault.
This could be due to various factors, such as electrical surges, manufacturing defects, or wear and tear over time.
5. Outdated or Corrupted Firmware
The firmware on the NVR controls how it operates and interacts with connected devices.
If the firmware is outdated, corrupted, or has bugs, it may not be able to utilize the LAN port correctly, leading to connectivity issues.
How To Fix Reolink NVR LAN Port Not Working?
First, inspect the ethernet cable, test with a different port, and restart the NVR. Additionally, you can reset network settings to fix the issue in Reolink.
1. Inspect the Ethernet Cable
A damaged or faulty Ethernet cable can cause connectivity issues. Check the cable for any signs of wear, tear, or damage.
Replace the cable with a new one and see if the LAN port starts working.
- Examine the Ethernet cable for any signs of damage, such as cuts, fraying, or bent pins.
- Replace the cable with a known good one and check if the LAN port recognizes the connection.
- Check whether the light is on, if the light is off then you will have to replace the port and the cable.

2. Test with a Different Port
Sometimes the issue might be with the router or switch port rather than the NVR.
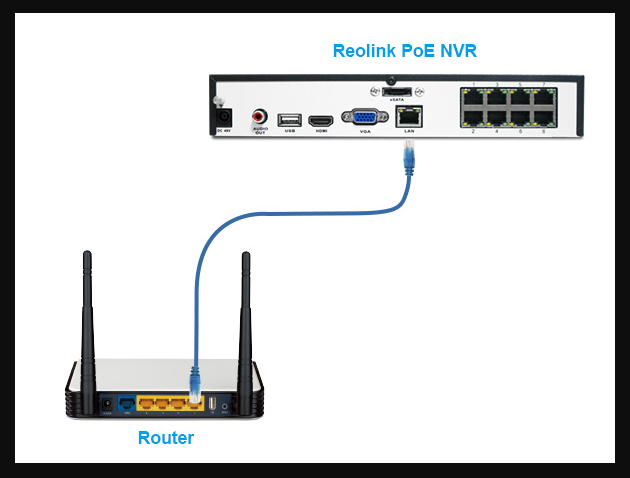
Try connecting the Ethernet cable to a different port on your router or switch to determine if the problem persists.
- Disconnect the Ethernet cable from the current port on your router or switch.
- Plug the cable into a different port to see if the issue is with the port rather than the NVR.
3. Restart the NVR and Networking Equipment
A simple restart can often resolve temporary glitches. Power off your NVR and networking equipment (router/switch), wait for a couple of minutes and then power them back on.
- Power down the NVR by unplugging it from the power source.
- Turn off your router and/or switch as well.
- Wait for about one to two minutes before powering the devices back on.
- Observe if the LAN port is now working after the restart.
4. Check LAN Port LEDs

Most LAN ports have LED indicators that show the status of network connectivity.
Check the LEDs on the NVR’s LAN port to see if they indicate a connection. No lights or unusual blinking patterns can signify an issue.
- Look at the LAN port on the NVR for LED activity that indicates network traffic.
- If there are no lights or if the lights are behaving irregularly, this may indicate a problem with the port.
5. Reset Network Settings
Incorrect network settings can prevent the LAN port from functioning correctly. Reset the network settings on your NVR to default to see if this resolves the issue.
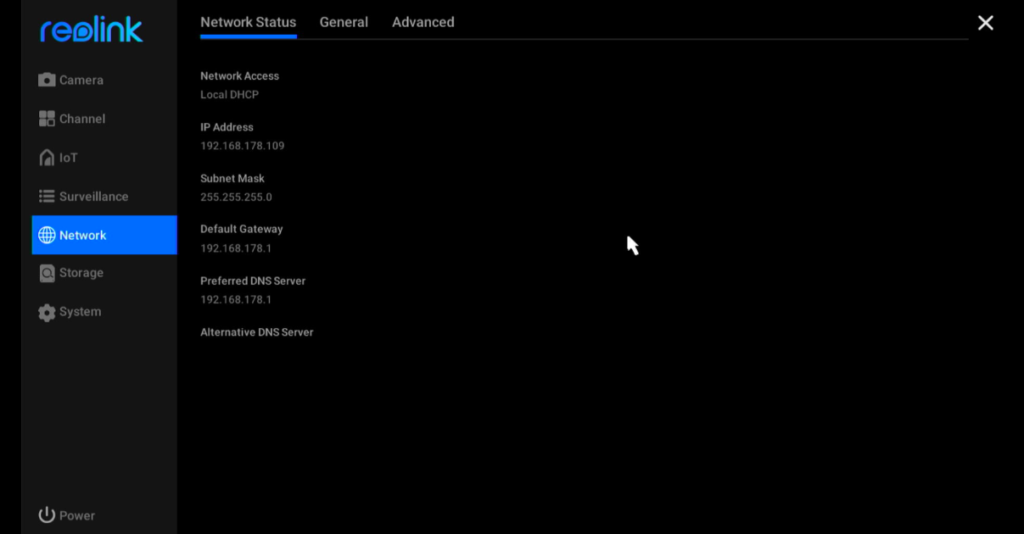
Go to Menu > Network > General > Default and it will reset the network configurations to initials.

For NVR with New UI, go to Device Settings > Network > General > Default and then refer to the below picture.

6. Update NVR Firmware
Outdated firmware can lead to various issues, including LAN port malfunctions.
Check for the latest firmware updates for your Reolink NVR and apply them if available.
Access the camera settings in the Reolink app, navigate to ‘System‘ > ‘Device Information,‘ and select ‘Firmware Upgrade‘ to check and update.
7. Try a Different Device
To rule out the NVR as the problem, connect a different device to the same LAN port using the same cable and see if it establishes a connection.
If the new device works, the issue likely lies with the NVR.
- Unplug the Ethernet cable from the NVR and connect it to a different device, such as a laptop.
- Check if the device can establish a network connection using the same cable and LAN port.
- If the new device works, the issue is likely with the NVR’s LAN port.
8. Contact Reolink Support
If none of the above steps work, the LAN port may have a hardware fault.
In this case, reach out to Reolink customer support for further assistance or to arrange for repair or replacement.

- Visit the Reolink support website and navigate to the ‘Contact Us‘ section.
- Provide a detailed description of the problem, the steps you’ve taken to troubleshoot, and the model number of your NVR.
- Follow any additional instructions provided by the support team or arrange for service if needed.
