
Changing the WiFi name and password for your Xfinity Prepaid service is a simple process that helps maintain the security of your network.
Whether you’re looking to personalize your network name (SSID) or enhance security with a new password, managing these settings can be done in a few steps.
In this guide, we’ll walk you through the necessary steps to Change your WiFi Name And Password Xfinity Prepaid, ensuring your connection remains secure and tailored to your preferences.
Changing WiFi Name And Password Xfinity Prepaid Through the Xfinity Prepaid App
Changing WiFi Name And Password Xfinity App: “Sign in” > “WiFi” > “WiFi Details”> “Enter New WiFi Name and Password” > “Save”.
Step 1: Open and Sign in with your Xfinity Prepaid account credentials.
If you haven’t already, download the Xfinity Prepaid app from your device’s app store. Open the app once it is installed.
Step 2: Click On the ‘‘WiFi’‘ icon at the bottom of the screen.

Step 3: Click On “WiFi Details“
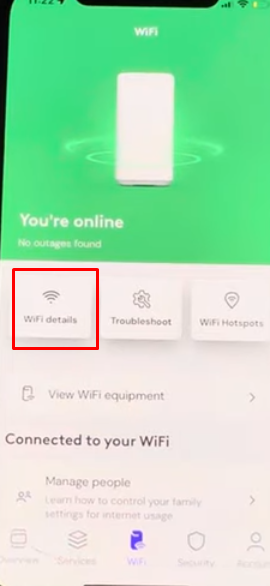
Step 4: Click On “Edit WiFi Settings“

Step 5: Tap on the Text box and Enter your new WiFi name and password. Make sure your new password is strong and secure, using a mix of letters, numbers, and symbols.

Step 6: After entering your new details, Click “Save.”
Your devices will be disconnected from the WiFi as the new settings take effect. You must reconnect all your devices to the WiFi network using the new name and password.
How To Change WiFi Name And Password Xfinity Prepaid Through The Xfinity Prepaid Website
Change WiFi Name And Password Xfinity Website: “Sign in” > “Service” > “Manage Internet”> “WiFi Details” > “Enter New WiFi Name and Password” > “Save“.
Step 1: Open a web browser and visit Xfinity
Step 2: Enter the default username and password to log in.

Step 3: Click on “Services“

Step 4: Click on “Manage Internet” under internet.

Step 5: Click on “WiFi details” and Click on “Edit“
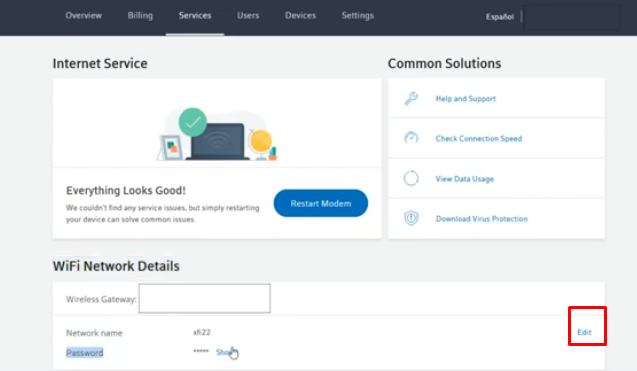
Step 6: After you have entered your new WiFi name and password, click on “Save” to save your changes.

Step 7: As with the app method, you’ll need to reconnect all your devices with the new WiFi credentials.