Are you eager to capture screen recordings with microphone audio on your Apple Vision Pro?
This feature can be incredibly useful for creating tutorials, sharing experiences, or simply preserving memorable moments.
In this article, we will walk you through the simple steps to enable screen recording with microphone audio on your Apple Vision Pro.
How to Screen Record With Microphone Audio on Apple Vision Pro?
To screen record with microphone audio on Apple Vision Pro: Open Control Center, press and hold the screen record button, enable microphone, tap to start/stop recording.

Down below, we have discussed this in step-by-step detail.
Step 1: Access the Control Center
First things first, you need to open the Control Center. Just keep your head still and glance upwards to see a green dot, which indicates that the Control Center is ready to be accessed.
Step 2: Initiate Screen Recording
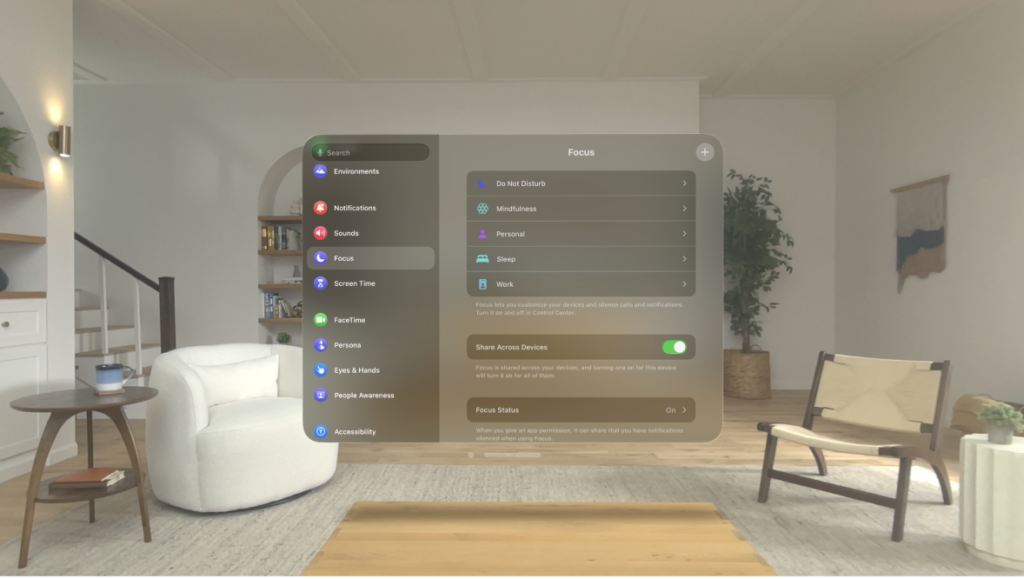
Now, find the screen record button in the Control Center. If it’s not there, you might need to add it by customizing your Control Center in the settings.
Step 3: Enable Microphone Audio
Before you start recording, you’ll want to make sure your microphone is on so that your voice gets recorded too. So, press and hold down the screen record button. You’ll see an option to turn on your microphone and make sure it’s activated.
Step 4: Start Recording
With the microphone on, tap the screen record button to start recording both your screen and your audio.
Step 5: Stop Recording
Once you’re done with your recording, go back to the Control Center and tap the screen record button again to stop the recording. Your video will automatically be saved in your gallery.
