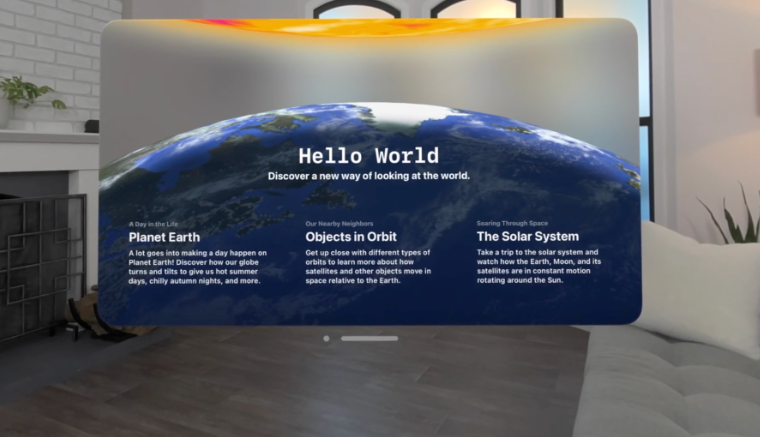
Developing apps for Apple Vision Pro offers a unique opportunity to create immersive and interactive experiences that blend the digital and physical worlds.
Whether you’re building games, educational software, or productivity tools, understanding the frameworks and tools like RealityKit, ARKit, and Unity is crucial. These technologies enable the development of apps that can fully utilize the Vision Pro’s hardware, such as its camera and sensors, to create compelling mixed-reality experiences.
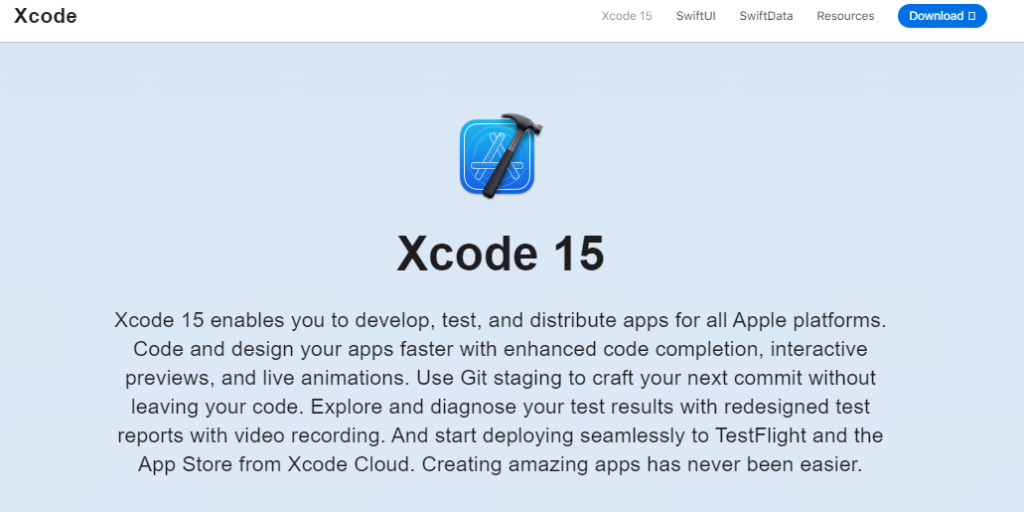
To create your first visionOS app, you’ll be using Xcode, Apple’s powerful IDE designed for building apps on its various platforms. In this blog, lets explore how to Make/Develop Apps for Apple vision pro.
Required Tools To Make/Develop Apps For Apple Vision Pro
To develop an app for visionOS effectively, especially if you are new to the platform, the following requirements should be considered:
1. SwiftUI
Opt for SwiftUI when building your app as it provides comprehensive access to vision OS features and is the preferred framework for leveraging the full potential of the platform. It is used to build user interface for Vision Pro apps.
2.UIKit Integration
While UIKit can be used for building parts of your app, some visionOS-specific features will necessitate the use of SwiftUI. Plan to integrate both frameworks appropriately. It is also a framework supports building UI for apps.
3. Learning Resources
Invest time in learning resources provided by Apple, such as tutorials and documentation, to better understand how to utilize SwiftUI and UIKit within the visionOS context.
4. Development Environment
Ensure that your development environment meets the software requirements for visionOS development, including the latest version of Xcode and the visionOS SDK.
5. RealityKit
RealityKit is a 3D rendering engine tailored for Vision Pro, enabling the creation of realistic and interactive 3D content. It supports spatial computing and augmented reality, essential for Vision Pro app development. Use RealityKit to place 3D product models in real-world environments, enhancing shopping experiences with Vision Pro’s camera.
6. ARKit
ARKit is Apple’s framework for augmenting the real world with digital content through immersive experiences. It’s versatile for creating AR games, educational tools, and simulators. With ARKit, develop an AR chess game that uses Vision Pro’s camera for real-world piece tracking and placement.
7. Unity
Unity is a robust game development platform with features optimized for Vision Pro game creation. It supports AR and spatial computing, enabling interactive games that merge virtual and real environments. Create Unity games where players interact with virtual targets in their actual space, tracked by Vision Pro’s camera.
How To Make/ Develop Apps For Apple Vision Pro
Step 1: Open Xcode
Launch Xcode on your Mac. If you don’t have it installed, you can download it from the Mac App Store.
Step 2: Create a New Project
Go to the menu bar and select File > New > Project. This will open a new window where you can choose the template for your new app.
Step 3: Select the VisionOS Template
In the new project window, navigate to the visionOS section of the template chooser. Here, you’ll find templates specifically designed for visionOS app development.
Step 4: Choose the App Template
From the visionOS templates available, select the App template. This will set up a new project configured with the basic settings and files for a visionOS app.
Step 5: Configure Your Project Settings
After selecting the template, you will be prompted to enter details such as your project’s name, team, organization identifier, and interface and language options. Fill these out according to your app’s requirements.
Step 6: Choose a Save Location
Decide where you want to save your project on your Mac and click “Create”.
Step 7: Explore the Project Structure
Once your project is created, take some time to explore the files and folders that Xcode has generated for you. This will include source files, assets, and configuration settings specific to visionOS.
Step 8: Start Coding
Now, you can begin writing code for your app. Use Swift, Apple’s programming language, to define your app’s functionality, user interface, and interactions.
Step 9: Run Your App
Xcode comes with simulators that allow you to run and test your app without needing physical hardware. Choose the appropriate visionOS simulator for your app and click the “Run” button to see your app in action.
Step 10: Iterate and Test
As you develop your app, continually test it in the simulator, checking for bugs and ensuring that the user experience is smooth.
Step 11: Prepare for Submission
Once your app is complete and thoroughly tested, you’ll need to prepare it for submission to the App Store. This involves setting up App Store Connect details, creating app icons, taking screenshots, and filling out metadata.
Step 12: Submit to the App Store
When your app is ready, prepare for its release on the App Store. This includes configuring your App Store Connect settings, creating app icons, capturing screenshots