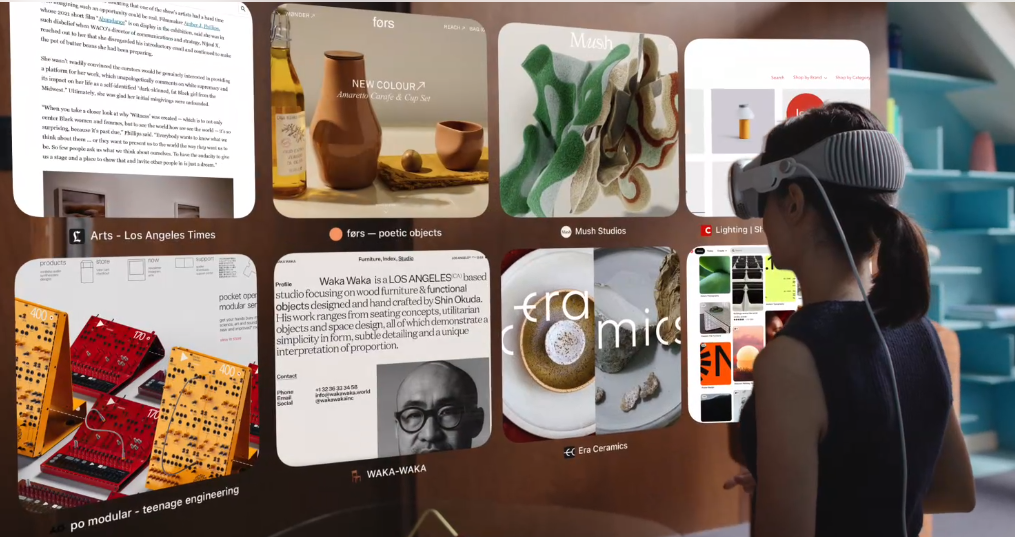
The Apple Vision Pro represents a significant leap forward in virtual reality (VR) technology, offering users an immersive experience unlike any other.
As with any device that requires close-up interaction with screens, there are concerns about potential eye strain or other visual effects.
However, as with any VR headset, safety and comfort are paramount, especially when it comes to protecting the eyes.
In this blog, lets learn about the the safety of the Apple Vision Pro for the eyes and what measures have been taken to ensure user comfort and protection.
Does Apple Vision Pro Affect Eyes?
The Apple Vision Pro can cause eye strain and discomfort with prolonged use, especially if the display lenses are too close to the eyes or if the eyes are too far, affecting image quality and eye input accuracy.
However, there is no evidence of acute damage to the eyes from current exposure limits. It is important to follow recommended usage guidelines and settings to minimize discomfort.
Is Apple Vision Pro Safe For The Eyes?
The Apple Vision Pro is generally safe for the eyes when used as directed, although some users may experience discomfort or eye strain.
Proper adjustment and adherence to safety guidelines are important to prevent potential eye injury.
Trick and Hacks To Enhance Vision Preference
In the Settings of Apple Vision Pro, you can enhance accessibility by enabling Zoom for magnification, adjusting pointer control for wrist, hand, or head interaction, and setting up Voice Control for hands-free navigation.
These features are designed to cater to a variety of vision preferences and requirements.
Step 1: Customizing Eye Control Settings
- Open the “Settings” app on your Apple Vision Pro device.
- Tap on “Accessibility” to access the accessibility features.
- Select “Eye Input” to adjust how the device tracks your eye movements.
- Choose from the options “Both Eyes, Left Eye Only, or Right Eye Only” depending on your preference or necessity.
Step 2: Stabilizing the Display
- Go to “Settings” and tap on “Accessibility.”
- Navigate to “Display & Text Size“.
- Scroll down and select “Ignore Eye Movements to Stabilize.”
- Toggle this feature on to prevent the display from tracking your eye movements, which helps to stabilize the image if you experience jumpiness.
Step 3: Enhancing On-Screen Contrast
- Access the “Settings” app and proceed to “Accessibility“.
- Under “Display & Text Size,” look for the option “Increase Focus State“.
- Activate this feature to heighten the contrast for areas where your eyes are looking, making it easier to focus on specific content.
Step 4: Controlling with Wrist, Hand, or Head
- Open the “Settings” on your Apple Vision Pro.
- Tap on “Accessibility” to explore its options.
- Choose “Interaction” to find different input methods.
- Select “Pointer Control” to see available pointers.
- Pick the pointer you wish to use, such as “wrist, hand, or head“. This is ideal if you want to use an alternative to eye-based input methods.
Step 5: Enabling Zoom for Magnification
- Navigate to the “Settings” app on your device.
- Select “Accessibility” to adjust the device’s accessibility settings.
- Tap on “Zoom” under the Accessibility menu.
- Switch on “Zoom” to enable magnification. Use this feature if you need to enlarge what’s on the screen for better visibility.
Step 6: Setting Up Voice Control
- Go to “Settings” from your Apple Vision Pro’s home screen.
- Access “Accessibility” for various accessibility features.
- Scroll to and tap on “Voice Control.”
- Choose “Set Up Voice Control” to begin using your voice as an input method. This is useful if you prefer or require voice commands to interact with your Apple Vision Pro.
Use Light Seal Cushion To Avoid Eye Injury and Damages with Apple Vision Pro
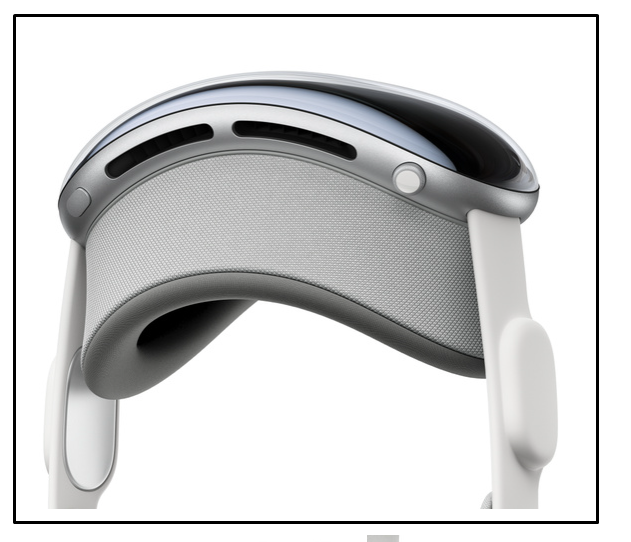
The recommended Light Seal Cushion for the Apple Vision Pro is essential for two primary reasons:
- Preventing Eye Injury: In the event of a fall or collision, the cushion ensures that there is a safe distance between the display lenses and your eyes, reducing the risk of injury.
- Maintaining Input Accuracy: The correct positioning of the display lenses, facilitated by the Light Seal Cushion, is crucial for accurate eye-tracking input, ensuring the device responds correctly to your eye movements.
Choosing the Right Light Seal Cushion for Apple Vision Pro
When you receive a vision OS alert indicating the need for a different Light Seal Cushion, it’s essential to choose the correct thickness based on the alert’s recommendation:
- Thicker Cushions (N+ or W+): If your eyes are too close to the display lenses, opt for a thicker cushion to increase the distance and enhance safety.
- Thinner Cushions (N or W): If your eyes are too far from the display lenses, a thinner cushion can help improve input accuracy and visual quality.
The N and W designations refer to the shape and size that best fits your face, with N typically representing a narrower fit and W a wider fit.
Replacing Your Light Seal Cushion for Apple Vision Pro
Replacing the Light Seal Cushion on your Apple Vision Pro is a straightforward process:
Step 1: Identifying the Correct Light Seal Cushion
Check the visionOS alert to find out which Light Seal Cushion is recommended for your use with the Apple Vision Pro.
Step 2: Selecting the Appropriate Cushion
If your eyes are too close to the display, choose a thicker Light Seal Cushion, either N+ or W+.
If your eyes are too far from the display, opt for the thinner N or W Light Seal Cushion, which is the default cushion provided in your packaging.
Step 3: Removing the Current Light Seal Cushion
To remove the existing Light Seal Cushion, gently pull it straight off from the Light Seal.
Step 4: Attaching the New Light Seal Cushion
Align the new Light Seal Cushion with the Light Seal and let it snap into place magnetically.
Step 5: Ensuring Proper Fit and Safety
Always confirm that the Light Seal and Light Seal Cushion size properly fit your face to prevent potential eye injury and to maintain eye input accuracy and image quality.