Are you excited to start using your new Apple Vision Pro, but feeling a bit unsure about how to attach the power cable and turn it on?
In this article, we’ll guide you through the simple steps to get your Apple Vision Pro up and running, so you can start exploring the world of augmented reality.
How to attach the power cable and turn on your Apple Vision Pro?

Step 1: Attach the Power Cable to Your Apple Vision Pro
- Prepare Your Work Area: Place your Apple Vision Pro on a stable surface like a table to ensure it’s secure during the setup process.
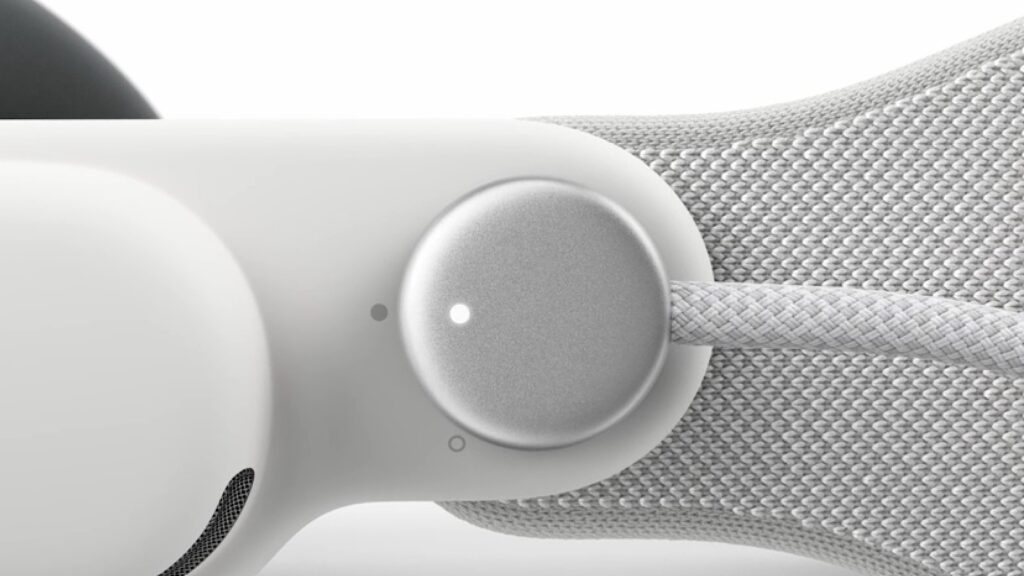
- Align the Cable and Connector: Look for the small dot on the power cable and the corresponding circle next to the power connector on your Apple Vision Pro. This is a visual guide to ensure you’re attaching the cable correctly.
- Attach the Cable: Hold the power cable so that it’s angled slightly upward, aligning the dot on the cable with the circle on the device. Gently press the power cable onto the power connector. You should feel the grooves on the cable fitting into the grooves on the connector.
- Secure the Connection: Once the cable is seated in the connector, rotate it clockwise. The dot on the power cable should now line up with the dot next to the power connector on your Apple Vision Pro. You’ll hear a click sound, which indicates that the power cable has locked into place securely.
- Check the LED Indicator: When the power cable is successfully attached, the LED on your Apple Vision Pro will pulse once. This visual cue confirms that the device is connected to power and charging.
Step 2: Turn On Your Apple Vision Pro
- Listen for the Startup Tone: After the power cable is connected, your Apple Vision Pro will emit a startup tone. This sound signifies that the device is turning on and beginning the boot-up process.
- Complete the Setup: Follow any additional on-screen instructions to complete the setup of your Apple Vision Pro. This may include connecting to Wi-Fi, signing in with your Apple ID, and personalizing your settings.
